Showing posts with label tutorial. Show all posts

21 December 2011

Making a sweater stocking

It was time for new stockings! The ones we've been using don't match, plus one of them is red and green and I'm not so big on decorating for Christmas with those predictable colors. :)

So, you know me, there's no way I'm going to the store to buy new stockings. Not when I can make them for super cheap! Here's the lowdown:

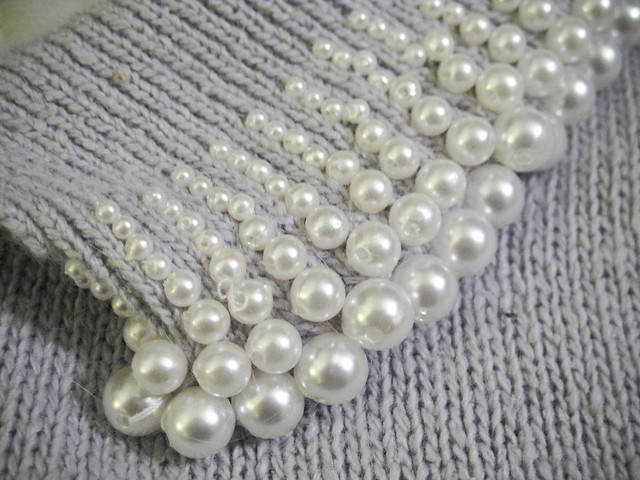
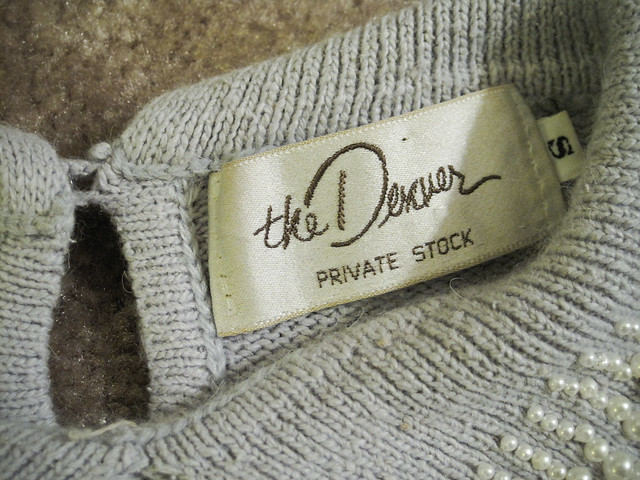
I found this vintage sweater at the thrift store with this amazing pearl collar. It even has a label that says "The Denver" (where we live). I've never made a stocking before, but I have made pillows out of sweaters before, so how hard could it be?


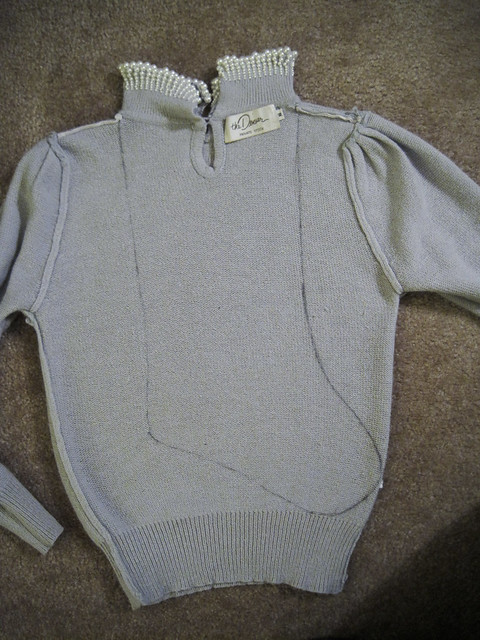
I traced the outline of one of our old stockings onto the sweater turned inside out, making sure to position it so that the collar is at the top.


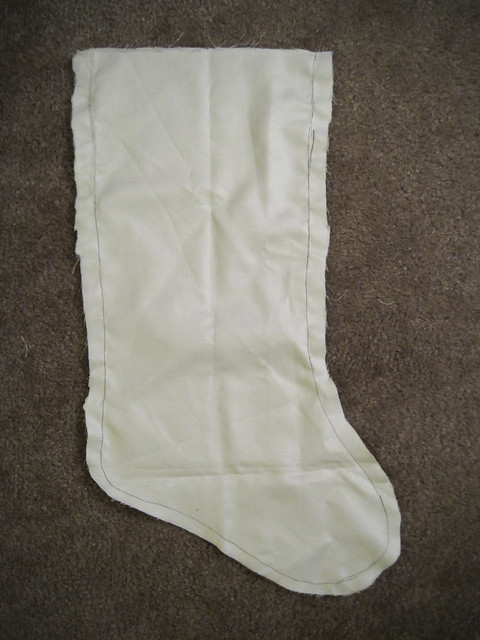
I also made a liner out of some scrap material, again using the old stocking as a guide.

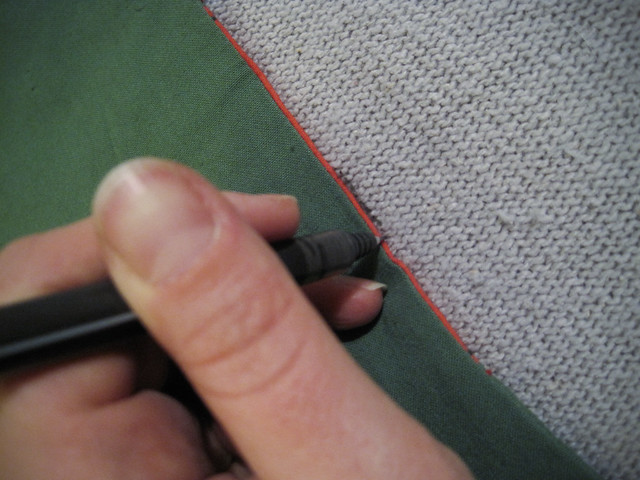
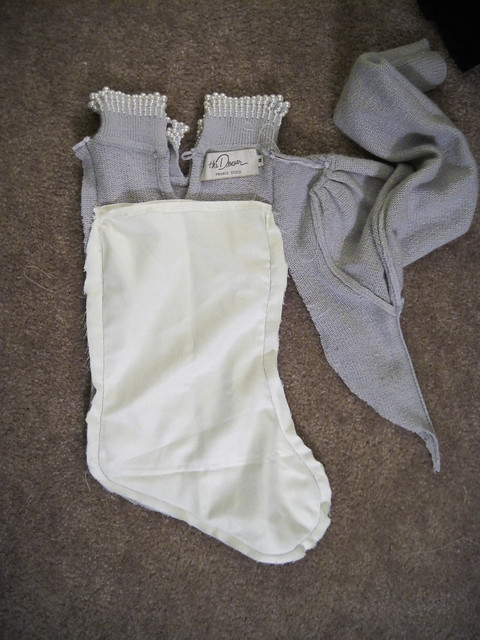
I had to cut off a bit of the top of the liner so it wouldn't show on the finished product. I didn't really know what I was doing with this liner, so it looks a little funky. I pinned it onto the sweater, both inside out, and just sewed around the outline.


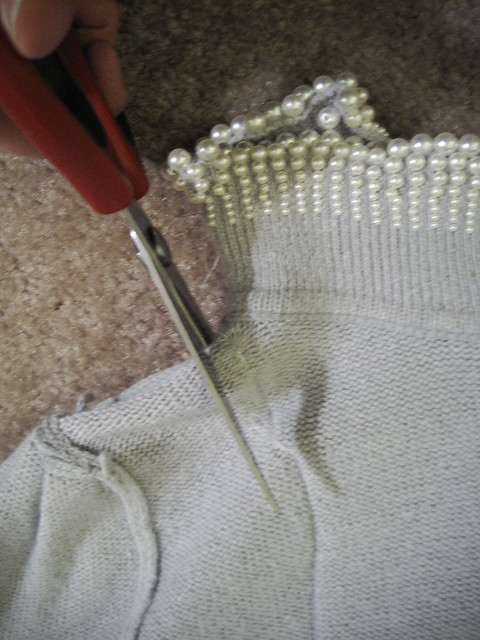
The first cut of the sweater:


Almost done:


Done!


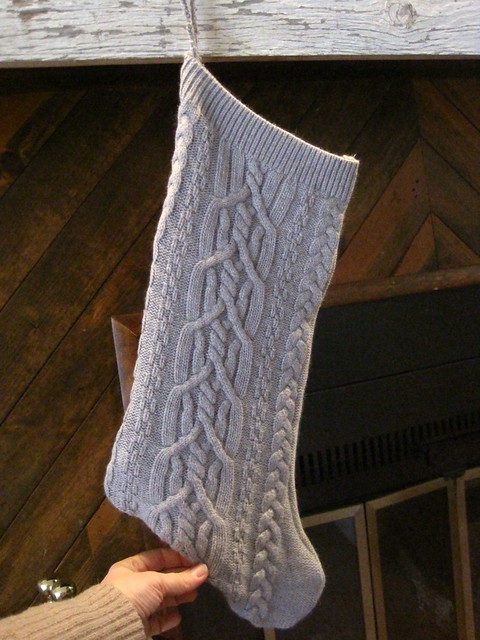
Finishing touches: I cut some of the finished seam off of the extra sweater pieces to make a loop. Just hand sewed that on. Then I turned the stocking right side out and hung it on the mantel. Success! I love how the label is part of the design!


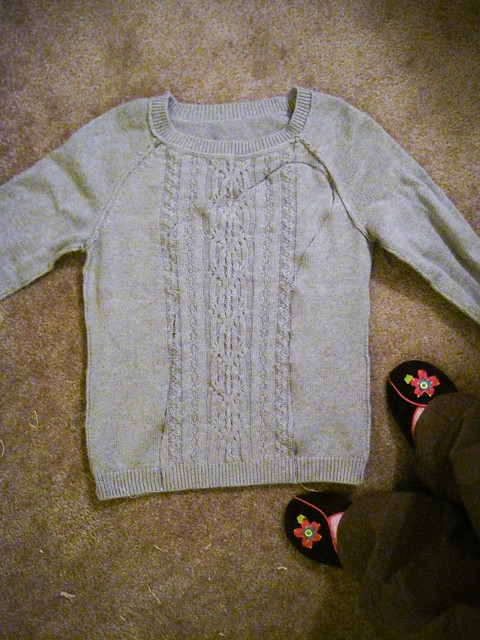
The next day I made on for my man out of a more man-ish sweater. It's still a woman's sweater, but has a nice chunky cable knit and no beads. :) I used the same technique but didn't put in a liner and I used the waist band of the sweater as the top of the stocking.

Looks like I need to vacuum up those fabric scraps!!
Pay no attention to my hand. I couldn't get the stocking to hang the right way for the photo.
Now we both have stockings that fit our style and our home's decor. If I decide so in the future, I can add decorative doo-da's, but for now, I'm happy. Now let's fill them with stuff!

05 November 2010

Project: Pillows from Discontinued Fabric Samples

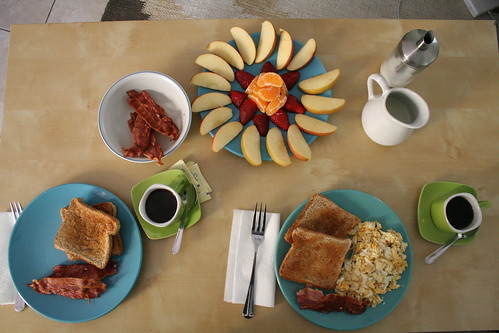
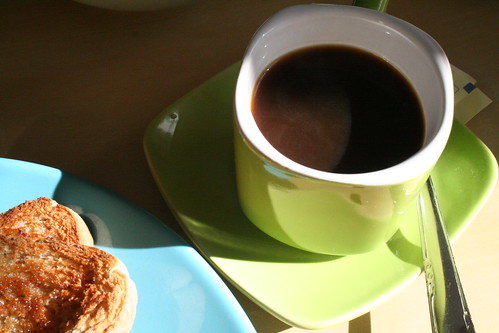
Good morning! I'm sitting at a really fantastic little restaurant in Lincoln, NE called Bread & Cup, and the atmosphere seems like something you'd get in a big city. In honor of my sister Shelley's birthday today, here are some snaps I just took with my webcam. I wish you could be here to have breakfast with me! But happy birthday anyways, and I hope you get my package today. :)


The oatmeal is delicious.

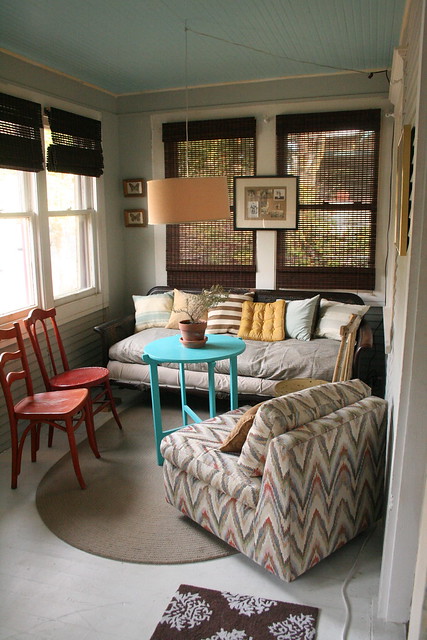
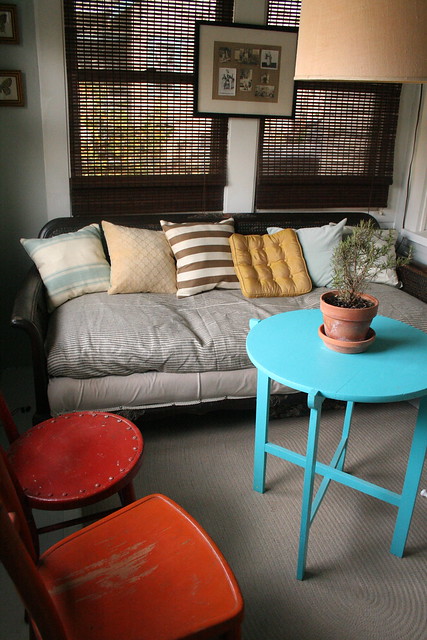
But I'm getting distracted...This is about pillows! Particularly, those pillows on my porch sofa:


So easy to do. The actual pillows came with the sofa (vintage mahogany cane-back sofa found at a garage sale on someone's porch covered in leaves, dirt & Big Wheels, not even for sale, but I bought it for a mere $25 - one of my favorite purchases!). The easy part was covering the pillows.


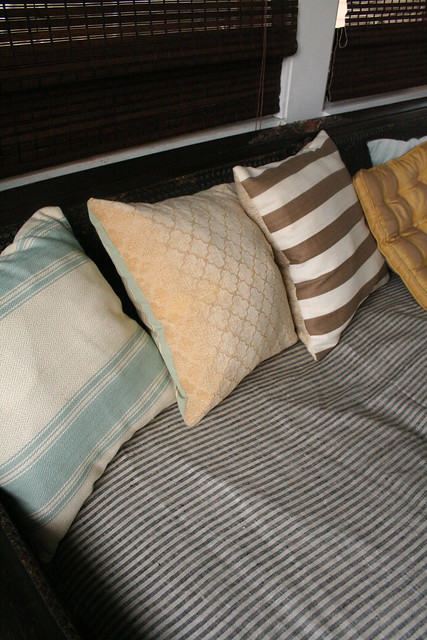
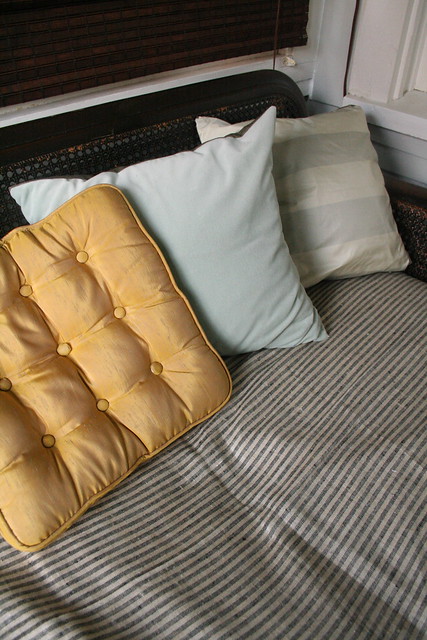
You'll notice that each one is different - on the front & back, so they are reversible, even! Each piece of fabric was a $2 discontinued decorator fabric sample from Joann Fabrics. Have you, also, discovered Joann's discontinued fabric swatch rack? Love!

I looked for fabrics that fit my vision for the porch - beachy, stripes, cotton, canvas, texture, not a whole lot of shimmer. There are a couple of pieces that are more "fancy" silk-looking, but they fit in. I especially like the pale blue velvet one and the paler grey-ish striped one next to it.


So I'm not going to do a super detailed tutorial - how hard is it, really, to sew up 3 sides of 2 squares of fabric, stuff your pillow in, then hand sew the 4th side? And there you have it, the tutorial. If your pillows are less dense and fit better in your fabric squares than mine, you can get away with sewing up a little bit of each edge of the 4th side, but mine are SUPER dense. Not sure what's in them, but they could probably take out an intruder if used to whack him upside the head.


Oh, the gold tufted pillow in the middle isn't part of my home-made collection - it was thrifted years ago. I lurv it. One more thing, the ticking fabric on the seat cushions is really just a large remnant I got at the local thrift for $1, then I wrapped it around the 3 cushions. Done.

I'm quite happy with this porch room. It's almost exactly how I pictured it would be when we first toured the house. It's great for having coffee & doing my Bible Study in the mornings. I'll post on how I put it all together on another day, 'cause I gotta tell you about he turquoise table...and the pendant lamp...and the chairs...

freckled laundry

Today I'm participating in the Air Your Laundry Friday party over at the Freckled Laundry. I hope you crash the party to see what other textile projects people are doing in blogland!

Have a great weekend!

12 March 2010

Before & After: Re-Covered Dining Room Chairs


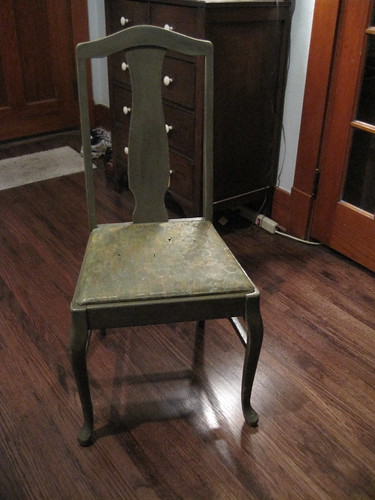
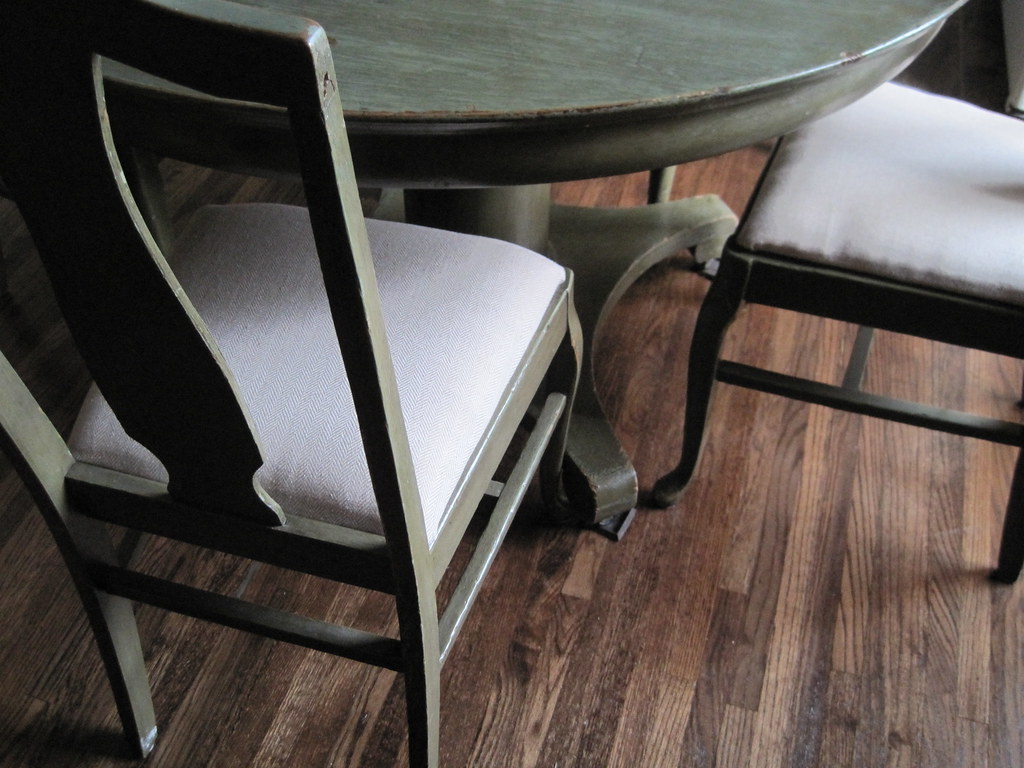
I have this great table & chairs set. They belonged to my grandma, then my parents, and now me. They are painted an olive green, which I love. I suppose some day I could strip them or paint them a different color, but for now I love exactly how they are.

Except for the seats. Gross.


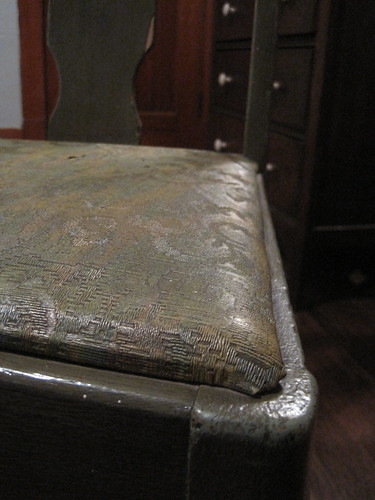
They are ancient, cracking vinyl. And they are really hard. No cushion for the tush.


So I've actually had these chairs for several years and never done anything with them, even knowing how EASY it is to change them. Lazy.

So I was at our local little thrift store the other day and found this fabric:


It was only $2 for 1 3/4 yards, more than enough. I'm not sure how it will wear over the years as seat cushion fabric, but seriously, does it matter? They are so easy to recover that I can replace them when I want.

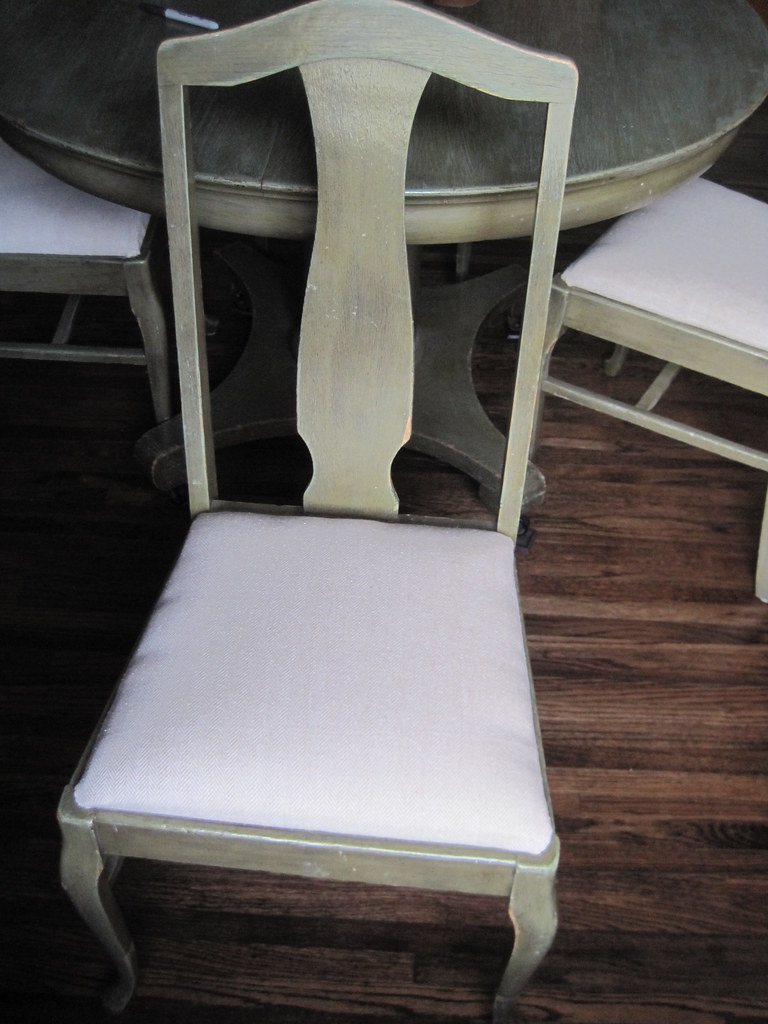
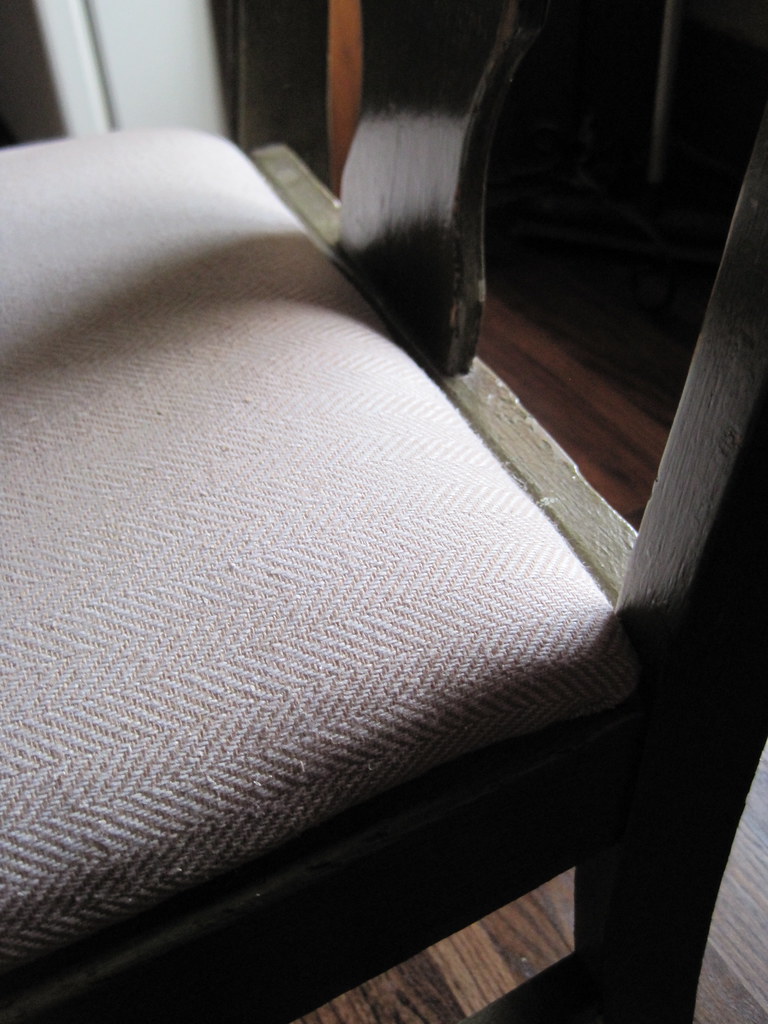
Bad blogger, I didn't take during photos. But just so you know, I unscrewed the seats from the chairs, set them on the floor over the fabric and cut the fabric with a few inches extra all the way around. I also got a 4-pack of 1-inch foam & cut those the same shape as the seats. I made a sandwich - fabric, foam & seat - then stapled the fabric to the back, stretching as I went. Then I screwed the seats back on and...


New chairs!


Are they perfect? No.


But are they better? Yes. Much better. And much more comfortable.


And just to keep it even more real, that little coaster on the floor in the above picture is there to mark a spot on the floor where a wood splinter needs glued down.

We're pretty casual here.

Thanks for stopping by!

23 February 2010

More El Cheap-o Decor: Thrifted Sweater Pillows


Do you ever page through the Pottery Barn catalog or website and covet? I do. But, as we all know, I'm cheap. The only things I own that actually came from Pottery Barn were either gifts from someone else, or purchased on major clearance. I, like many other cheapies, use Pottery Barn for inspiration rather than actual shopping. Sorry PB.

One of the blogs I read regularly is Homebody Holly. Holly is the queen of thrifting creativity. Recently she posted a series on gifts you can make from thrifted items. And they're not stupid cheap looking things you wouldn't want for yourself. Genius. The one I decided to try for my self was her sweater pillows. These were inspired by Pottery Barn's Sweater-Knit Pillow Covers, retailing for $39, and that doesn't include the inserts.


I like these, but we can do better, my thrifty creative friends! 


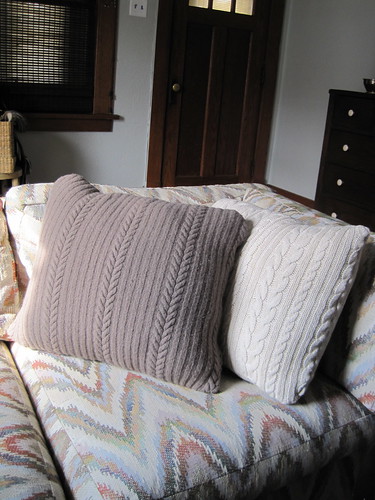
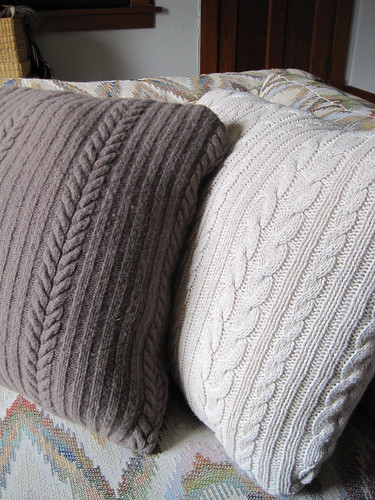
A trip to the Salvation Army scored me these $2 cable knit sweaters. The darker one is 100% wool and the lighter one is 100% cotton. I really wasn't interested in using acrylic (like the PB ones that are a cotton/acrylic mix).


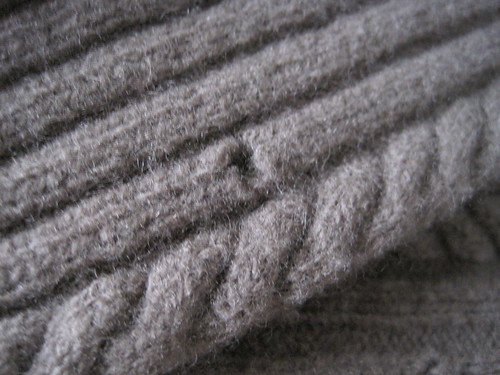
The wool sweater had a couple of holes in it, but after I washed it in hot water & threw it in the dryer to tighten it up, those holes were easily fixed with some brown thread. Just don't look super close at the finished product - my thread doesn't match perfectly. But who's really going to be looking that close? Not me.


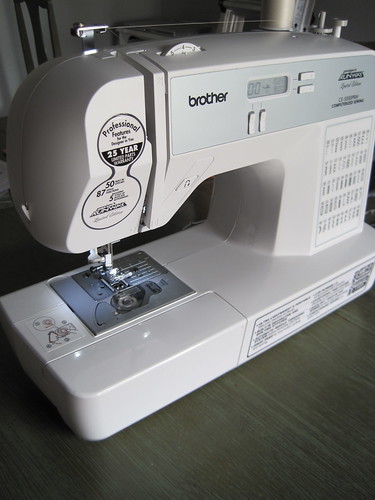
My parents gave me money for my birthday, and this is what I bought with it. I've wanted a real sewing machine for a years. I bought one at a garage sale several years ago. Bad idea. This one works so smoothly - I didn't know that's what sewing machines were supposed to be like! I suppose I should take the Project Runway sticker off. Looks a little ghetto. Thanks, Mom & Dad!!

For the innards of the pillows I used some old pillowcases that were either stained or ripped. I cut them down to squares, filled them with fiberfill & sewed them closed. You could use store bought pillow inserts, but why, when I can make them with stuff you have around the house? If you don't have stuff around the house, you can also buy throw pillows at the thrift store that you can use as inserts.

For the sweaters, I cut them to use the most of the sweaters as possible. I'm left with sleeves & weird looking v-neck sweater dickies.


Remember turtle neck dickies? I never had one, thank goodness. Hmmm. What do do with those...you know I can't throw away something that might become craft fodder in the future.

Anyways, back to the pillows. I sewed up three sides on each, stuffed them with the homemade inserts & sewed up the fourth sides by hand.


What do you think? I'm pleased. Please at how they look and pleased that they cost me $4 in materials.

Are you taking time in your day to be creative? It doesn't have to be something that takes hours and hours and lots of money. Maybe it's just rearranging some furniture, or moving artwork around your house. Or maybe it's finding a way to repurpose something you've had laying around for years (like your 1990s sweaters!).

There's something therapeutic about finding a creative outlet during your day, don't you agree?

19 February 2010

What to do with your paint chip collection: El Cheap-O Art!


I'm getting tired of having no art on our walls. We moved into our house right after Thanksgiving, but a lot of our stuff is still in storage behind my parent's barn, being held hostage by SNOW and MUD. I just can't get myself to do any real decorating when I don't have my whole stash of decor items (& furniture!) to work with.

But forget that. Last night I decided to do a little art project. Seriously, it took me maybe 10 MINUTES to assemble it. Prep took a little longer, but that doesn't matter. :)

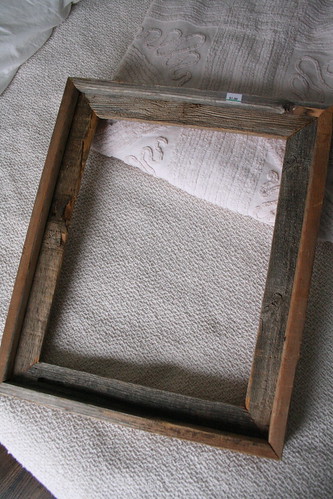
Remember this barn wood frame I picked up at the local thrift for a mere $1?
 

I used that + an old piece of cardboard + a scrap of burlap + an old family photo of some gals I wish I could have known + a bunch of butterflies I punched out of paint chips from the home improvement store.


Punching out & folding the butterflies took the longest of anything, but I enjoyed it. I bought two different sizes of butterfly punches from Michael's & used paint chips that were all similar but not exactly the same.

I laid out the burlap & the cardboard on the floor, then cut the burlap out with about 2 or 3 inches extra on each side. I folded it over & duct taped it to the back, making sure that the fabric was pulled tight but not too tight. A little more duct tape fastened the burlap covered cardboard to the back of the frame. Lovin' the duct tape. Kinda like fly-by-the-seat-of-my-pants crafting. Know what I mean?


Don't these ladies look like they've had a fun day? I have no idea who they are, but I think I'm related to some of them.

Laying out all the butterflies and the photo on the burlap before I attached them was really helpful. I moved them around a lot & removed a lot of the butterflies before I was happy with how it all looked.

I bought my first glue gun ever! And it was from the Dollar Tree. Extra nice. I discovered that I need to work on my glue-gunning technique. The butterflies were covered in shiny webs of glue when I was done.


I must admit that I didn't come up with this idea myself. I've had this photo in my idea folder for a long time.


I have no idea where it came from, but I like it. I have more burlap left, so I might look for a smaller shadowbox frame (with glass so the butterflies don't collect dust!) and make one for my office.

What do you think? Have you made anything cheap/free & crafty lately?


So is it still creativity if you steal use someone else's idea??

While you're in blog land, check out my friend Mary's new home staging blog! Mary sold our last house for us and helped us get our current house. She was one of the few people who saw potential in this little place. I love her style. She's a realtor but also a home stager.

Have a great weekend!

22 February 2009

Caramel Corn & Other Tasty Treats

I love me some sugar. LOVE. I'm not supposed to have a lot of it, and I'm blessed with a husband who reminds me to keep my sugar intake in check. When I get to heaven, I'll eat all the chocolate & cream filled long johns I want, and they'll be good for me. In the mean time, though, I can SPARINGLY enjoy the tasty treats that Vino comes up with. Take, for instance, his stuffed strawberries.


I'll post a recipe & more photos of those later, but let me just say that they are divine. He's all about the presentation, as you can see. Here's what he made me for breakfast this morning:


I'm a lucky girl. :)

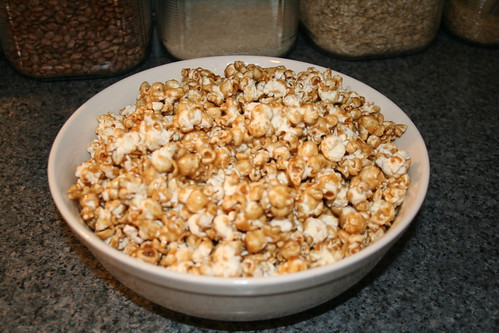
He also makes his own cooking show, which he posts on YouTube. There are several in the works, but the most popular one (and one that he just upgraded with cool graphics) is his caramel corn.


I brag about this stuff, but it's not because I'm biased and he's cute. It's because it is seriously the best caramel corn I've ever had, hands down. We made the video in our old house, before we sold it (that's me behind the camera). Every time I watch it, I miss my little kitchen! So for your viewing pleasure, and I hope for your eating pleasure if you choose to make the recipe, here's the love of my life, looking snazzy in my Pampered Chef apron. Enjoy!

Vino's Kitchen Caramel Corn Recipe

P.S. He'd love it if you checked out his other videos. They're mostly about us here in Spain.