Showing posts with label thrift. Show all posts

19 January 2012

That nasty 80's dresser is now an awesome media console!


I looked for MONTHS for just the right piece of furniture to put our tv on. In the past, we used an armoire that we loved a lot (and that I was really proud of getting at a garage sale for only $40) that was a perfect fit for our thick old non-flat tv. But before we moved to Colorado, we gave away the tv knowing we would bite the bullet and buy our very first flat screen.

So bye bye armoire. You were too bulky for our sleek new tv. And you wouldn't fit in the moving trailer. Hello temporary small cabinet. When we moved, we went through a 7 month period of temporary living in a VERY small apartment. I didn't decorate, I didn't look for any new pieces. So when we moved into our current townhouse, I knew the first piece I wanted to find was a large, long 'something' to put the tv on, that had storage underneath.

I found many pieces that would work. Ikea has some nice things. So does Pottery Barn. But if you know me, you know that there's no way I'm spending money on something new when I could find something second hand that I can make perfect!
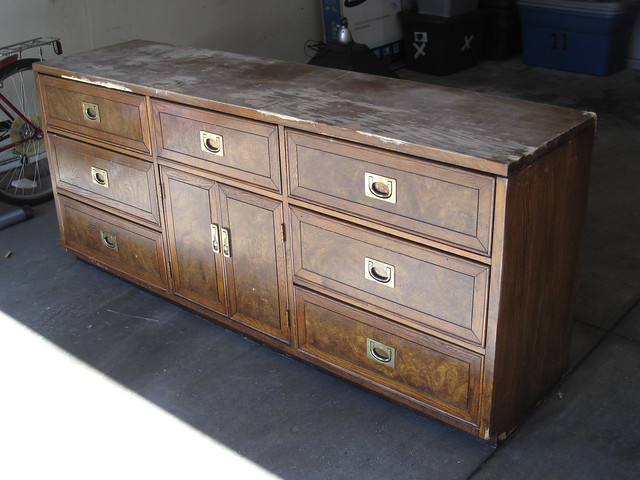

Enter the 1980s. This dresser was found at my local Goodwill. When I first saw it, I wasn't convinced that it was what I wanted. Plus, it wasn't on sale. Seriously. How cheap am I that I won't buy something from a thrift store if it isn't on sale. It's sad, really. Anywhoo, the next time I went back to the store, it was half off. I stood back and imagined it with a few tweaks and realized it was perfect! So for $15 (yes, $30 was too much to pay), I took it home. Let me tell you, this chunk of wood is HEAVY. I injured my neck trying to lift just one side of it. It was a job for strong men.

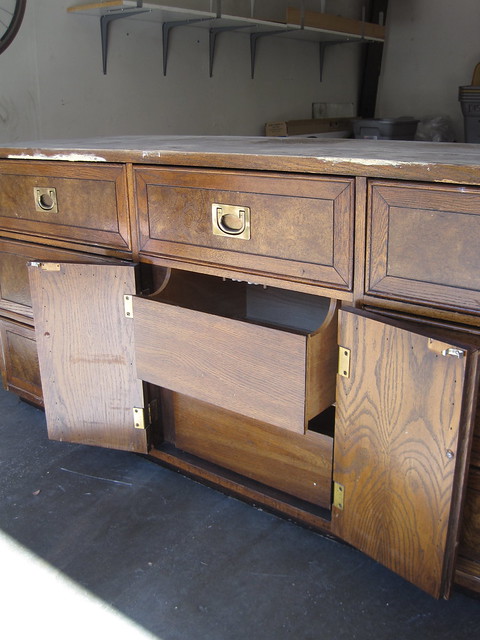
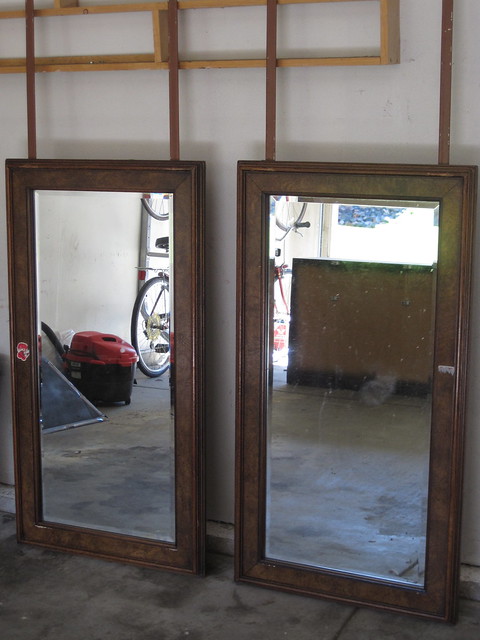
When looking for a piece that you know you can paint and do minor alterations on, don't get distracted by the lipstick and eyeshadow. Meaning, surfaces can be changed. You can strip it. You can paint it. The important thing is if the piece is the right size, shape, style, and if it is well made.

Here's what I liked about the piece:
1. It was exactly the right size.
2. It had interesting hardware.
3. It came with two mirrors that I could use elsewhere.
4. It was sturdy and well made.
5. It was a straight, clean-lined style.
6. It had really good storage.
7. It was dirt cheap.

I decided to jump on the chalk paint bandwagon that I have read so much about in blogland. Of course, I made my own. Cheap, remember? I used this recipe, and it seemed to work just fine. I did fill in chips and lightly sand every part that was getting painted, but I did not prime, and I used wax instead of a poly coat. I have to say that I really like the feel of the finish and I will probably never do a poly coat again (unless it's kitchen cabinets).

The paint color is Benjamin Moore's Coventry Grey. I read somewhere that was the color closest to A.S. Paris Grey.
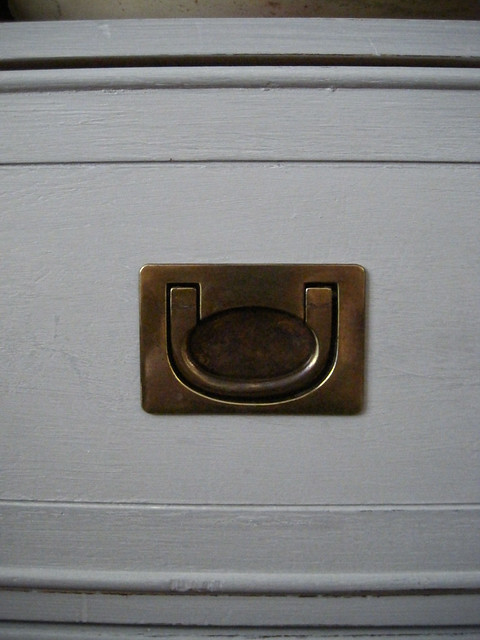

The top three drawers came out, and I painted the inside a mossy green that I already had. Maybe someday I'll repaint that part with peacock blue or something intense. Someday. I'm just happy that this piece is finished and in place. Oh, and one of the mirrors is hanging over our mantel, horizontally.
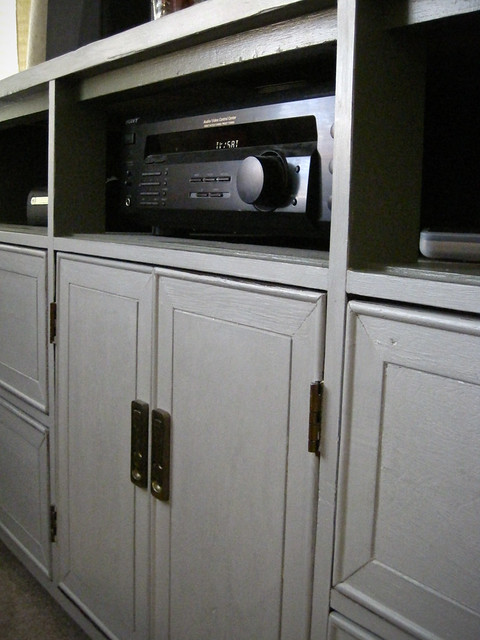

The gallery wall behind the tv isn't finished (and after looking at this photo, apparently I don't know how to level), but still, it's much better than nothing on the wall. The tv blends in really well. I'd love to paint that wall a dark grey, but we're not allowed to paint in this place.
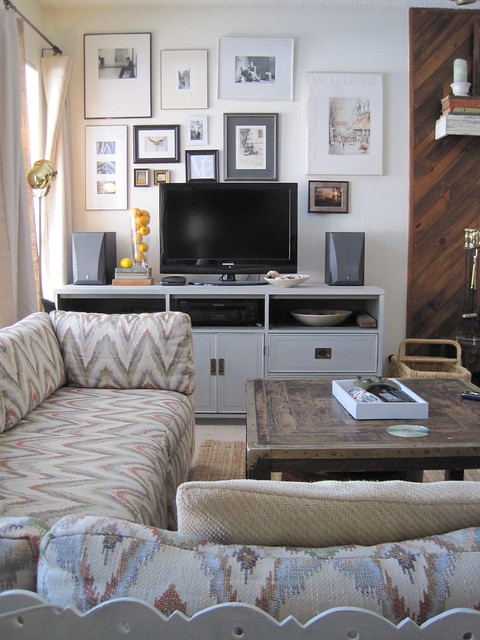
I have since swapped out the end unit of our sectional for an armless version,
so there is an unobstructed view of the console.
After almost a year of packing, moving, temporary living, moving again, and now settling in, it's nice to have our place looking more like a real adult house.

Now I need to turn my attention to the decidedly un-adult looking wasteland around my desk. I'll get there. Eventually!

Today I'm partying with Miss Mustard Seed and The Shabby Nest. Head on over to both of these fantastic blogs to see what creative things others are doing!

21 December 2011

Making a sweater stocking

It was time for new stockings! The ones we've been using don't match, plus one of them is red and green and I'm not so big on decorating for Christmas with those predictable colors. :)

So, you know me, there's no way I'm going to the store to buy new stockings. Not when I can make them for super cheap! Here's the lowdown:

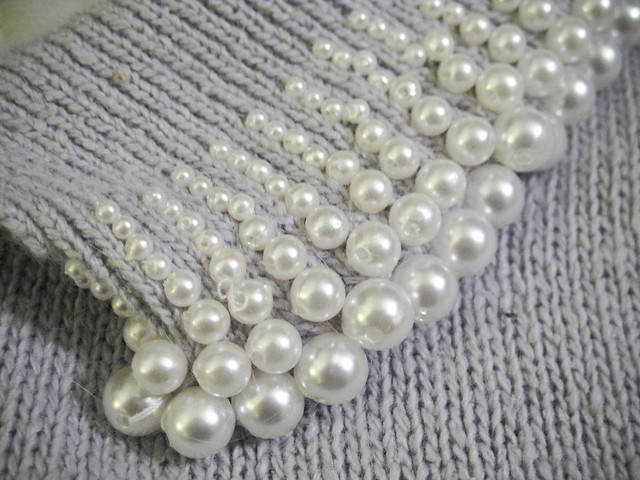
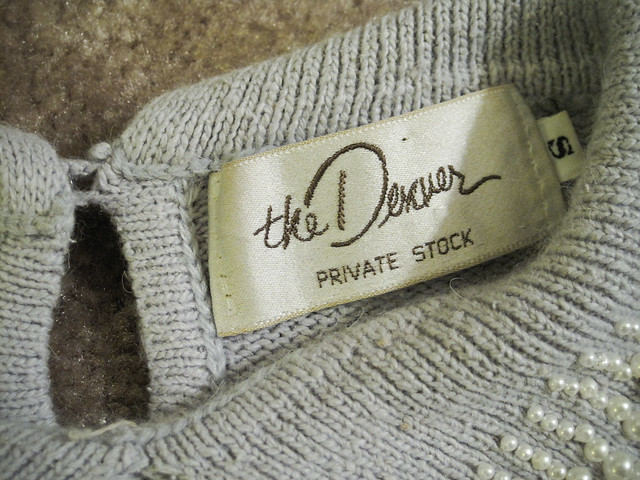
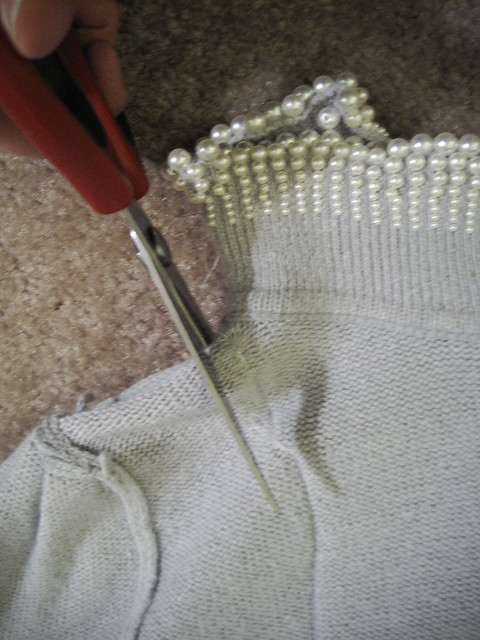
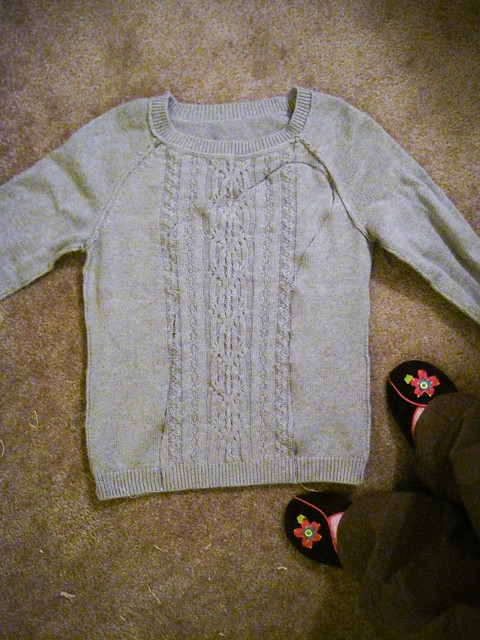
I found this vintage sweater at the thrift store with this amazing pearl collar. It even has a label that says "The Denver" (where we live). I've never made a stocking before, but I have made pillows out of sweaters before, so how hard could it be?


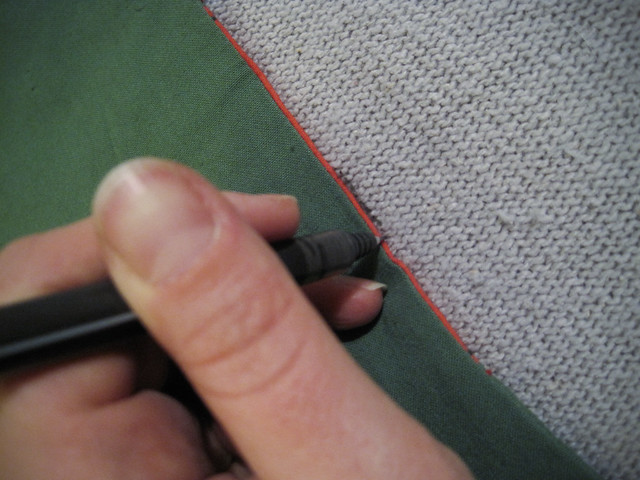
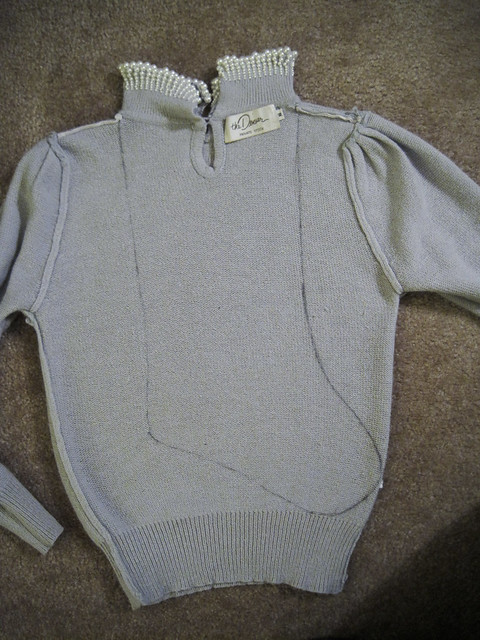
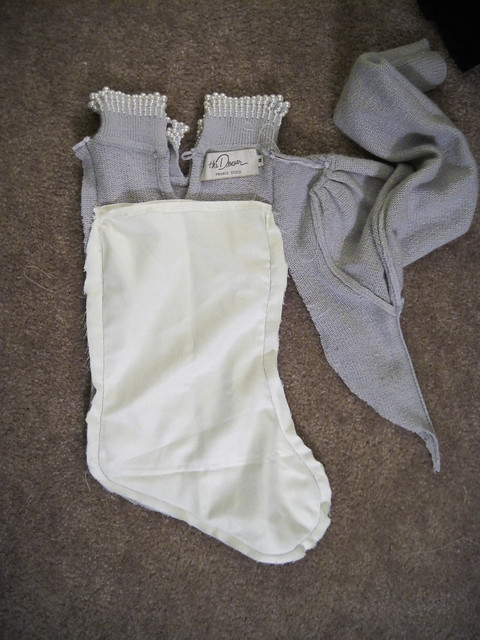
I traced the outline of one of our old stockings onto the sweater turned inside out, making sure to position it so that the collar is at the top.


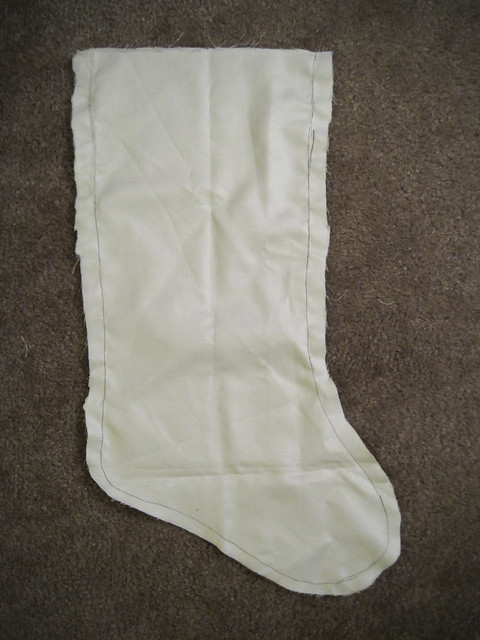
I also made a liner out of some scrap material, again using the old stocking as a guide.

I had to cut off a bit of the top of the liner so it wouldn't show on the finished product. I didn't really know what I was doing with this liner, so it looks a little funky. I pinned it onto the sweater, both inside out, and just sewed around the outline.


The first cut of the sweater:


Almost done:


Done!


Finishing touches: I cut some of the finished seam off of the extra sweater pieces to make a loop. Just hand sewed that on. Then I turned the stocking right side out and hung it on the mantel. Success! I love how the label is part of the design!


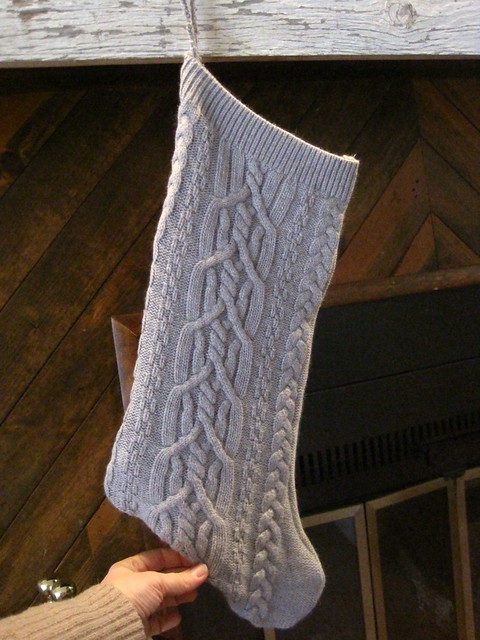
The next day I made on for my man out of a more man-ish sweater. It's still a woman's sweater, but has a nice chunky cable knit and no beads. :) I used the same technique but didn't put in a liner and I used the waist band of the sweater as the top of the stocking.

Looks like I need to vacuum up those fabric scraps!!
Pay no attention to my hand. I couldn't get the stocking to hang the right way for the photo.
Now we both have stockings that fit our style and our home's decor. If I decide so in the future, I can add decorative doo-da's, but for now, I'm happy. Now let's fill them with stuff!

08 November 2011

I got the headboard I wanted without forking over lots of $$.

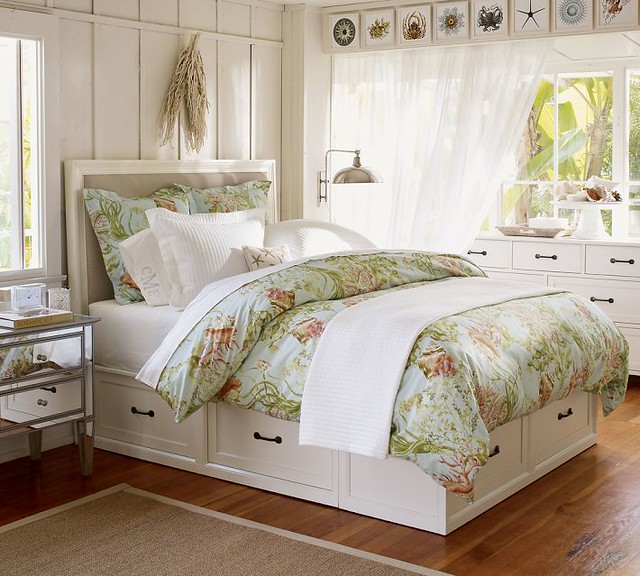
This is the headboard (and base) I wanted:


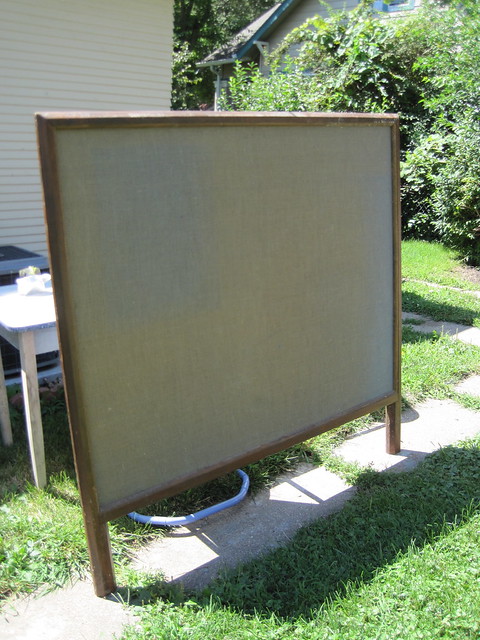
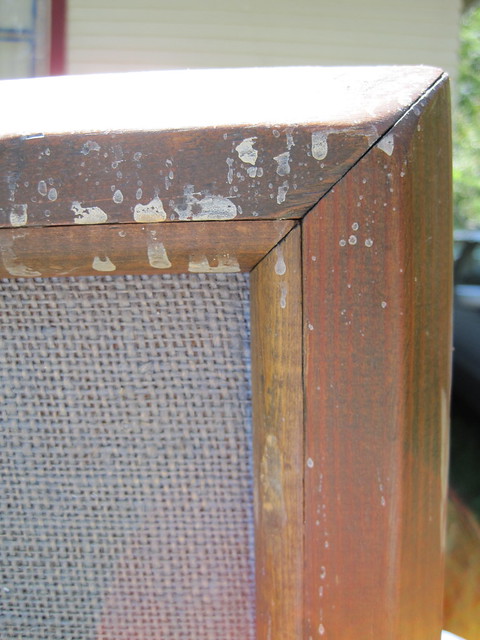
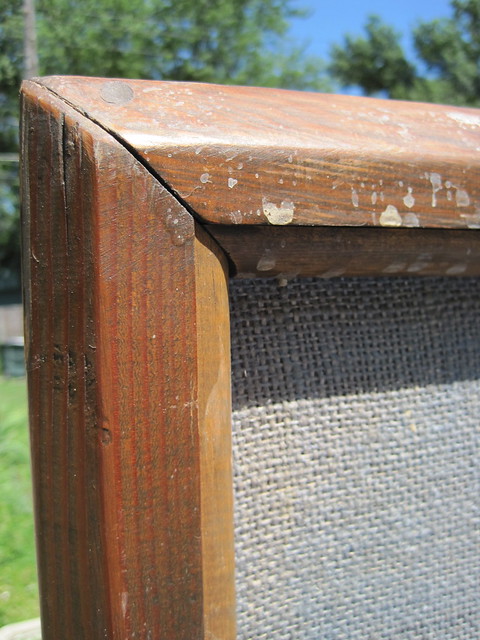
This is what I had to work with:


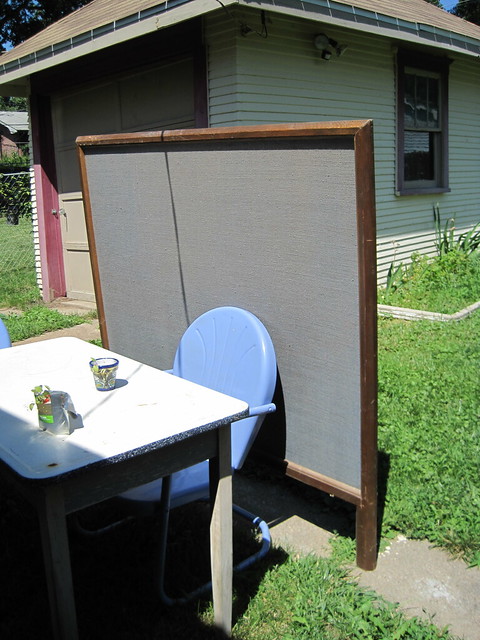
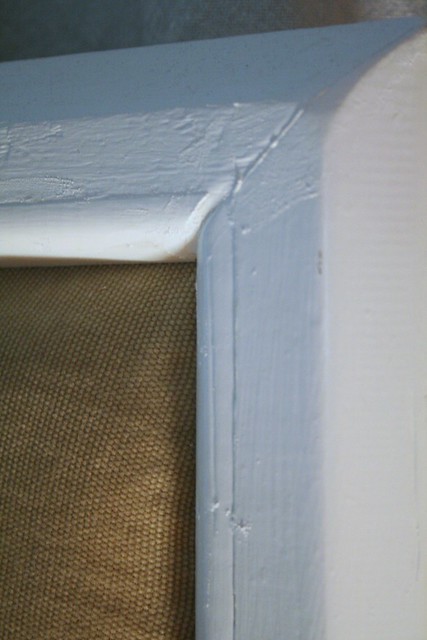
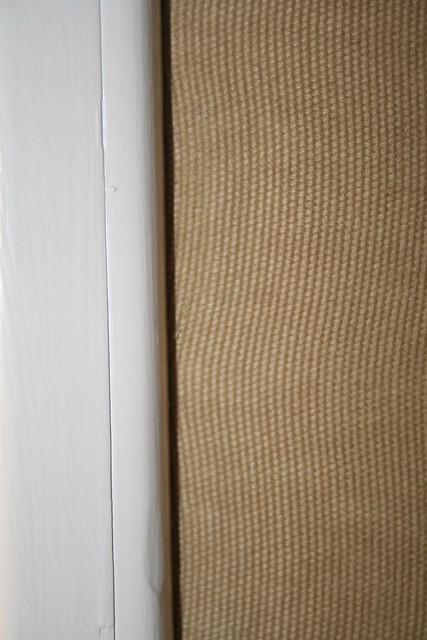
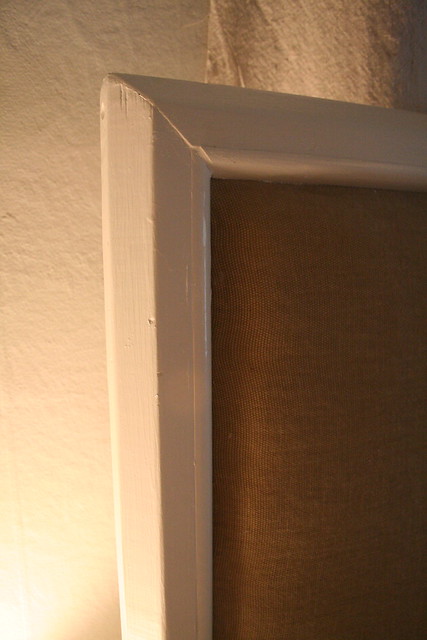
It was labeled "room divider" at the local thrift. They were using it as a display for random doo-dads. The burlap-ish covered part is some sort of really hard foam or something that you can stick pins into. This piece was in a back room sitting under a roof leak. It smelled a wee bit musty.


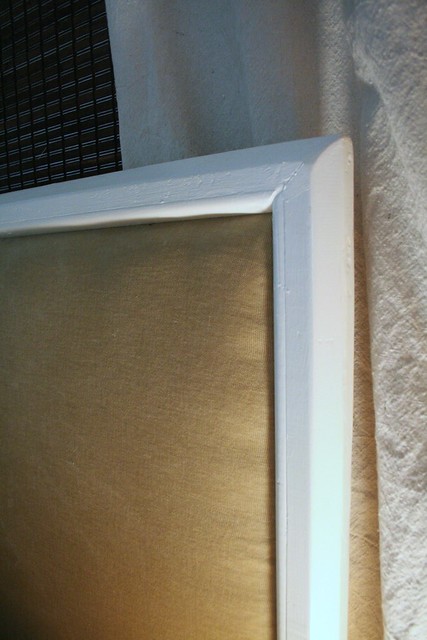
So here's the deal. I really didn't want to spend buco bucks on the Pottery Barn version. I measured the room divider and found that it was EXACTLY the right size for a queen size bed. And I had a coupon for one purchase at the thrift store. How cheap am I??? I bought it for $12. Other materials for the project: a curtain, also from a thrift store, that I paid $10 for. I was not happy about that - I thought it was too much, but I had already talked them down from $12 since there was only one curtain. I didn't mention that I only needed one. :) Also, I used an old egg-crate twin mattress pad and an old blanket for padding. The paint I already had on hand. Tools: something to pry off the inside quarter-round, staple gun and hammer. Oh, I also bought a waterbed base on craigslist for $10 and painted it the same white. Wish I would have taken "during" pics, but you're all out of luck. 

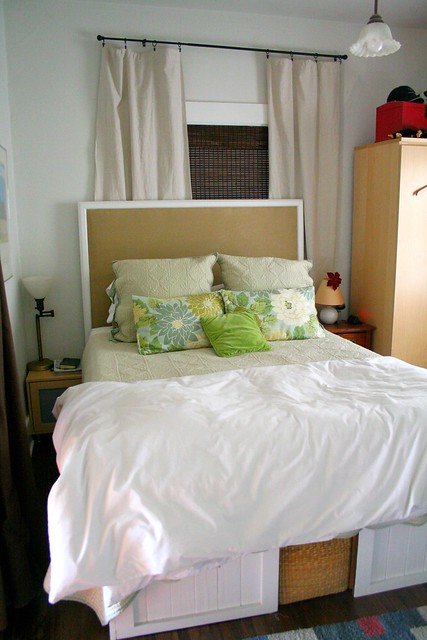
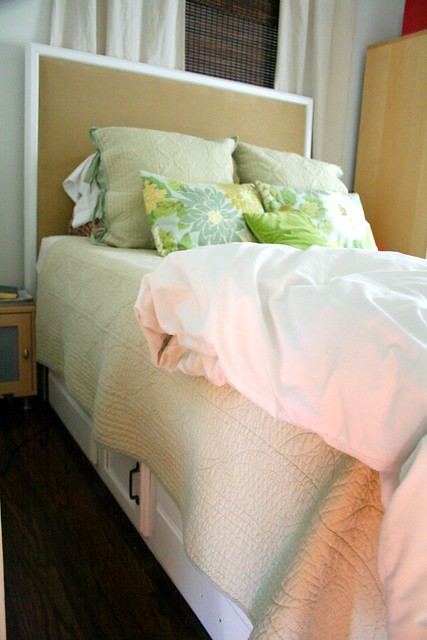
And here's the finished product:


I'm pretty happy with the results. I hope to someday (soon) replace the base with this plan from Ana White. The waterbed base is one of the cheapest, most poorly made piece of furniture I have ever owned. I'm looking forward to replacing it with something more permanent and sturdy! But as long as we don't move the current base, it works. :)

These photos are all from our house in Nebraska. More in the future on fixing up the larger of two master bedroom at the townhouse in Colorado!

17 December 2010

Christmas: Cramming it all into a TINY house

I was pretty excited to decorate for Christmas this year. Our decorations have been in storage for 4 years, since we sold our house, moved overseas, moved back and bought another house. This is the first year since 2006 that I've been able to break out this stuff!

My goal this year was to buy as little as possible and make use of what we already had. The only things I bought were 2 tiny bottle brush trees, 2 candle stands/holders for my bell jars and a small artificial tree for the front porch.  All said, those items cost me LESS THAN $4. Sweet. Thank you, local thrift!

I had one problem, though. I couldn't think of anywhere in our hobbit-sized house to put our full-sized Christmas tree. No worries. It is possible to decorate without one. :) Here's my solution: 

Living Room:


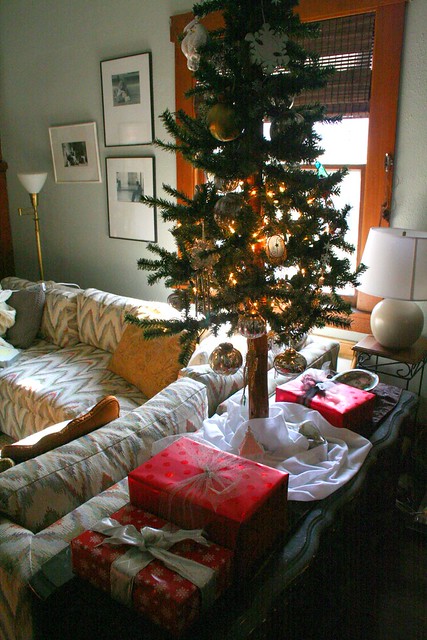
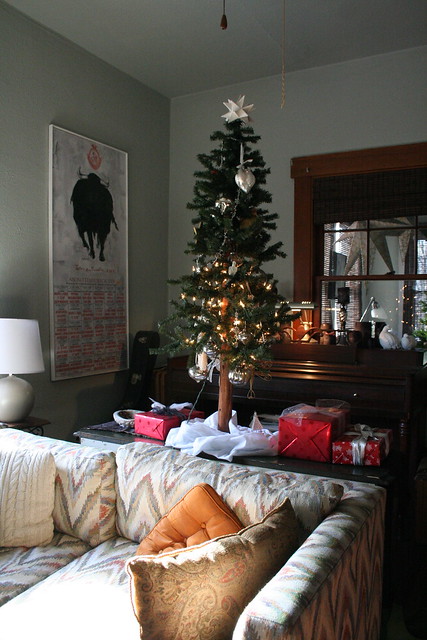
I appropriated this tree from my Mom. She usually sets it up in the kitchen. Afterward I felt a little guilty. I kind of strong-armed my way into getting it for the month. But not guilty enough to give it back. :) As you can see, though, the lights on the top half of the tree aren't working. They work maybe 30% of the time. That's what I get, I suppose. Anywhoo, as you can see, it's a pretty narrow tree, so it works to put it on the console thingy behind the sectional.


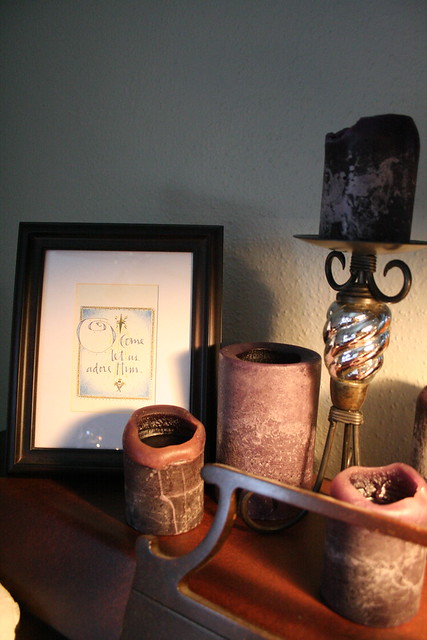
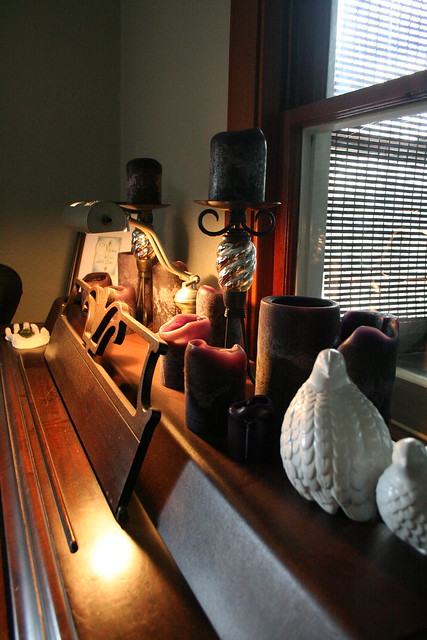
Candles on the piano - I should probably put something under them. The frame usually lives on the piano, with a family photo in it. For the holidays, it holds a Christmas card someone sent us years ago. Free art.


Wrapping paper & ribbon I already had.


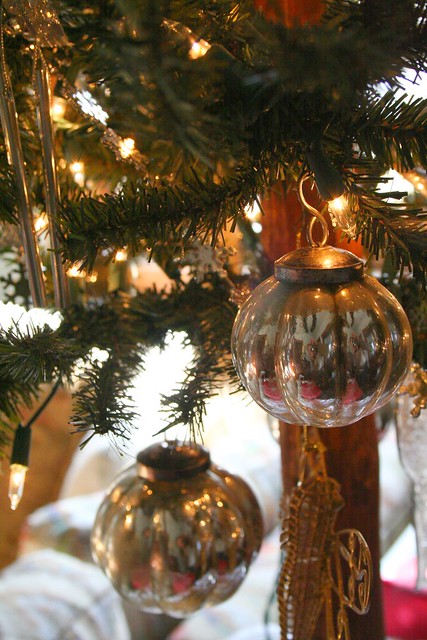
Back to the tree: It's decorated with my mercury glass ornaments that I LOVE. Also, it has the ornaments that my Mom gets for us every year. For several years she's been getting us sparkly, shiny ones with not a lot of color. I think they all look great showcased on the tiny tree!


No mantle for stockings, so this is where they go this year.


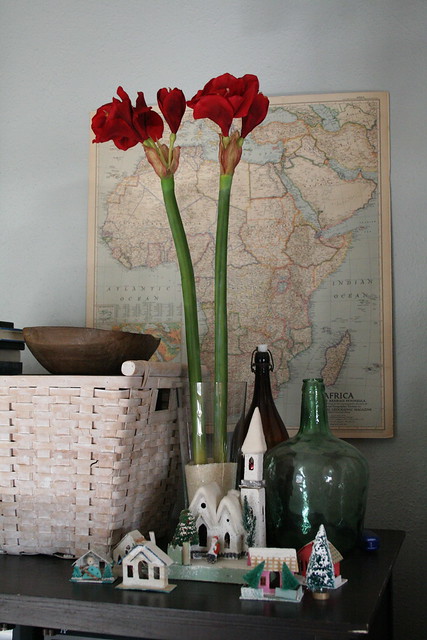
I think I need one more fake amaryllis. And I wish they were white instead of red. But I already had them and I still like them. The vintage village is also my mom's, but she gave it to me this year with some other old decorations. I remember this town from when I was a kid.


More of the village, and my vintage stamp holder. I really should figure out something cool to do with it other times of the year.


Dining Room:


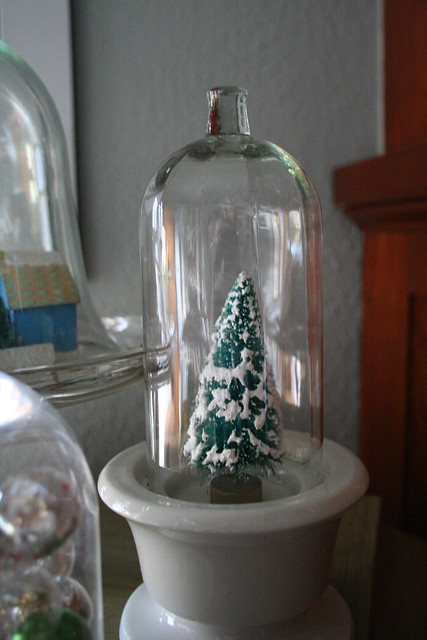
More village! This time under the bell jar my sister bought for me for me last year. I wish I had more surfaces for more bell jars. The one with the bottle brush tree under it isn't actually a bell jar. I'm pretty sure it's upside down & goes in a candle holder. Actually, that, and the white candle holder under it and the tree are all from the local thrift and cost less than $1. That makes me happy. :)


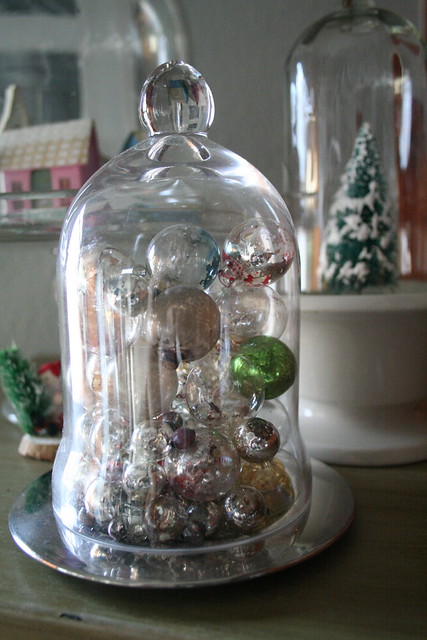
And those are the vintage glass Christmas balls that were damaged with water in poor packing.  I think they look like bubbles.


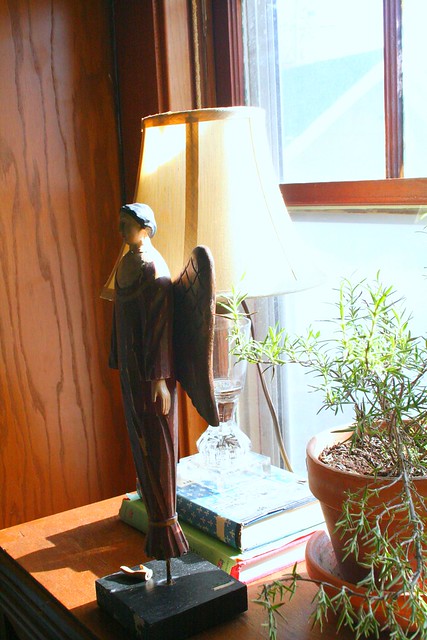
And my angel, who was also damaged.  I really should glue her hand back on.


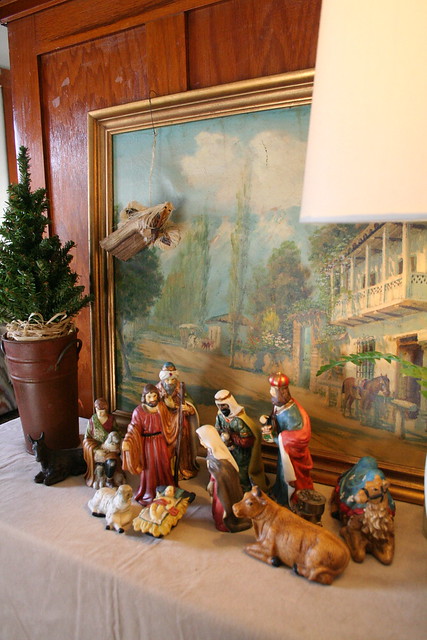
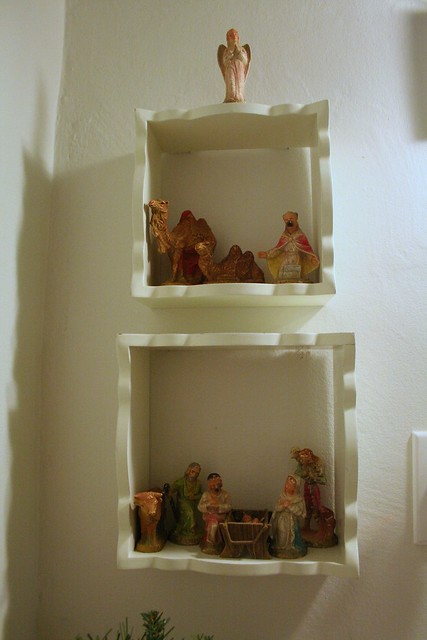
I don't have a stable for my nativity scene. That's ok. This year they are hanging out on a street somewhere in South America.


Complete with "flying" angel. This one is from Kenya and made of banana leaf and is the only surviving one of a whole choir of angels, again, from poor packing. Mice like banana leaf.


Bathroom:


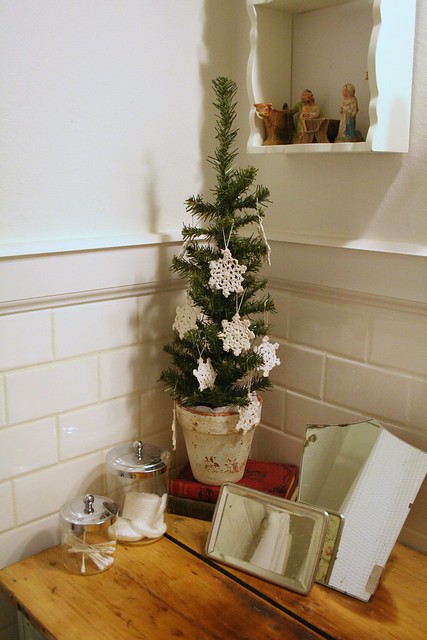
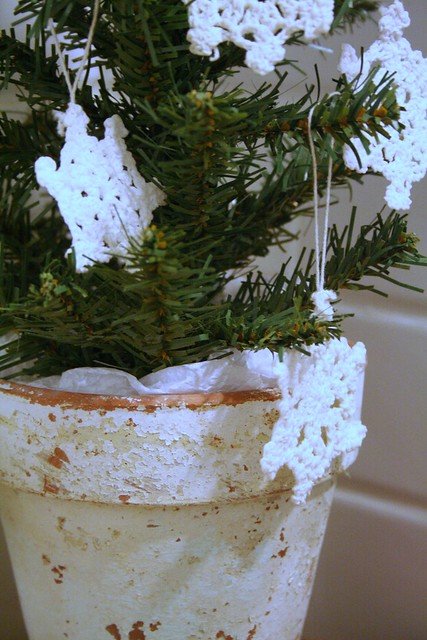
I remember taking these crocheted snowflake ornaments with me to Kenya 13 years ago, so I guess I've had them for a while. The pot was free from a pile of clay pots found in a barn. I like that the paint finish was already like that & I didn't have to be crafty or anything.


Our other nativity, still with no stable. They don't seem to mind. I should put some sort of background behind them, though. Maybe next year.


Front Porch:

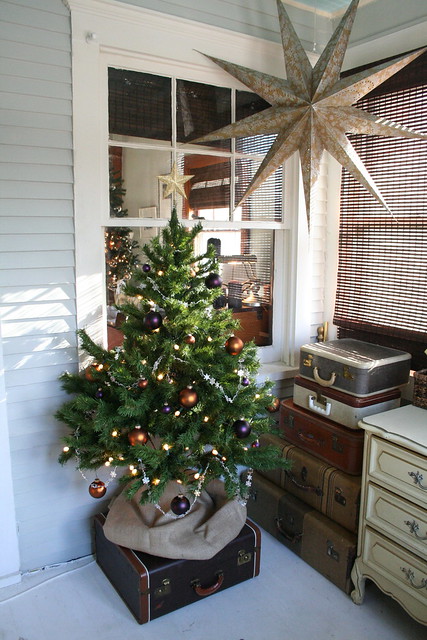
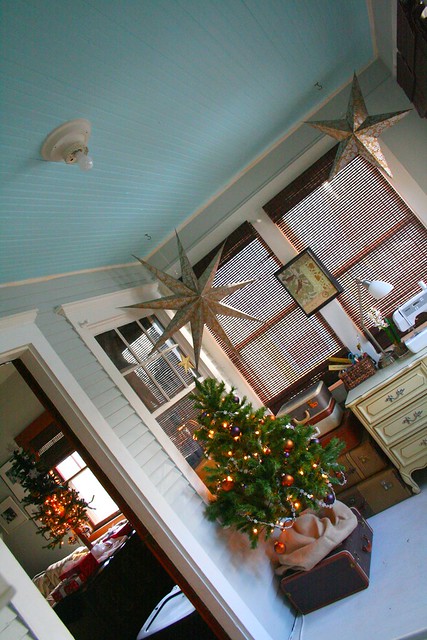
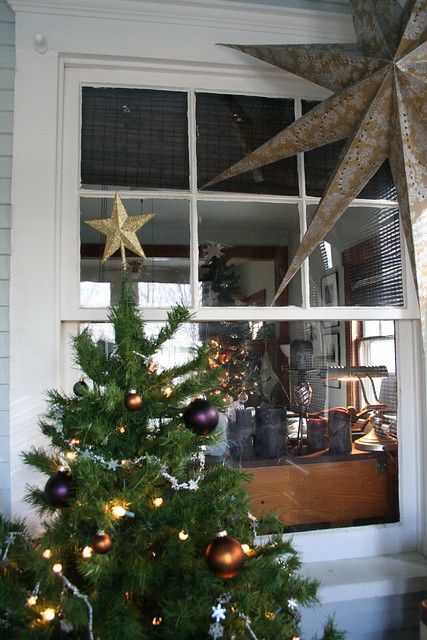
This is the little tree I got at the thrift. Only $3! It's decorated with stuff Vino went out and bought one year. I think I like the decorations better on a small tree than a large one. They look more substantial! I raised the tree with one of my plethora of vintage suitcases (I have an addiction). The burlap "skirt" was a remnant I had leftover from a project. And the GIANT stars can have a light inside. Again, maybe next year. I'm all decorated out.

(notice how I angled this picture so you only see the parts of the room I want you to see?? Except I really should put a shade on that bare bulb!)


And there you have it. I had plans to go out out and cut fresh evergreen boughs so the house smelled Christmas-y (SOMEONE won't let us have a real tree!) but then it snowed and got really cold and I didn't know where I'd put them since I decorated first. NEXT YEAR.

So this proves that you don't need a spacious place or a bunch of new, expensive stuff to make your home Christmas-y. Even if you just light a few more candles than usual, play Christmas music and simmer a pot of water with orange slices, cinnamon sticks & cloves. That's enough. You don't even need to go broke on gifts. Fragrance, warmth & twinkly lights can go a LONG way.

Merry Christmas!
Erin