Showing posts with label nostalgia. Show all posts

17 December 2010

Christmas: Cramming it all into a TINY house

I was pretty excited to decorate for Christmas this year. Our decorations have been in storage for 4 years, since we sold our house, moved overseas, moved back and bought another house. This is the first year since 2006 that I've been able to break out this stuff!

My goal this year was to buy as little as possible and make use of what we already had. The only things I bought were 2 tiny bottle brush trees, 2 candle stands/holders for my bell jars and a small artificial tree for the front porch.  All said, those items cost me LESS THAN $4. Sweet. Thank you, local thrift!

I had one problem, though. I couldn't think of anywhere in our hobbit-sized house to put our full-sized Christmas tree. No worries. It is possible to decorate without one. :) Here's my solution: 

Living Room:
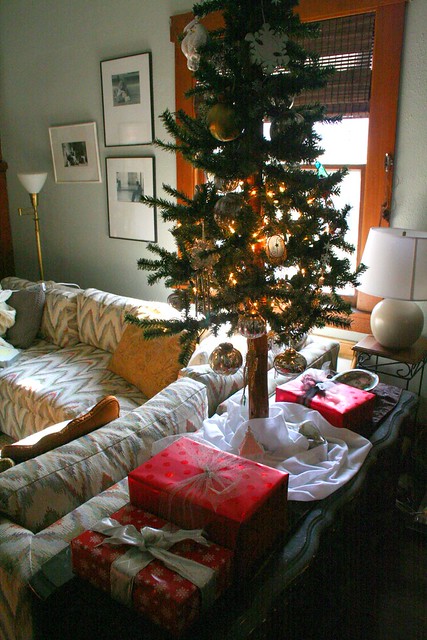

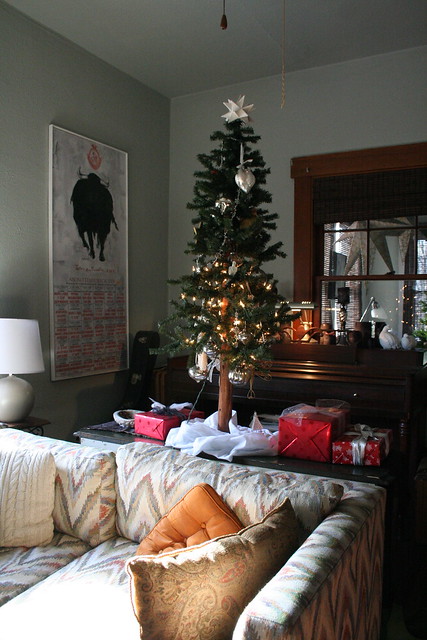
I appropriated this tree from my Mom. She usually sets it up in the kitchen. Afterward I felt a little guilty. I kind of strong-armed my way into getting it for the month. But not guilty enough to give it back. :) As you can see, though, the lights on the top half of the tree aren't working. They work maybe 30% of the time. That's what I get, I suppose. Anywhoo, as you can see, it's a pretty narrow tree, so it works to put it on the console thingy behind the sectional.
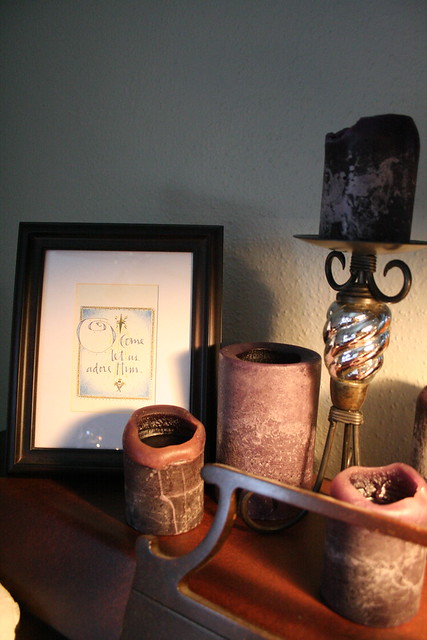
 

Candles on the piano - I should probably put something under them. The frame usually lives on the piano, with a family photo in it. For the holidays, it holds a Christmas card someone sent us years ago. Free art.
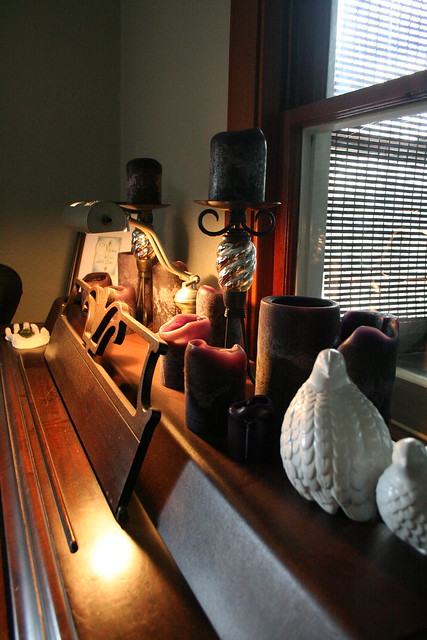

Wrapping paper & ribbon I already had.


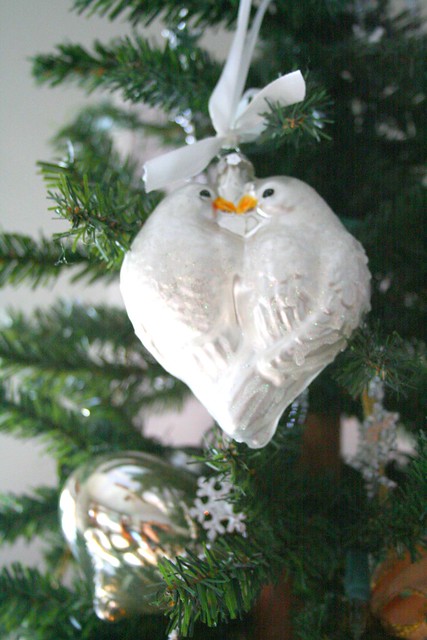
Back to the tree: It's decorated with my mercury glass ornaments that I LOVE. Also, it has the ornaments that my Mom gets for us every year. For several years she's been getting us sparkly, shiny ones with not a lot of color. I think they all look great showcased on the tiny tree!
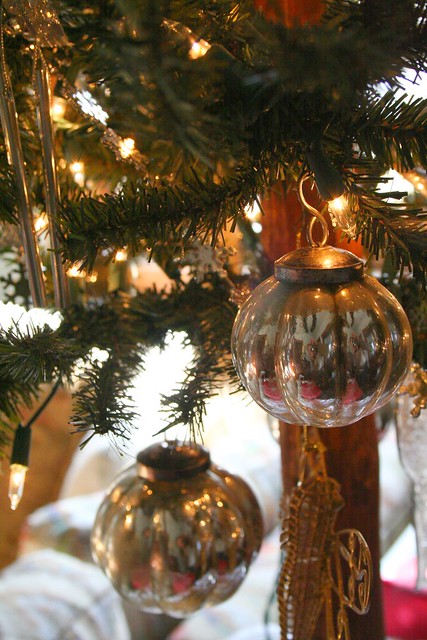


No mantle for stockings, so this is where they go this year.


I think I need one more fake amaryllis. And I wish they were white instead of red. But I already had them and I still like them. The vintage village is also my mom's, but she gave it to me this year with some other old decorations. I remember this town from when I was a kid.
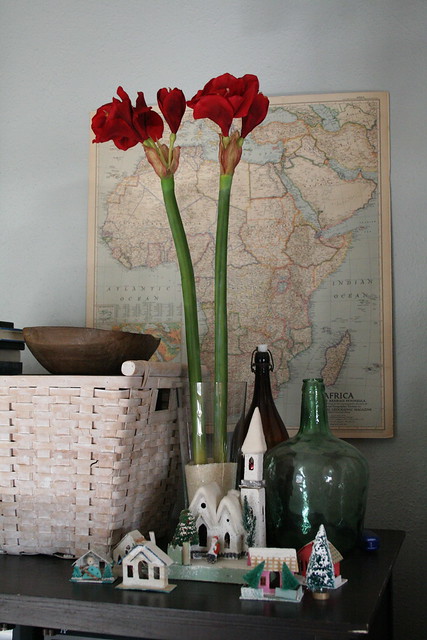

More of the village, and my vintage stamp holder. I really should figure out something cool to do with it other times of the year.


Dining Room:


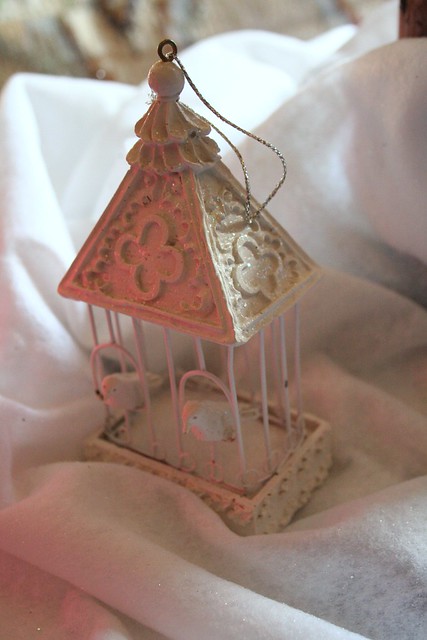
More village! This time under the bell jar my sister bought for me for me last year. I wish I had more surfaces for more bell jars. The one with the bottle brush tree under it isn't actually a bell jar. I'm pretty sure it's upside down & goes in a candle holder. Actually, that, and the white candle holder under it and the tree are all from the local thrift and cost less than $1. That makes me happy. :)
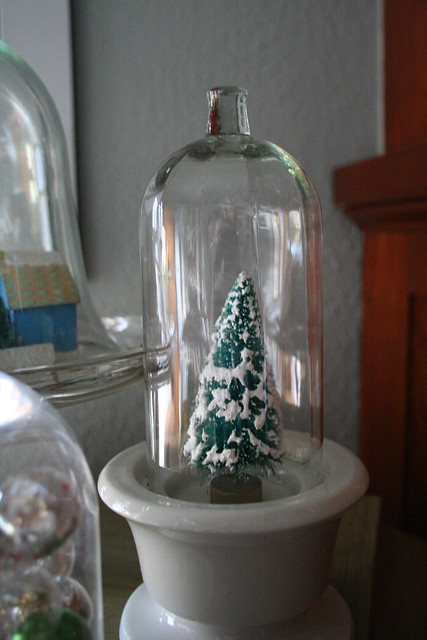

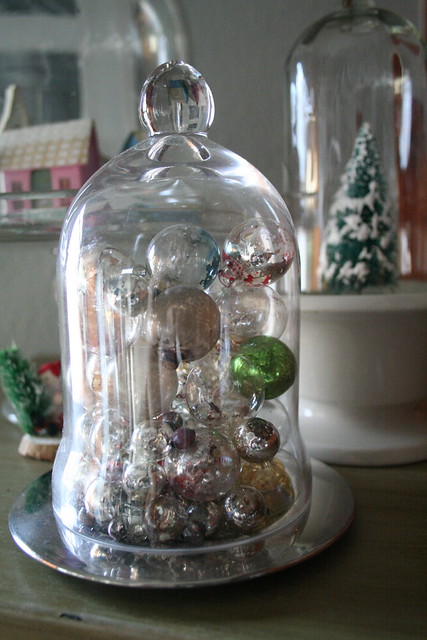
And those are the vintage glass Christmas balls that were damaged with water in poor packing.  I think they look like bubbles.

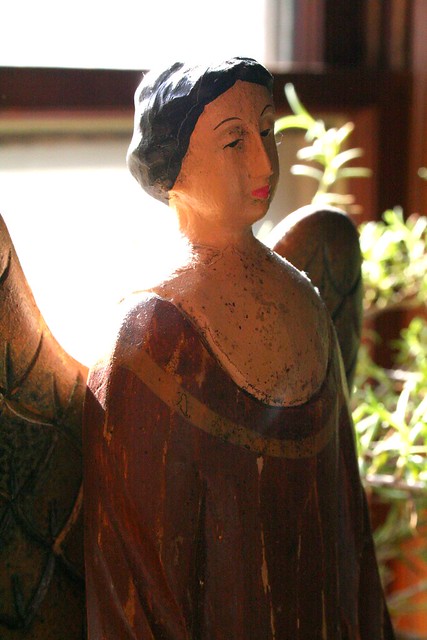
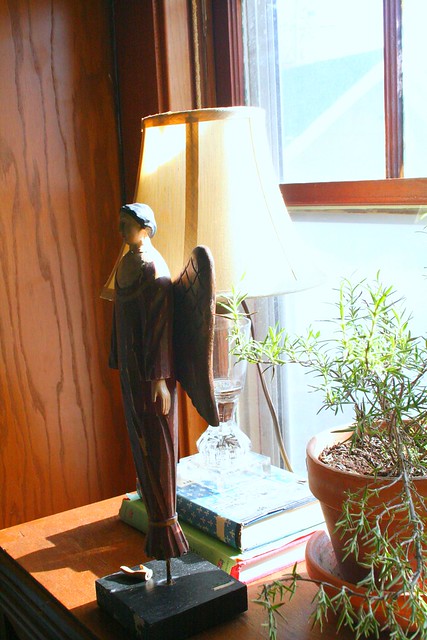
And my angel, who was also damaged.  I really should glue her hand back on.

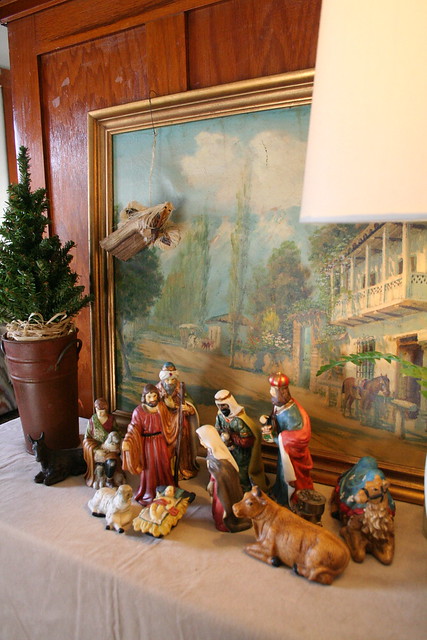
I don't have a stable for my nativity scene. That's ok. This year they are hanging out on a street somewhere in South America.


Complete with "flying" angel. This one is from Kenya and made of banana leaf and is the only surviving one of a whole choir of angels, again, from poor packing. Mice like banana leaf.


Bathroom:


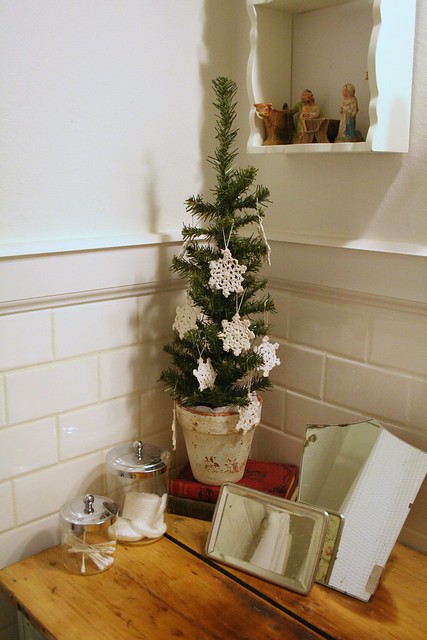
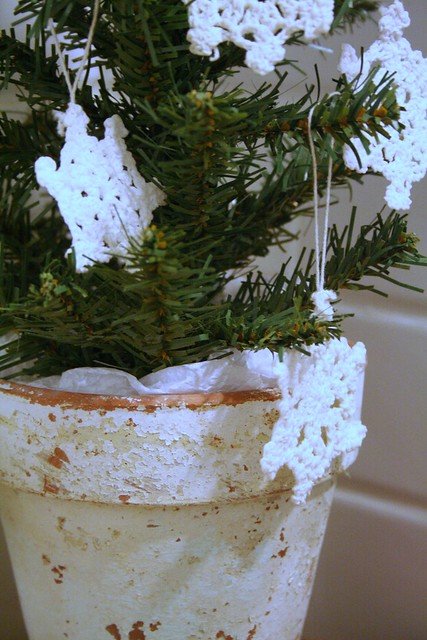
I remember taking these crocheted snowflake ornaments with me to Kenya 13 years ago, so I guess I've had them for a while. The pot was free from a pile of clay pots found in a barn. I like that the paint finish was already like that & I didn't have to be crafty or anything.

Our other nativity, still with no stable. They don't seem to mind. I should put some sort of background behind them, though. Maybe next year.
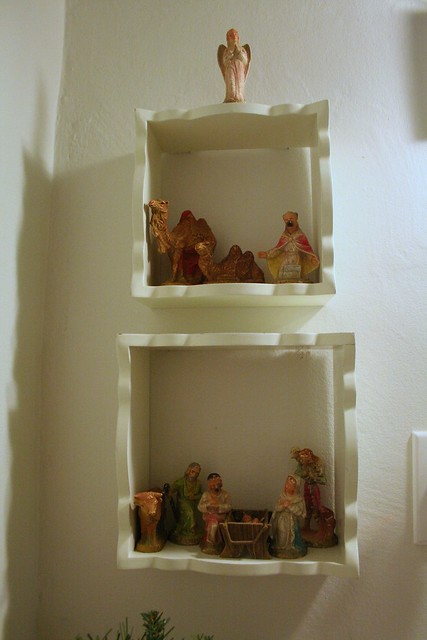


Front Porch:

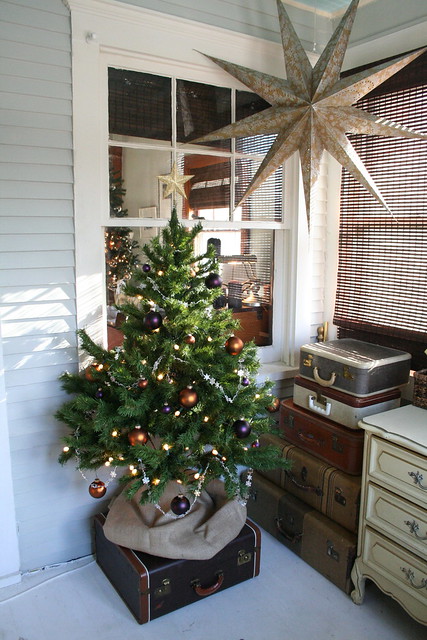
This is the little tree I got at the thrift. Only $3! It's decorated with stuff Vino went out and bought one year. I think I like the decorations better on a small tree than a large one. They look more substantial! I raised the tree with one of my plethora of vintage suitcases (I have an addiction). The burlap "skirt" was a remnant I had leftover from a project. And the GIANT stars can have a light inside. Again, maybe next year. I'm all decorated out.
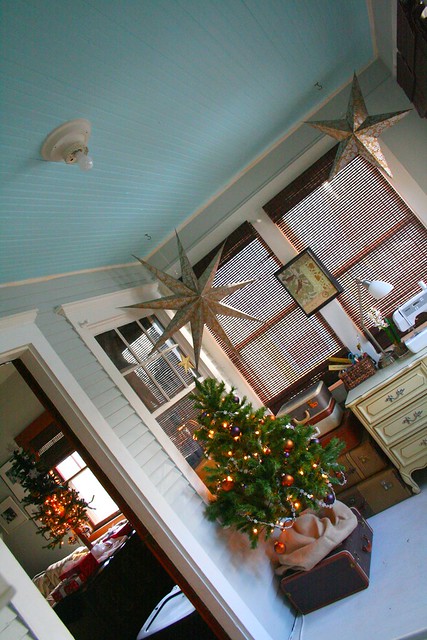
(notice how I angled this picture so you only see the parts of the room I want you to see?? Except I really should put a shade on that bare bulb!)
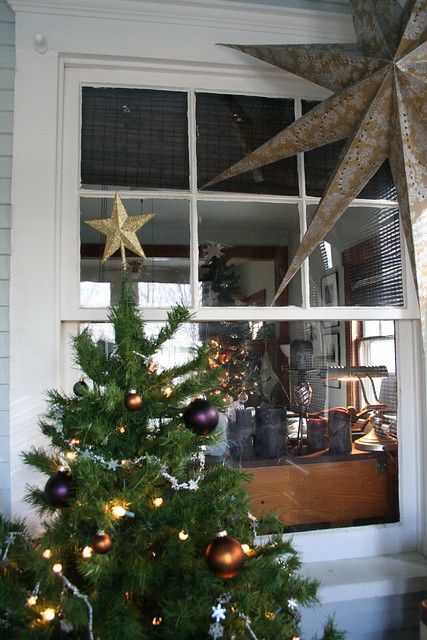

And there you have it. I had plans to go out out and cut fresh evergreen boughs so the house smelled Christmas-y (SOMEONE won't let us have a real tree!) but then it snowed and got really cold and I didn't know where I'd put them since I decorated first. NEXT YEAR.

So this proves that you don't need a spacious place or a bunch of new, expensive stuff to make your home Christmas-y. Even if you just light a few more candles than usual, play Christmas music and simmer a pot of water with orange slices, cinnamon sticks & cloves. That's enough. You don't even need to go broke on gifts. Fragrance, warmth & twinkly lights can go a LONG way.

Merry Christmas!
Erin

30 September 2010

The Hutch!


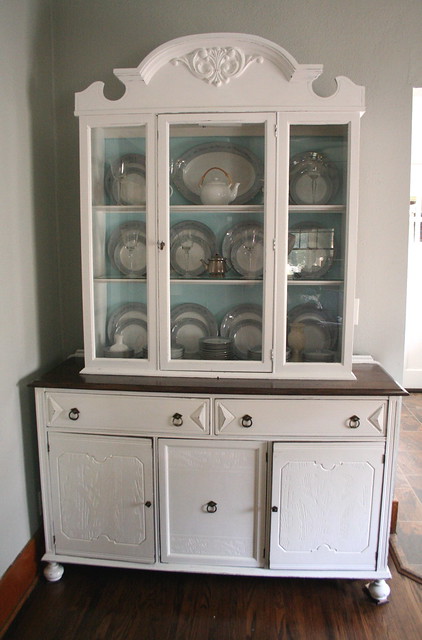
So as I said in my last post, I was finally able to get my hutch open. It was the paint that had stuck together on the door & frame. Silly me! Here's a recap of the history of my hutch:
  • It started out as two pieces, starting with a buffet that Vino got for me second hand for my birthday. 
  • I painted it black. 
  • It sat in storage for almost 3 years while we were living overseas. 
  • It came back out of storage and the doors didn't close anymore. 
  • I looked high & low for a hutch to put on top because I had no place to display my good dishes.
  • I found the second piece, a hutch that was FREE.
  • It was not pretty.
  • I painted it white, using leftover paint from our trim. I painted the inside back aqua, using leftover paint from our porch ceiling (it's paper & not perfect, but it works for now).
  • Back to the buffet: I peeled off the poorly done paint job on the top only. I sanded, stained & sealed the top then painted the rest the same white as the hutch.
  • I put the hutch on top of the buffet in our dining room. Finally.
  • I couldn't open the hutch door. It sat that way for a couple of months.
  • My mom suggested that I use a saw to get the door open.
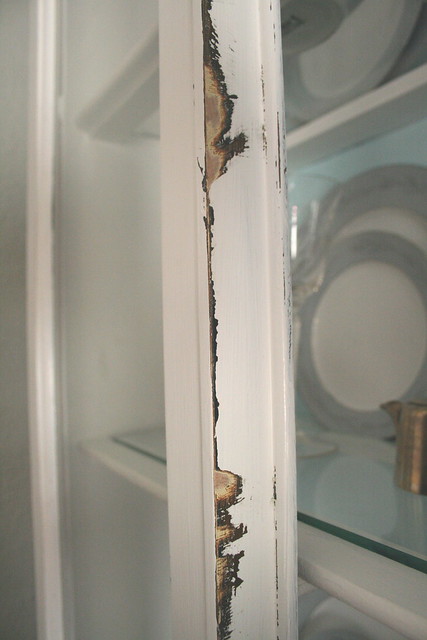
Now that you're caught up, we move on to the present! I couldn't imagine using a saw to get the door open and not damaging the piece, until I found this pumpkin carving tool in storage:


It worked. And the only damage done was to the paint. I'm thinking about leaving it the way it is. It goes well with the rest of the distressing!


Oh, I also used a couple of pieces of wood and some braces in the back to attach the hutch to the buffet. Our house is rather flexible (you may have noticed the shims under just one foot of the buffet) and moves when people walk heavily. I didn't want to worry about the hutch falling over filled with dishes. But that's boring so I'm not going to show pictures.


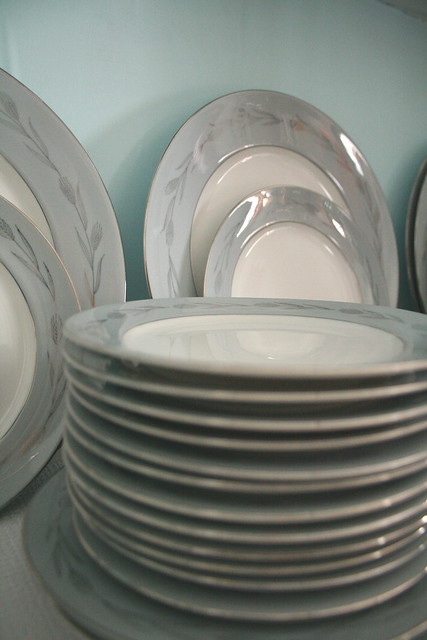
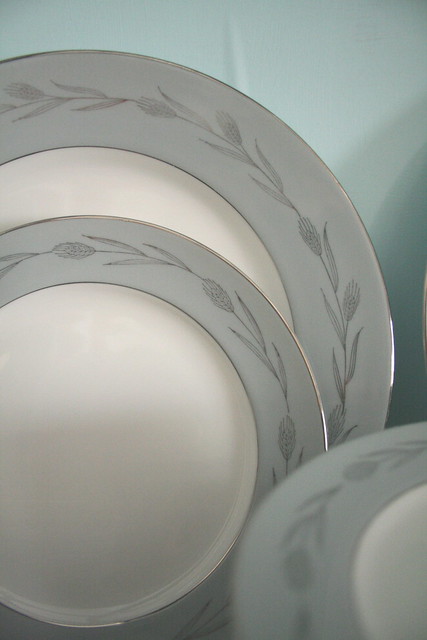
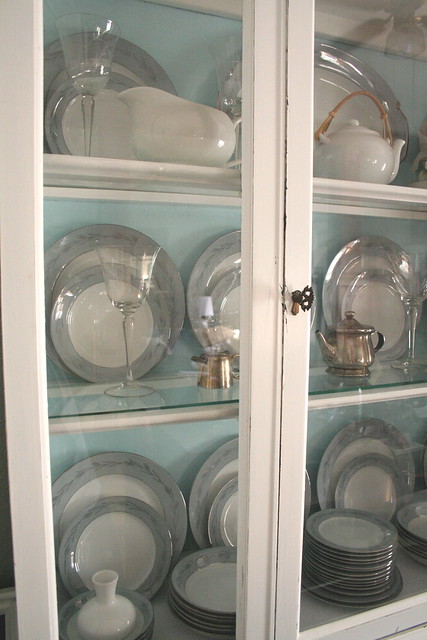
And speaking of the dishes, these came from my Aunt Jean and Uncle Ken. Uncle Ken bought them for my grandmother when he was stationed in Korea and visited Japan. Aunt Jean gave them to me, and they came in the original boxes (including all the stamps!) that Ken shipped them in from Korea. I grew up eating Thanksgiving dinner on these dishes and I'm so thankful to be able to display them. They really are an heirloom for me!


I will add more stuff to the hutch over time - I have a set of good all white dishes that are still packed. Some of those will go in the hutch but the rest will be stored in the buffet.


The buffet was $60, but I'm not sure I should include the price of that since we've had it for several years & it was a gift from the man. So I won't count it. The glass for the shelves in the hutch were $26. The stain, seal & paint I already had from other projects. The hutch was free.
Total cost: $26

Things happen in our house gradually. After so many months of picturing our dining room like this in my head, I'm really thankful for one more thing completed! Well, mostly completed. Is anything really ever fully finished in an old house??

19 July 2010

Don't Hate Me Because I Inherited Awesome Flour Sacks.


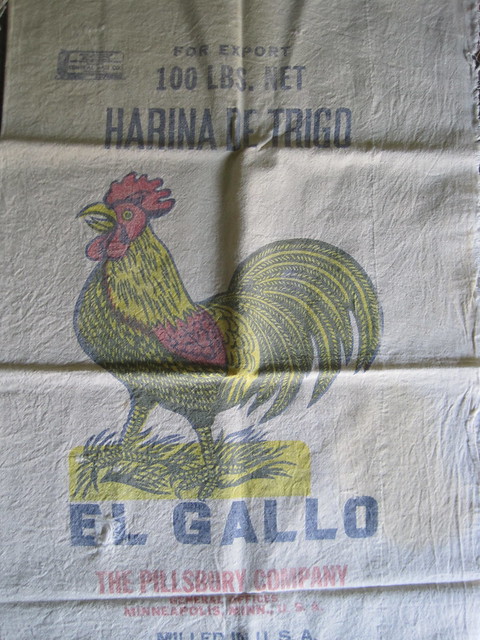
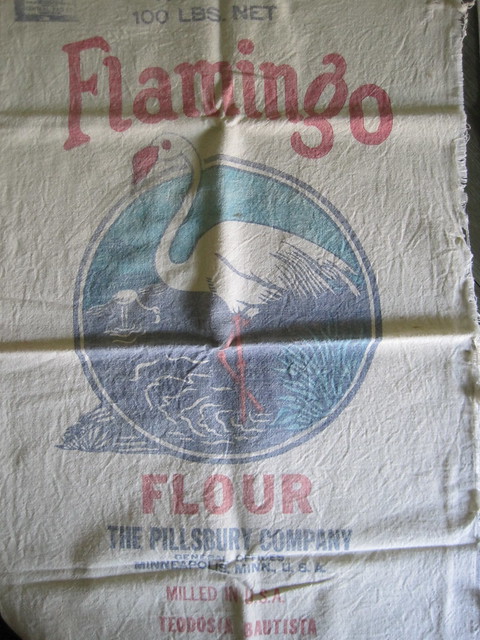
Everyone seems to be looking for grain sacks - French with faded black French text, American with classic Americana images. Guess what I have? My dear grandma (my mom's mom) was one of those thrifty women back in the day who saved flour sacks & used them like fabric from the fabric store. My mom remembers in the 40s & early 50s that my grandma made all sorts of things with flour sacks - skirts, dresses, tea towels, aprons. She even made my mom a swimsuit from a flour sack. But these flour sacks had prints on them such as floral or geometric shapes. Not what I'm used to seeing in vintage flour sacks. I can imagine that she used all those styles of sacks for sewing that that's why she didn't have any in storage years later. But she did have these!


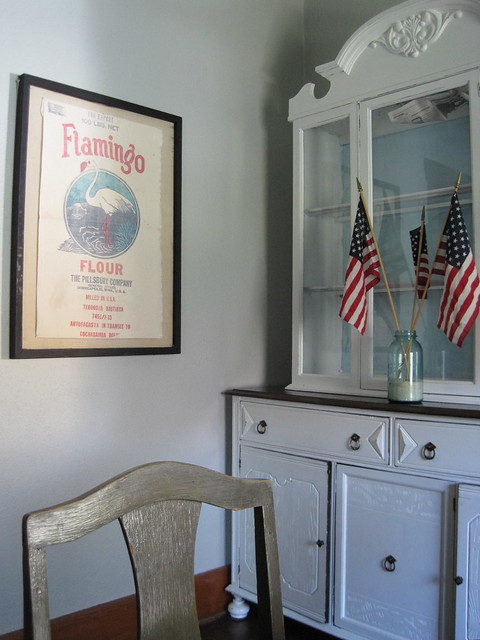
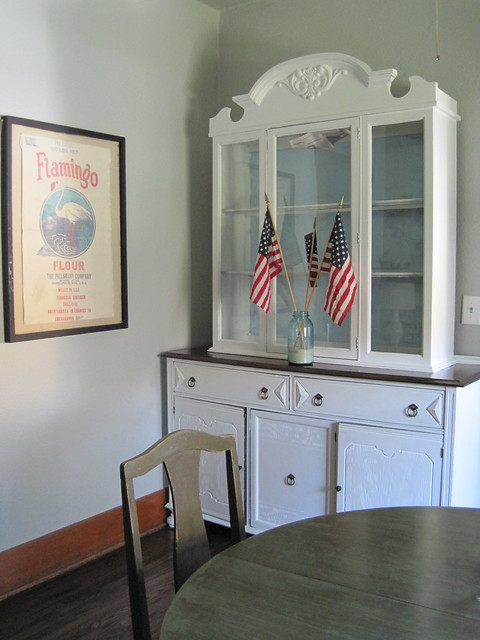
Lucky me. I was trying to decide between the rooster & the flamingo for my dining room wall.


The rooster definitely belongs in a kitchen or dining room and is probably more fitting for the midwest, but I love the colors in the flamingo better. And you know I don't like to do what's expected. :)


Of course I didn't go out and buy a new frame for the flour sack. I found this bulletin board at a local thrift shop for $2. It was just about the perfect size, and I didn't have to do anything to it. I like the black frame and the fabric.


All I did was iron the flour sack & pin it on with pearl pins. I used those because I already had them. I didn't want to drive all the way to Walmart just to look for other pins. Lazy or frugal? I don't really care. I like the pearls!


So this is now the new artwork for the blank wall in my dining room. What do you think? I'm saving the rooster for somewhere else, probably my next house since I'm just about out of wall space in this tiny little house. But as much as I'm about sharing, I'm not giving it up. Unless my sister wants it. She doesn't seem like the rooster type, though. She probably wants the flamingo. :)