
This is my third & final post about my mom's family room makeover. You can see the other posts here and here. To refresh your memory, here's the before:
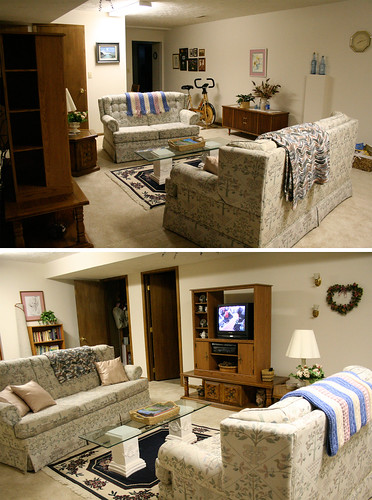
And the after:
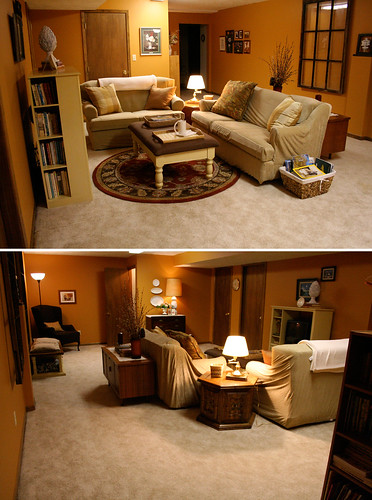
I want to talk in this post about the on-the-cheap projects that I did in the room.
- slip covers
- ottoman & coffee table turned bench
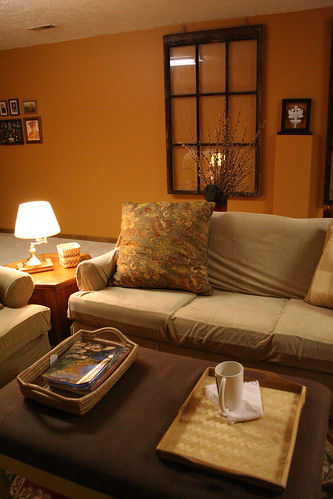
- giant lamp
- tchotchkes
- old windows on the wall
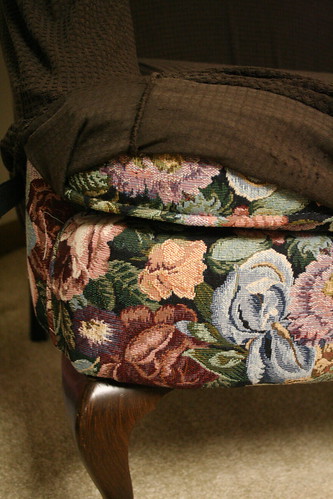
First, slip covers. They're not actually as cheap as I would have liked them to be. If I had the time, I probably would have custom made them myself, but they are rather time consuming. Plus, my mom wanted the SureFit ones. So we ordered them from Overstock.com. Here's what's really covering the wingback chair:
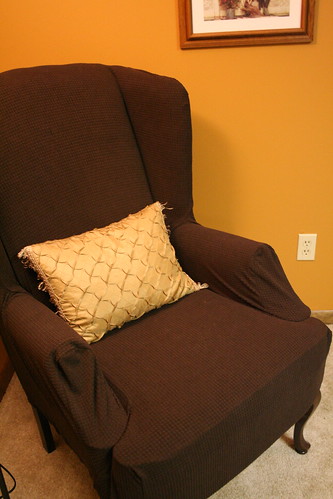
And here's what it looks like covered. Major change that took about a minute to make:
The next few projects used items I found at thrift stores & Hobby Lobby. Here they are in all in all their pre-makeover glory:
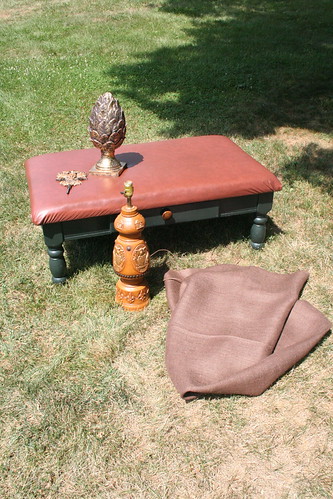
Let's talk about that ottoman/coffee table! Forest green with a not so lovely pleather upholstered top. Bought for $45 at a thrift store. All it needed was a coat of paint (leftover from another project) and some brown burlap. Good as new! Now there is a place for everyone to put a beverage, store the remotes and rest their feet.


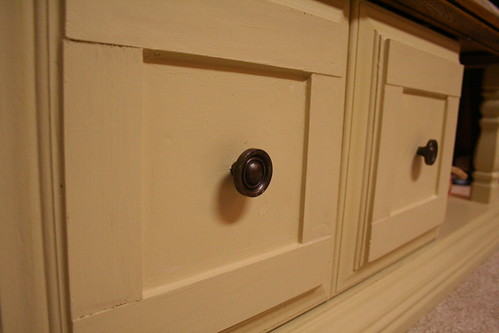
I also painted the coffee table that was originally under the entertainment center. This is a piece that I grew up with. It used to be in the living room. Memories! But...it wasn't so sacred a memory that I couldn't alter the piece. I painted it & took the decorative 70's wood molding off the front & replaced it with lattice strips to look like a shaker style. I used some caulk on the edges of the lattice strips after I glued them on & before I painted everything. They're not perfect, but no one here really cares that much. :)

This little vignette is one of my favorites. That lamp really makes the space. Here's what it looked like before I painted it white:
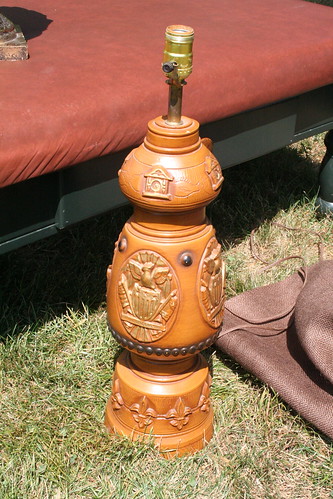
What's up with that? It's got some sort of Asian looking house motif at the top, bald eagle & American flag crest in the middle, and French fleur-de-lis. Huh? Anyways, I spray painted the whole mess white, hoping that no one would look too closely at the designs. They're still there, but don't look quite as bad in white!
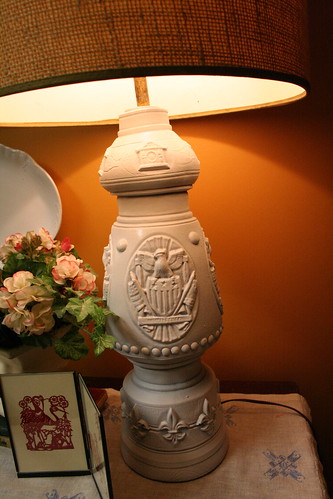
The huge burlap drum shade was the whole reason I bought the lamp anyways. That, and because it was half off that day at the Goodwill! I got two lamps that day for $6 in total.
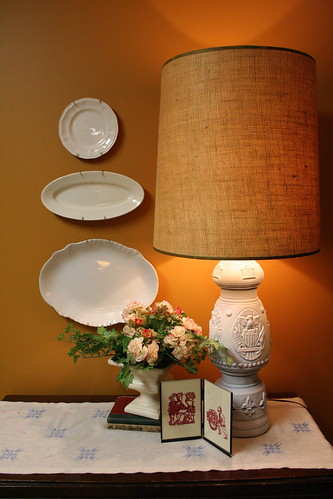
To balance out the lamp I hung three ironstone plates that also came from Goodwill.
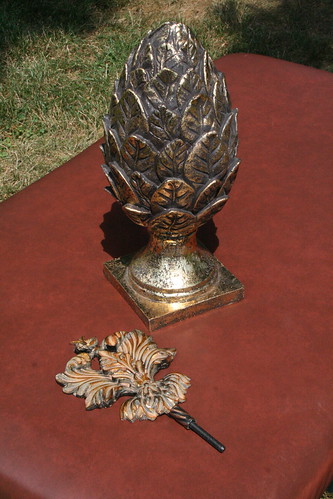
These are the two things I found at Hobby Lobby at 80% off. I think each was about $2. The thing on the stick goes in an open frame. So this is what they looked like before I painted them white.
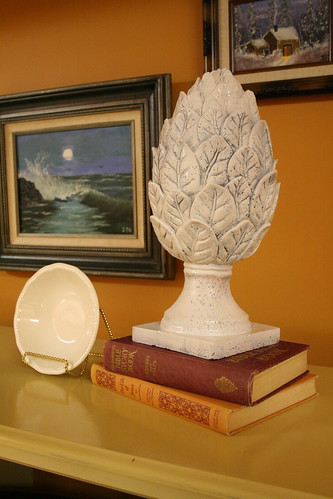
I ran out of spray paint before I was done painting the artichoke thingy, so I touched it up with white primer (the only white paint I had on hand).
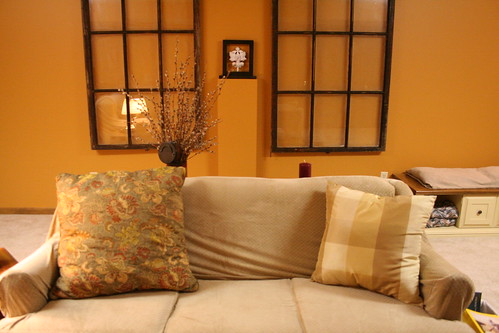
On the long wall, I wanted something BIG to break up the space. My parents had these windows stored in their barn. Lots of them. My dad pulled down two of them. They were covered in inches of dust, dirt & grime. I hosed them off in the yard, let them dry over a few days, and brought them inside to hang.

I screwed eye hooks into the tops of the windows (actually, the bottoms - I hung them upside down so the handles wouldn't be a temptation for the grandkids to hang on), then I screwed long hooks into the wall at the same distance as the eye hooks. In this particular room, there is 2x4 running the entire length of the room at the top of the wall, so I didn't have to look for studs. If you do something like this yourself, make SURE your hooks are screwed into studs. If I were to do this over again, I would have put the eye hooks in the wall and the long hooks in the windows. Take my advice! They would have been MUCH easier to hang that way. As they are now, Vino had to help me and it was pretty awkward to hang them.

Thanks for staying with me through this whole family room makeover tour! We're already on to the next big thing...
We bought a house! It needs "some work". We've already done a lot of work on it and there is SO much more to do. So, that will be the next huge project and most likely the subject of the majority of my blog posts for a while. Can't wait to start posting about our new old house!
7 comments:
It looks great!! Good work. It's amazing what you can do with some paint, creativity, and a little bit of work.
omg id kill for windows like that, I just cant find any down here in south FL. It looks great!
you. are. AMAZING. :)
Ich wollte mit Ihnen reden, mir ist, was zu sagen. levitra generika levitra online [url=http//t7-isis.org]cialis 5mg[/url]
Me he olvidado de recordarle. http://nuevascarreras.com/cialis/ cialis dosis diaria Credo che lei abbia sbagliato. Io propongo di discuterne. [url=http://nuevascarreras.com/comprar-cialis-es/ ]cialis precio [/url]
Esto no me conviene en absoluto. [url=http://csalamanca.com/comprar-viagra-generico/ ]viagra generico colombia [/url] Protesto contra esto. http://csalamanca.com/tag/sin-receta/ viagra sin receta madrid
Thanks for the inspiration. See my blog: http://restyledhomedecor.blogspot.com/
Post a Comment