
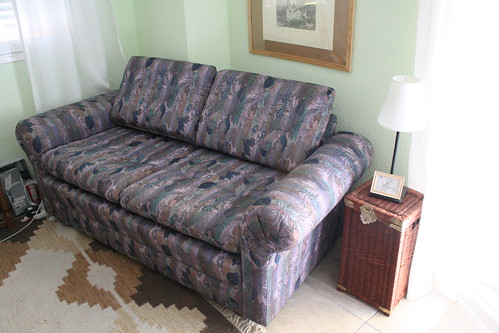
After:
So this world of blogging has recently become more fascinating to me. I still consider myself a new blogger, and I don't think a whole lot of people actually read what I write. But a couple of days ago I participated in a link party over at Nesting Place, and I've had more comments than EVER. I try not to obsess over this blog, but there's something very affirming when people I don't know say nice things to me. And it doesn't take much to visit other people's blogs and say nice things to them, either. I should do that more in real life.
Anyhoo, in this flurry of comments, I have actually received Requests. Well, one was not an actual request, but I'm going to take it that way. Rachel is interested in how I made my ghetto slip cover because she wants to make one herself for an ugly chair that she has. Go Rachel! So, I'm going to attempt a tutorial of sorts. Which I think is kind of funny since I'm not a seamstress. Here goes!
- Gather your materials. Piece of furniture to be recovered, fabric, scissors, LOTS of long pins, sewing machine & matching thread.
- Make sure you have enough fabric. Although my dad was a math teacher, I'm not that great at math, or maybe I'm just lazy. But I don't measure & calculate. What I did do was throw one of the curtains over the loveseat and do a little tucking to "rough out" an approximate slip cover. There was more than enough fabric in that one curtain to do the main body of the slip cover, and I had two curtains, so I knew I would have enough fabric to do the cushions, too. I did do some eyeball-ing to make sure I'd have enough finished hems to use so I wouldn't have to sew my own.
- Figure out how you want your slip cover to be constructed. I broke it down like this: One big piece for the bottom front that also covers the seat base & seat back; one big piece for the whole back, minus the arms; one piece each for the arm fronts; one piece each that covers the sides & tops of the arms; one piece each for the backs of the arms; two pieces for each of the cushions (four cushions in total, two seat & two back). For you it will totally depend on the shape of your furniture. I just tried to figure out what would be easiest to fit all together. I also made sure that the existing curtain hem would hang at the bottom all around.

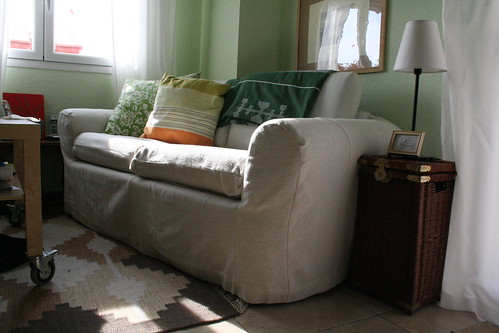
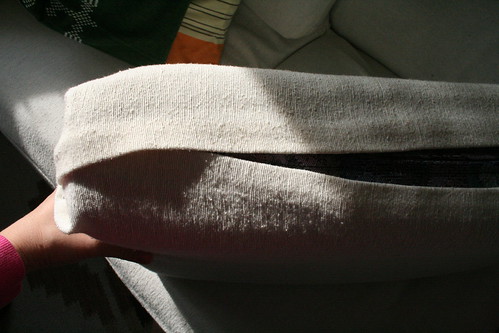
- Cut out your first piece! I started with the biggest pieces, then worked my way down to the smallest ones. For each piece I put the fabric right side down on the area I wanted to cover and marked with a pencil where it would be sewn. Then I put the fabric on the floor & cut it out leaving about a 1 inch seam allowance all around. I wanted a large seam allowance so I could tweak the fit later. After the fabric was cut, I put it back on the love seat & pinned it to the furniture. I did the same thing with each piece, pinning the seams together where the pencil marks were, but tweaking the fit as I went. Here's a photo of the main piece with the cushions off.
 I hope you can see from this photo how I put the biggest piece with others next to it.
 - Sew the pieces together. When all of the pieces were cut out & pinned, I removed the cover all in one piece & started sewing the seams together. When three pieces came together at a corner, I sewed two pieces together first, then sewed them to the third piece. I hope that makes sense in writing!
 When all the pieces were sewn together, I put the slip cover back on the love seat to make sure it all fit right. Once I was sure of that, I trimmed the seams so that they were relatively even all around.
 - Construct the cushion covers. I planned these out to fit like pillow cases. I laid the fabric on the floor & traced around the cushions, making them big enough for the seams to meet. I didn't want to make box cushions. Actually, I just followed the way that the current cushion covers are made.
 For the openings, made sure that the hems (which were original to the curtains - did that on purpose!) would overlap enough to close. Too lazy to make button holes, I just tack these closed with thread that I cut & retack for washing.
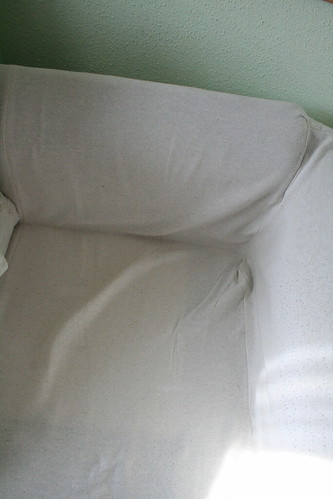
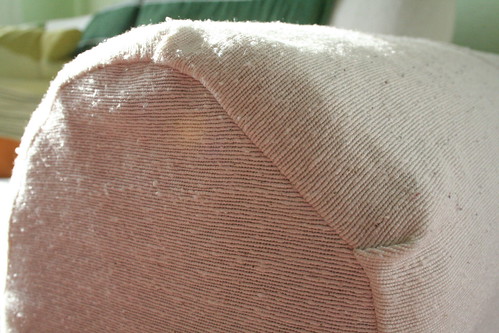
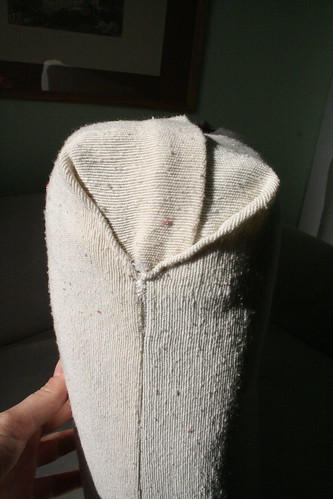
- Details. On the rounded corners, I made little pleats so that the fabric fit well.
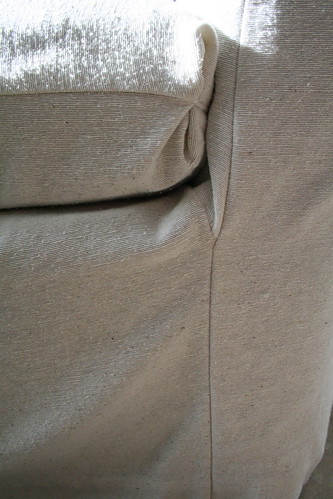
 On the cushion covers, this is what they look like on the corners.
 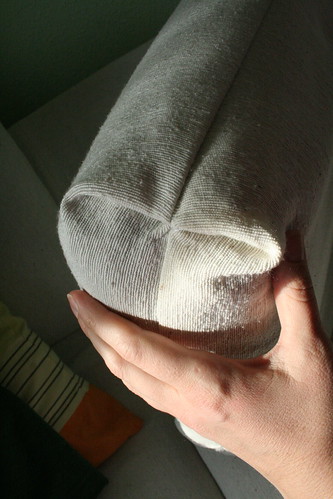 I just sewed them like a knife edge pillow, then turned them right side out & tucked the corners in, tacking the pinched parts together with thread. It works. Here's what they look like inside out.
 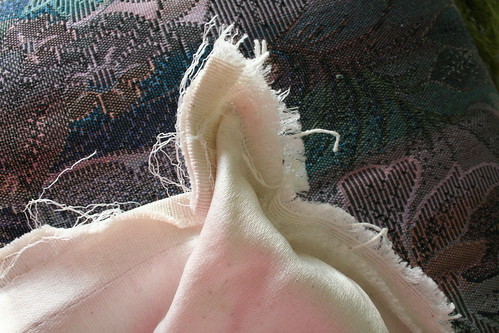 I don't think I can explain how I did the opening corners. I'm not quite sure myself how I did them! It was a bit of trial & error. I hope you can figure out from the photos what I did. Sorry!
8 comments:
I love this tutorial. I hadn't really thought of making a slipcover right now, but you kind of make me want to try :). I also love your description of how you measure in #2. That's totally my way of deciding how much fabric I need too.
Have a great weekend!
Thanks, Annicole! Happy weekend back atcha!
Hi Erin,
Thanks so much for the step by step instructions! I'm even more inspired now! You did a great job eyeballing it and figuring everything out.
I'll be keeping my eye out for some good but cheap fabric, and try this for myself. I'll let you know when I get it done. :)
Eeee! I'm so excited. I wish I had the fabric and could start now!
Oh my goodness! What do you mean you're not a seamstress? That looks fabulous!
I noticed that you signed up as a follower of my blog recently, which is a big deal to me (I'm pretty new too). As a thank you, I have an award waiting for you!
Your sofa looks wonderful. I really like it. I agree that it doesn't take much to make a small comment.
Love this! I have a lazy girl slipcover tutorial over on my site. Have a look. Great job! Your's turned out beautiful!
Yep, you were featured on my blog. :) I'll remember that canvas is hard to sew on. Thanks for the tip.
Fantastic! I'm so impressed!
Post a Comment