22 September 2009

The Transformation Begins: Hidden Hardwood & Heavy Lifting


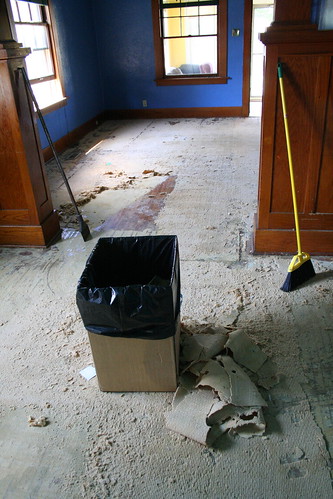
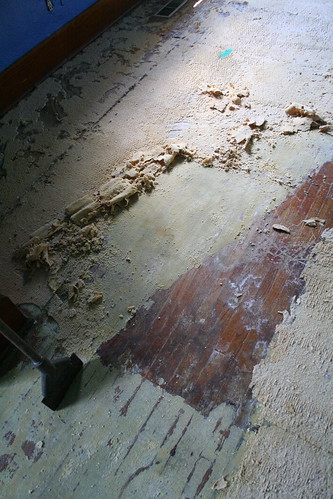
This is what was hidden under the vile carpet. I know, it doesn't look very pretty now, but IT WILL. Refinishing the floors is the only thing (besides a few small electrical things) that we will hire professionals to do. I may be cheap & unrealistic about my own abilities in renovation, but refinishing floors is NOT something we want to tackle on our own. But I can wield a utility knife. Which is what I did to the carpet. Cut it in strips, rolled it up & threw it away. Bye bye nasty carpet.


Unfortunately, the carpet pad had been glued down. Like, seriously, the most glue that could have been slathered on those planks. I had to use a heavy metal blade thingy to scrape up as much of the crumbly pad remains as possible.


I know there is beautiful wood under there somewhere...and fortunately I don't have to do anything more to it. The refinishers will get rid of the rest of that pad & glue. Yay!!


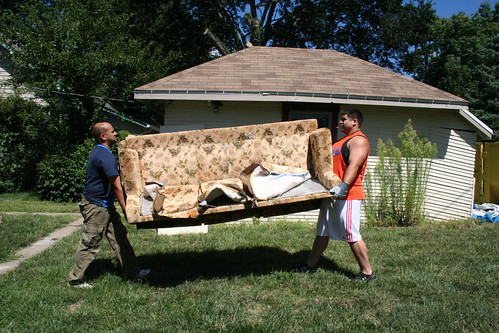
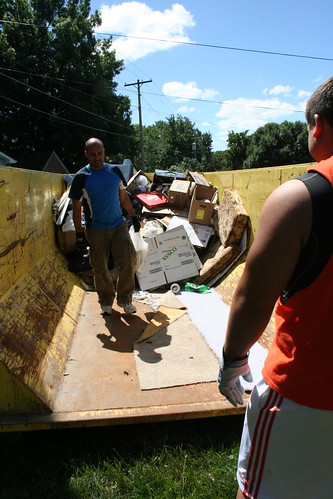
Now on to getting rid of more filth. In one day, Vino & our nephew Evan hauled out 2 couches, about 7 recliners, a giant 70's wooden headboard, a king sized bed and boxes & boxes & bags & bags of trash.


Evan saved our behinds. We could have NEVER hauled all that stuff out by ourselves, especially the heavies. Thanks for loaning us your giant muscles, Evan!


Vino cut out the huge pillow stuffing in the pet hair covered couch on the front porch.


Here they all are stacked up.


And the couch gets hauled away. Vino & Evan swore that as soon as the sun hit this furniture the smell factor increased tenfold.


This is the dumpster we rented. By the end of the day it was completely full and then some.


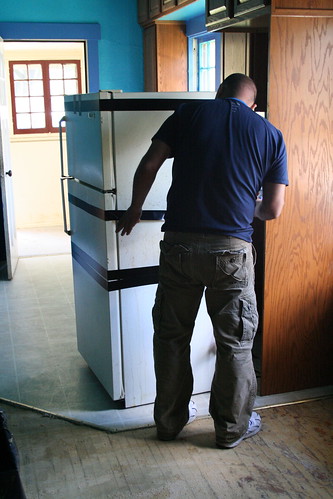
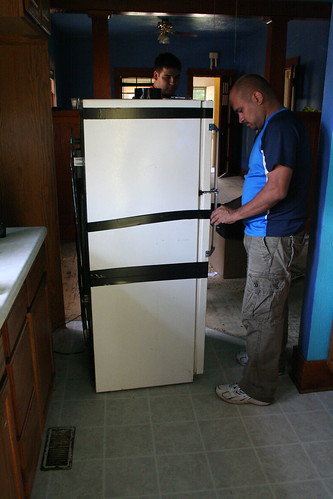
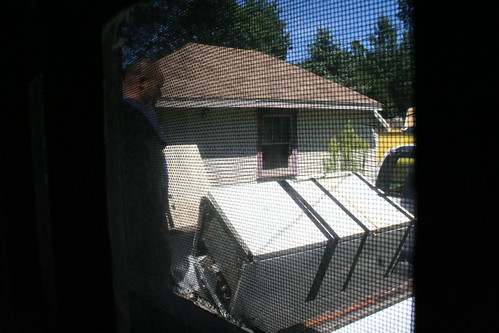
And here we have the fridge. Our home inspector warned us not to open it. After having been turned off for months, whatever was in there had time to rot itself into a powerful death smell. So we believed him and duct taped it shut before moving it out.


Even with all that, it still smelled pretty ripe when we stood close.


Good riddance!

Every day the house smells better. Minus the carpet. Minus the upholstered furniture & trash. We Febreeze every time we come to work but that only goes so far. Next on the agenda: paint. First a coat of stain & odor blocking primer, then paint in soft greys. I can't wait!

18 September 2009

Our New Old House

How's your imagination? Mine is pretty active, which you will see shortly.

We knew even before we returned to Nebraska from Spain that we wanted to buy a house, but it was going to have to be a CHEAP house. I tentatively set the budget at $50k - that is, $50k to buy & make the house habitable. I stalked realtor websites for close to a year just to see what was actually feasible in the areas we were considering. Fortunately for us, we are from Nebraska, where housing prices are typically lower than other parts. My other criteria was that it had to be within 30 minutes or less of a city and had to have at least 2 bedrooms. And not be gross.

That's where my imagination comes in. :) We found & recently purchased a house that fit all that criteria (and came in WAY under budget), except that some have argued with me that our house is indeed gross. But imagine with me, if you will, a 1913 cottage with original oak floors, 10-inch baseboards, original built-in glass-fronted oak bookcase dividers, original claw foot tub, enclosed front and back porch, a full basement and a garage. Got that picture in your head? Good. In the spirit of Ultimate Thrifting (which should be a real sport, by the way), come with me on a tour of our new old house and keep an open mind!
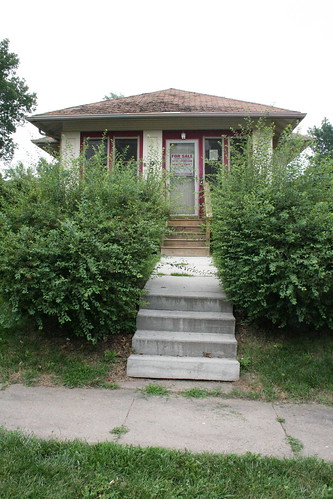

So the bushes will most likely be yanked out of the ground in favor of something that doesn't need constant trimming to keep the place from looking abandoned. I'm thinking a row of lavender flanking each side of the walkway. We'll replace the shingles & paint the siding grey with white trim.
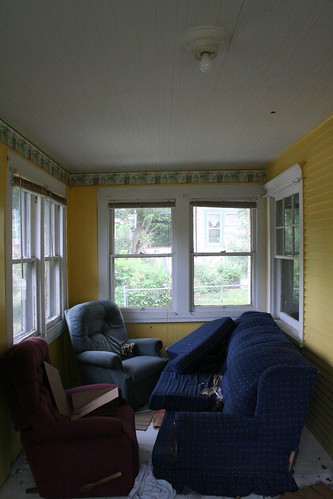

This is the enclosed front porch. First impression for guests! Right now it gives, well, the wrong impression. I've got this area decorated in my head really cute. Trust me. You'll love it. Just don't breath through your nose right now. It's not pleasant.


Ah, a breath of fresh air. Kind of. The original oak craftsman style door. Lovely.
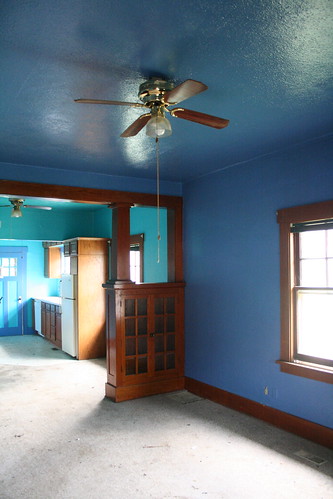


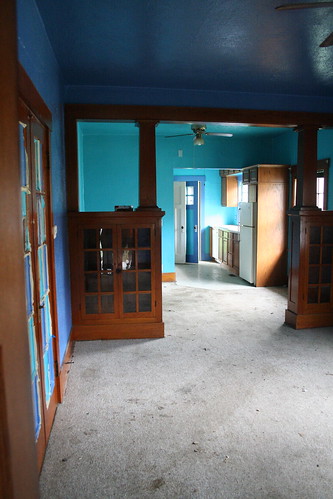
This is what you see when you walk through that lovely craftsman door. Please look beyond the nasty, nasty carpet. See the built-ins! They really make the house. You're standing in the living room looking into the dining room and beyond into the kitchen.
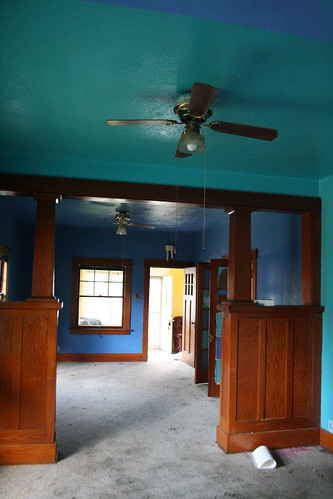

Now we've walked into the dining room and turned around to see the living room. Like the glossy paint colors? Neither do I. They have inspired me to choose a calm grey palette for the whole house. I want to relax in this place, not be jittery all the time from color overload. I don't know if you can tell, but the previous owners PAINTED the glass on the french doors in the living room. Thanks. Fortunately, it peels right off.

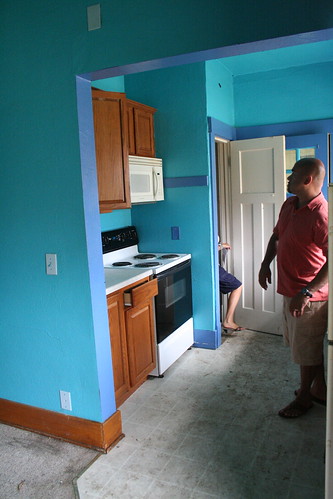
Now to the kitchen. Oh, hello. There's Vino & the leg of Mary, our lovely realtor (who reads this blog - hi, Mary!). Stop looking at the floors, all of you. It's all getting ripped up. The kitchen will be tiled and the living & dining rooms will have refinished wood floors that are currently living under the carpet-o-filth.
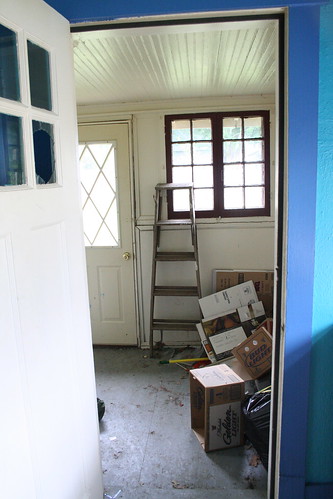

Under that trash is a cute little enclosed back porch with original beaded board ceiling & little closets. This will be a mud room/pantry. It WILL be cute. Very cute. Let's keep moving. It creates a slight breeze that makes the smell more bearable.


This is the back bedroom. Not much to say here. It was really clean compared to the rest of the house. Not being a fan of wallpaper borders, this one will go. It's also around the top of the wall just under the ceiling.


Just down the hallway we encounter the bathroom. Someone put a lot of work making this room homey. Hunter green faux woodgrain wallpaper & double outhouse borders. It has been loved & served it's purpose and is no longer in good shape. Filthy, actually. AND since it's not anything close to my taste, it also will be coming down. I hope it goes easily. Same with the rose stencils on the tub. Side note on the tub. I'm a bath girl. Since we have been married, 8 years, we have NEVER lived in a place with a tub. I am ecstatic beyond words to have a deep soaking tub. And yes, I will clean the living daylights out of that thing before I set my body in it!
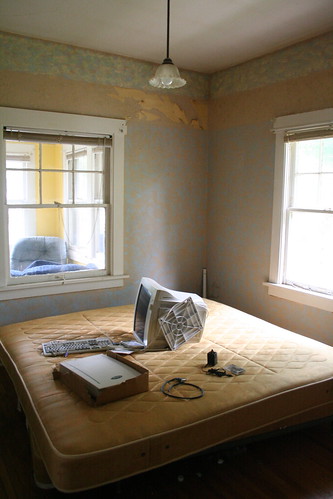

Here we are in the front bedroom. Oh, look. The previous owners left us some electronics, several cassette tapes from the 90s (Cher's Greatest Hits!) and a stained king-sized bed. Anyone need a scanner? The sponge painting, sadly, will be going bye bye. I'm not super big on faux finishes myself.

So that concludes the tour of the main floor. But what about the basement, you say? Are you sure you want to go there? If not, stop reading right now. If so, put on your haz-mat suit.
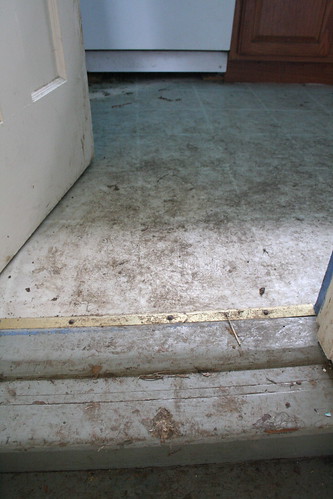

This is our intro to the basement stairs, from the kitchen. Nice. I think we're safe to assume that there were large dogs living here at one time. They have left other clues besides this.
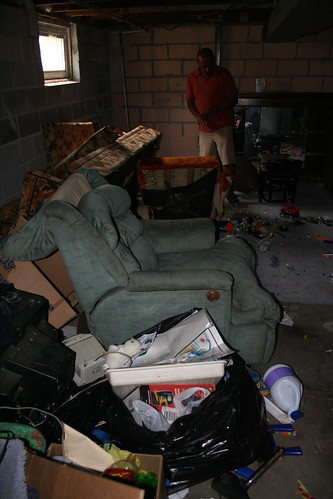

That's Vino back there checking out the toys on the floor. That's the part about this house that makes me sick. Adults, I suppose, have the right to live in their own filth & let their pets do whatever they want in the house, but when children are involved, it's really more than sad. Enough said.
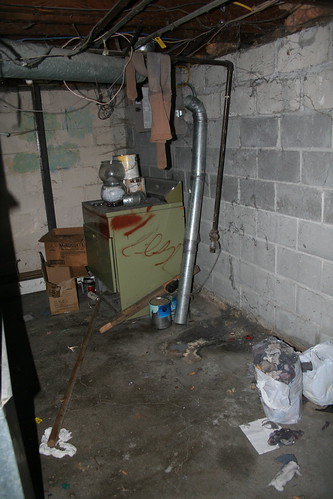

Like my laundry room? Even my imagination can't come up with something cute for this space. I think that to start with it will be basic, clean & utilitarian. I'll work on cute later.

And now for some shots of the Special Things left behind for us to clean up.
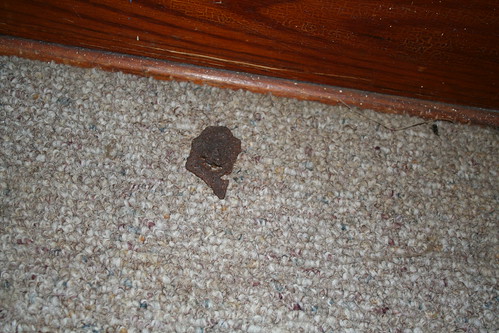

In the living room. Hiding in a dark corner. Cat? Raccoon? Very small dog? This, for sure, is gross.
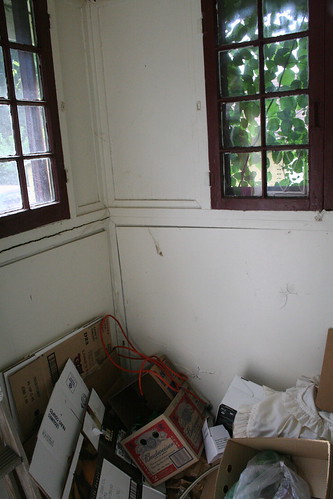

I found a pizza in this pile. Just keep in mind that this house has been vacant for 5 months.
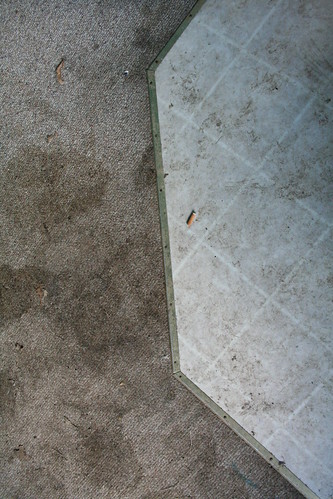

I told you not to look at the floors, but I wanted to show the full heinousness of the carpet & linoleum before I rip it all out with my carefully gloved hands. Those would be pet pee stains, not oops-I-spilled-the-apple-juice-stains. And one of many cigarettes. The man of the house apparently lives on these with a Mountain Dew chaser, as evidenced by the plethora of bottles & butts around the place.
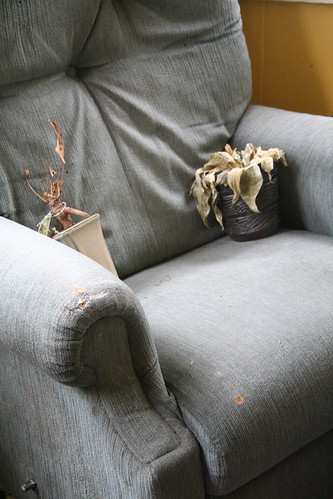

This is a sad little vignette.
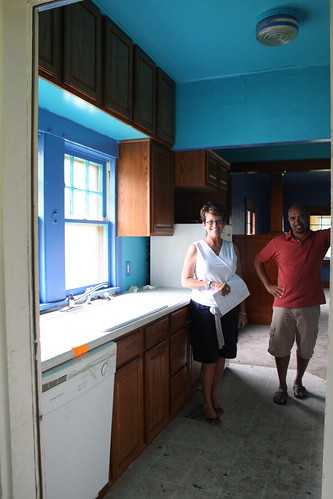

Well, thanks for sticking with me to the grisly end. Hats off to Mary (pictured above with Vino) for trudging through this place in her cute little kitten-heel sandals. You deserve an award. Funny enough, though, of all the houses we looked at this day, this one was BY FAR the best. Not the cleanest, but the most potential. Thank goodness Mary & Vino have as much imagination as I do! Stay tuned for updates on the house progress. We want this re-do to be nice but inexpensive. We want to think outside of the box when it comes to fixtures & furnishings. You might be surprised when it's done. You might just think it's a place you would actually want to live. I hope I do!!

31 August 2009

Thanks from Erin's mom


Hi, this is Erin's mom. Aren't I just the luckiest - no, blessed - mom ever? I let Erin loose in that dated basement and she created a beauty. Not only was I surprised when I saw the room for the first time, I was overwhelmed and thought about crying. However, Vino was taping the whole reveal and I didn't want to do that on camera. I think it's just wonderful, and I am so grateful, I have no adequate words to express myself. Thank you, sweet Erin!

26 August 2009

Family Room Makeover Projects

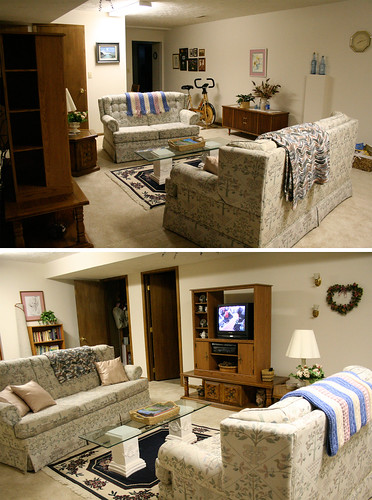
This is my third & final post about my mom's family room makeover. You can see the other posts here and here. To refresh your memory, here's the before:


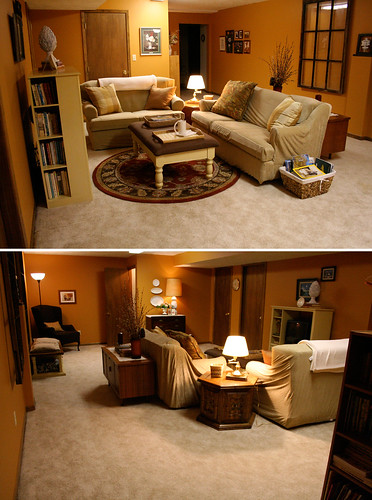
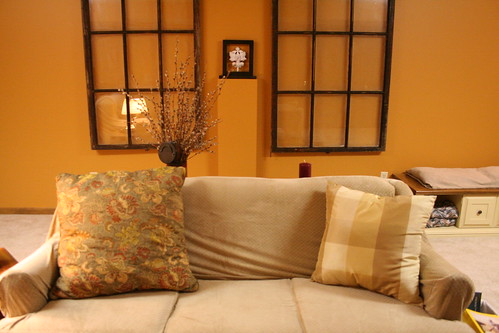
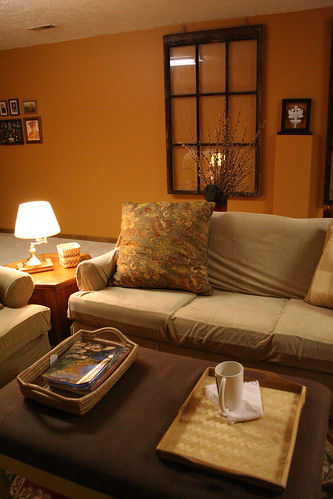
And the after:


I want to talk in this post about the on-the-cheap projects that I did in the room. 
  1. slip covers
  2. ottoman & coffee table turned bench
  3. giant lamp
  4. tchotchkes
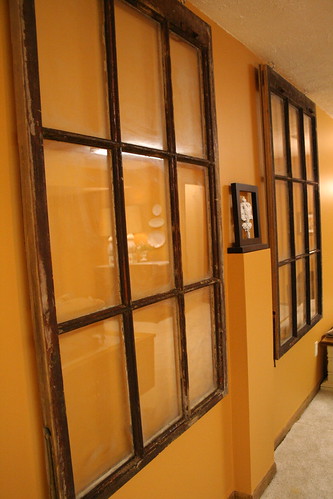
  5. old windows on the wall
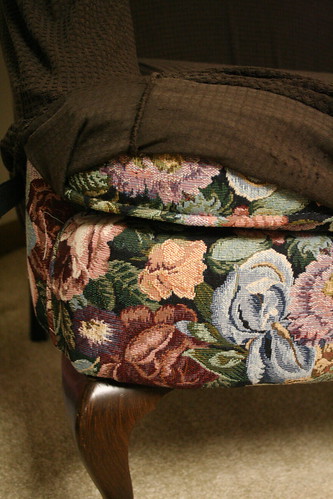
First, slip covers. They're not actually as cheap as I would have liked them to be. If I had the time, I probably would have custom made them myself, but they are rather time consuming. Plus, my mom wanted the SureFit ones. So we ordered them from Overstock.com. Here's what's really covering the wingback chair:
 
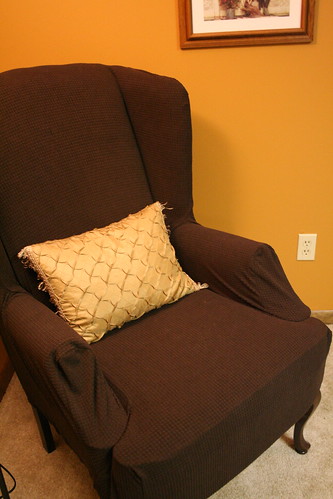
And here's what it looks like covered. Major change that took about a minute to make:


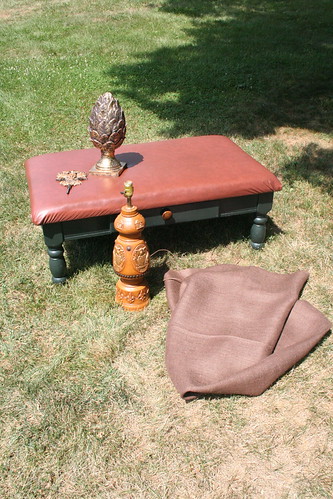
The next few projects used items I found at thrift stores & Hobby Lobby. Here they are in all in all their pre-makeover glory:


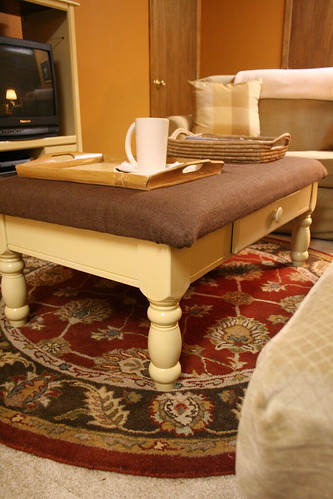
Let's talk about that ottoman/coffee table! Forest green with a not so lovely pleather upholstered top. Bought for $45 at a thrift store. All it needed was a coat of paint (leftover from another project) and some brown burlap. Good as new! Now there is a place for everyone to put a beverage, store the remotes and rest their feet.

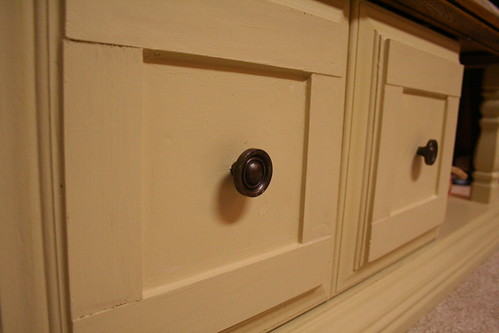
I also painted the coffee table that was originally under the entertainment center. This is a piece that I grew up with. It used to be in the living room. Memories! But...it wasn't so sacred a memory that I couldn't alter the piece. I painted it & took the decorative 70's wood molding off the front & replaced it with lattice strips to look like a shaker style. I used some caulk on the edges of the lattice strips after I glued them on & before I painted everything. They're not perfect, but no one here really cares that much. :)


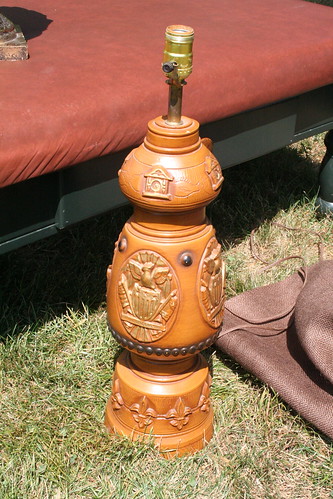
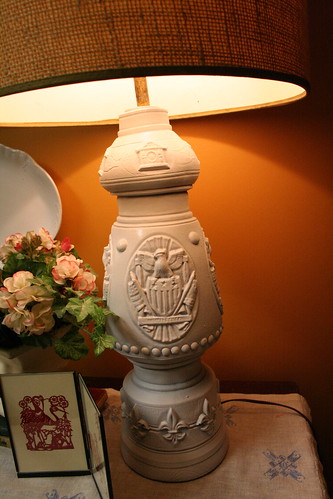
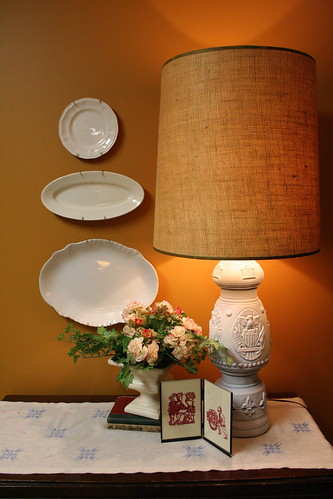
This little vignette is one of my favorites. That lamp really makes the space. Here's what it looked like before I painted it white:


What's up with that? It's got some sort of Asian looking house motif at the top, bald eagle & American flag crest in the middle, and French fleur-de-lis. Huh? Anyways, I spray painted the whole mess white, hoping that no one would look too closely at the designs. They're still there, but don't look quite as bad in white!
 

The huge burlap drum shade was the whole reason I bought the lamp anyways. That, and because it was half off that day at the Goodwill! I got two lamps that day for $6 in total.


To balance out the lamp I hung three ironstone plates that also came from Goodwill.


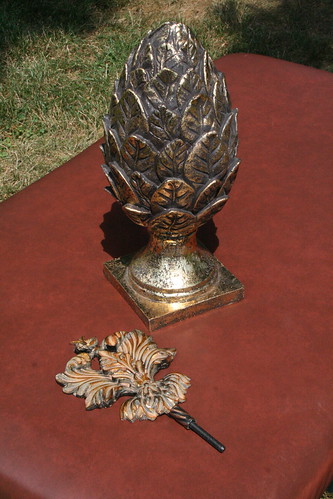
These are the two things I found at Hobby Lobby at 80% off. I think each was about $2. The thing on the stick goes in an open frame. So this is what they looked like before I painted them white.


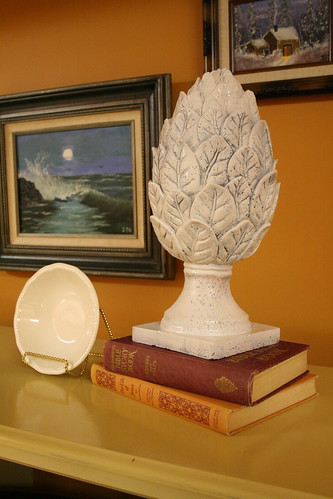
I ran out of spray paint before I was done painting the artichoke thingy, so I touched it up with white primer (the only white paint I had on hand).


Here's the thing on the stick, painted white & in the open frame. It fits Perfectly on the ledge, and I didn't even measure! It looks nice between the giant windows. Speaking of those windows...

On the long wall, I wanted something BIG to break up the space. My parents had these windows stored in their barn. Lots of them. My dad pulled down two of them. They were covered in inches of dust, dirt & grime. I hosed them off in the yard, let them dry over a few days, and brought them inside to hang. 


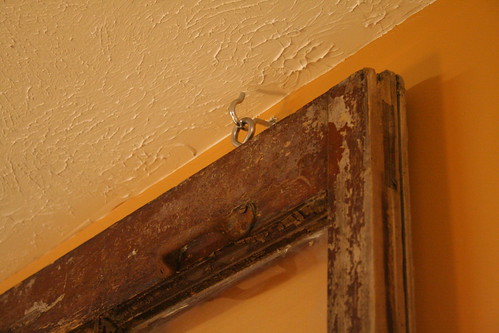
I screwed eye hooks into the tops of the windows (actually, the bottoms - I hung them upside down so the handles wouldn't be a temptation for the grandkids to hang on), then I screwed long hooks into the wall at the same distance as the eye hooks. In this particular room, there is 2x4 running the entire length of the room at the top of the wall, so I didn't have to look for studs. If you do something like this yourself, make SURE your hooks are screwed into studs. If I were to do this over again, I would have put the eye hooks in the wall and the long hooks in the windows. Take my advice! They would have been MUCH easier to hang that way. As they are now, Vino had to help me and it was pretty awkward to hang them.


Thanks for staying with me through this whole family room makeover tour! We're already on to the next big thing...

We bought a house! It needs "some work". We've already done a lot of work on it and there is SO much more to do. So, that will be the next huge project and most likely the subject of the majority of my blog posts for a while. Can't wait to start posting about our new old house!