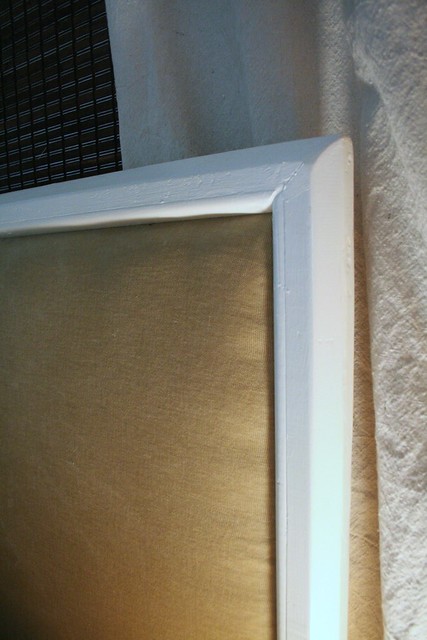
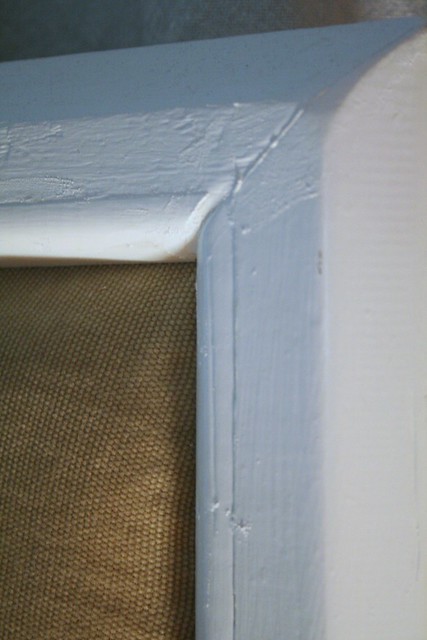
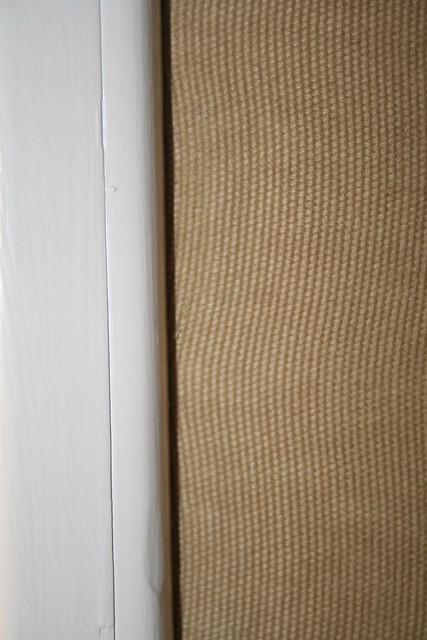
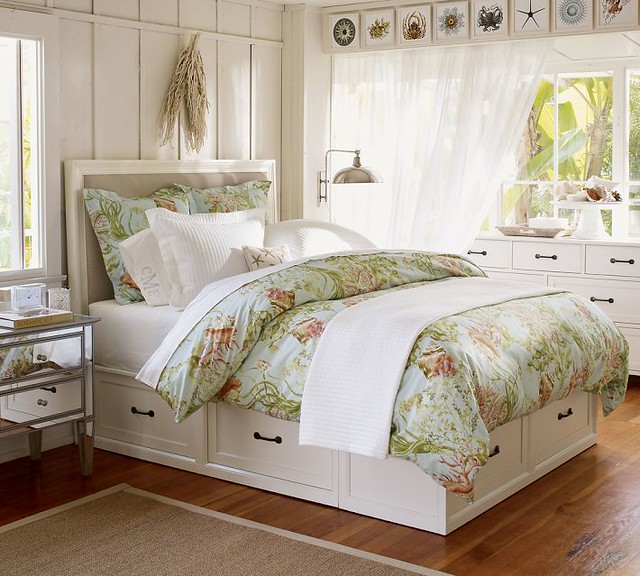
This is the headboard (and base) I wanted:
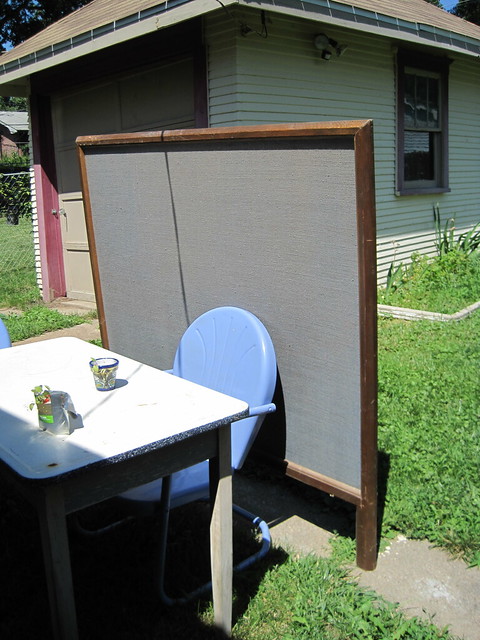
This is what I had to work with:
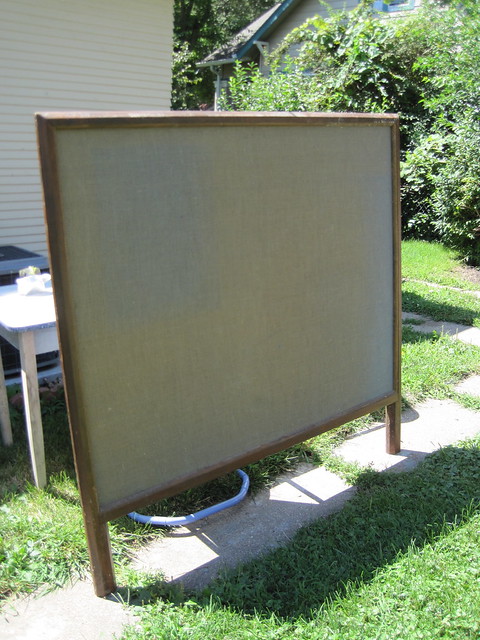
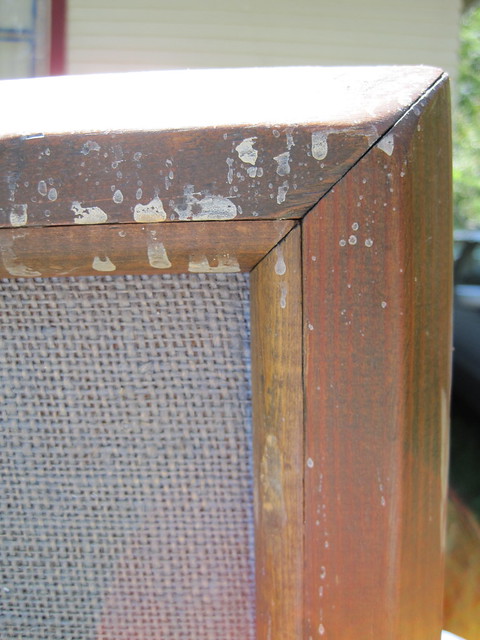
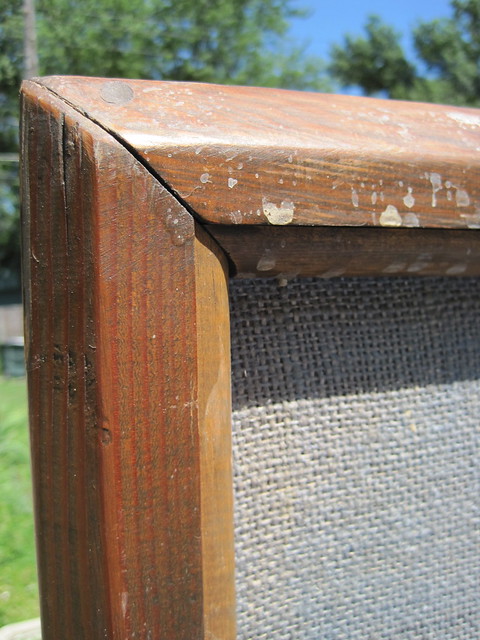
It was labeled "room divider" at the local thrift. They were using it as a display for random doo-dads. The burlap-ish covered part is some sort of really hard foam or something that you can stick pins into. This piece was in a back room sitting under a roof leak. It smelled a wee bit musty.
So here's the deal. I really didn't want to spend buco bucks on the Pottery Barn version. I measured the room divider and found that it was EXACTLY the right size for a queen size bed. And I had a coupon for one purchase at the thrift store. How cheap am I??? I bought it for $12. Other materials for the project: a curtain, also from a thrift store, that I paid $10 for. I was not happy about that - I thought it was too much, but I had already talked them down from $12 since there was only one curtain. I didn't mention that I only needed one. :) Also, I used an old egg-crate twin mattress pad and an old blanket for padding. The paint I already had on hand. Tools: something to pry off the inside quarter-round, staple gun and hammer. Oh, I also bought a waterbed base on craigslist for $10 and painted it the same white. Wish I would have taken "during" pics, but you're all out of luck.
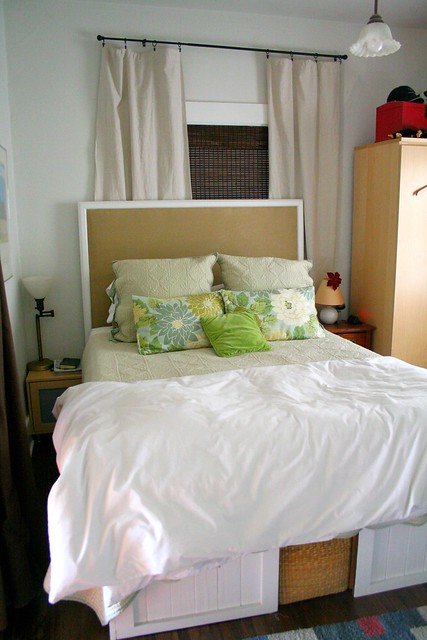
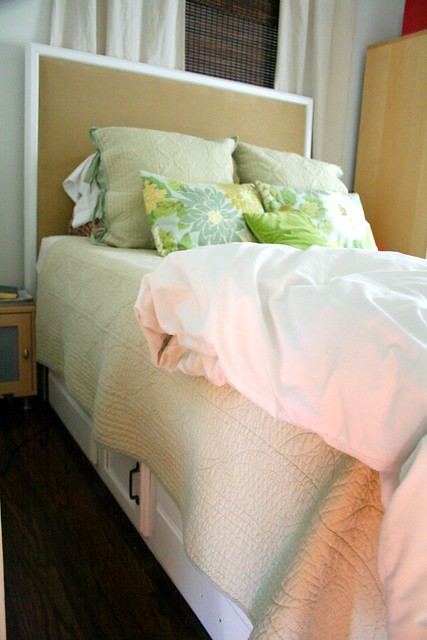
And here's the finished product:
I'm pretty happy with the results. I hope to someday (soon) replace the base with this plan from Ana White. The waterbed base is one of the cheapest, most poorly made piece of furniture I have ever owned. I'm looking forward to replacing it with something more permanent and sturdy! But as long as we don't move the current base, it works. :)
These photos are all from our house in Nebraska. More in the future on fixing up the larger of two master bedroom at the townhouse in Colorado!

