08 November 2011

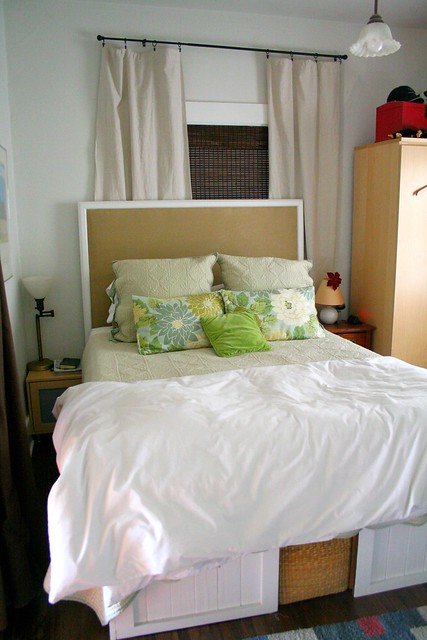
I got the headboard I wanted without forking over lots of $$.

This is the headboard (and base) I wanted:


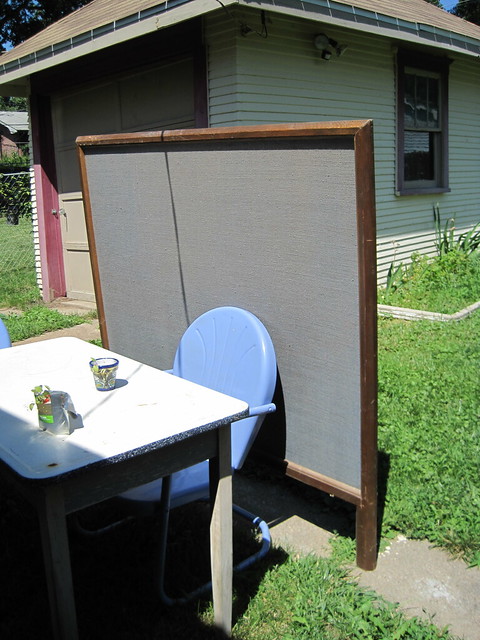
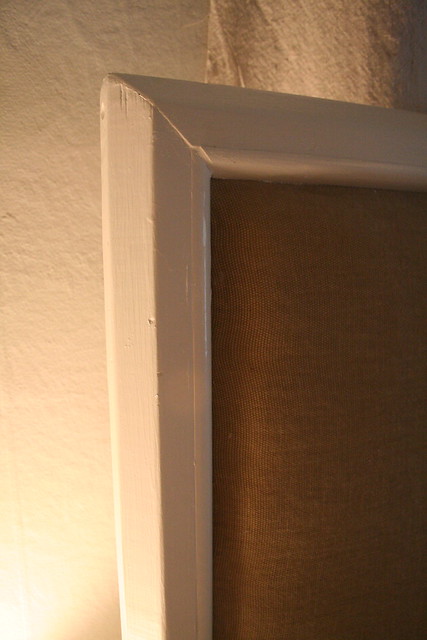
This is what I had to work with:


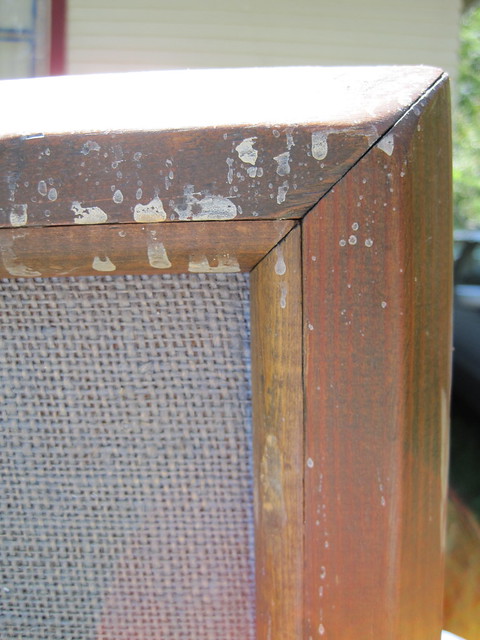
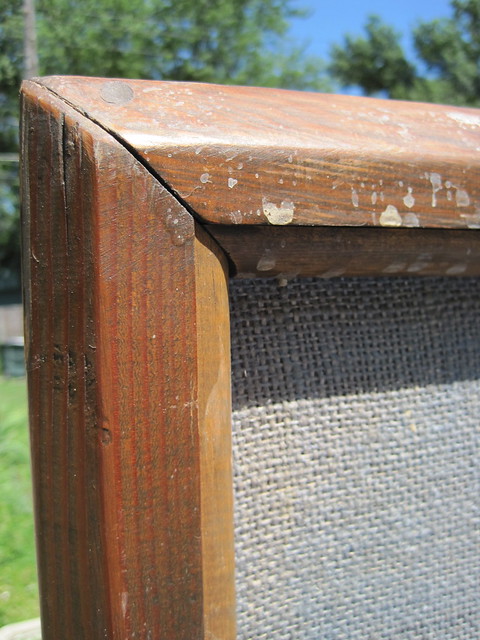
It was labeled "room divider" at the local thrift. They were using it as a display for random doo-dads. The burlap-ish covered part is some sort of really hard foam or something that you can stick pins into. This piece was in a back room sitting under a roof leak. It smelled a wee bit musty.


So here's the deal. I really didn't want to spend buco bucks on the Pottery Barn version. I measured the room divider and found that it was EXACTLY the right size for a queen size bed. And I had a coupon for one purchase at the thrift store. How cheap am I??? I bought it for $12. Other materials for the project: a curtain, also from a thrift store, that I paid $10 for. I was not happy about that - I thought it was too much, but I had already talked them down from $12 since there was only one curtain. I didn't mention that I only needed one. :) Also, I used an old egg-crate twin mattress pad and an old blanket for padding. The paint I already had on hand. Tools: something to pry off the inside quarter-round, staple gun and hammer. Oh, I also bought a waterbed base on craigslist for $10 and painted it the same white. Wish I would have taken "during" pics, but you're all out of luck. 

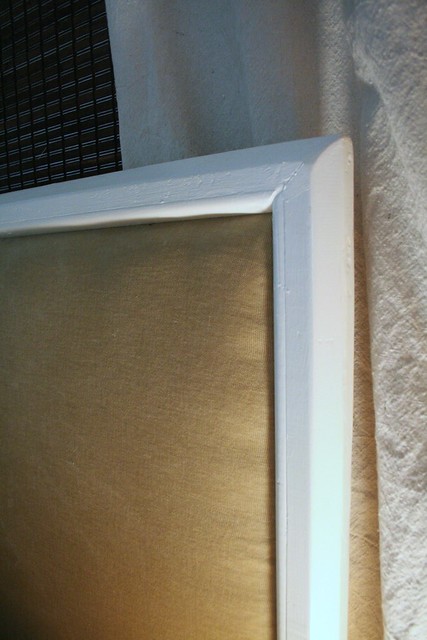
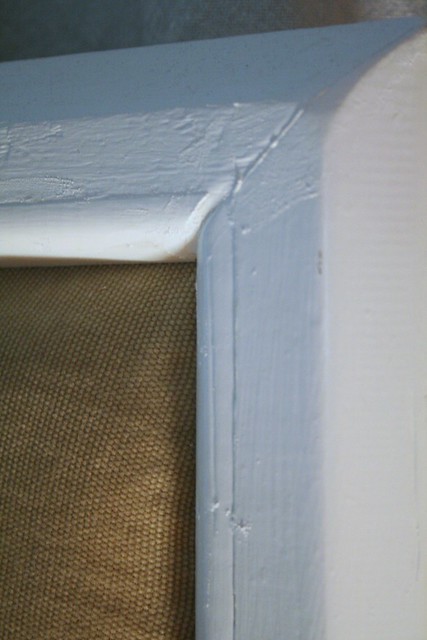
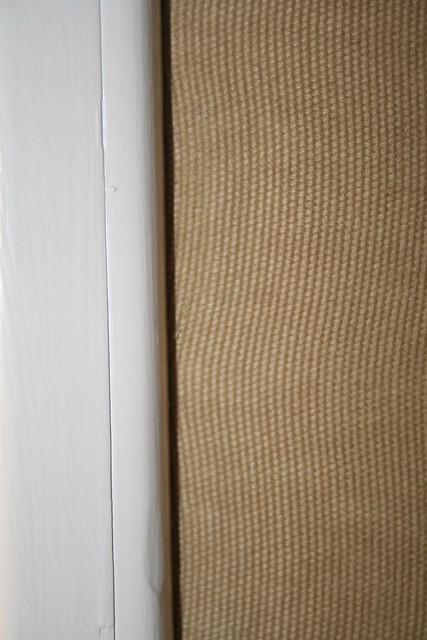
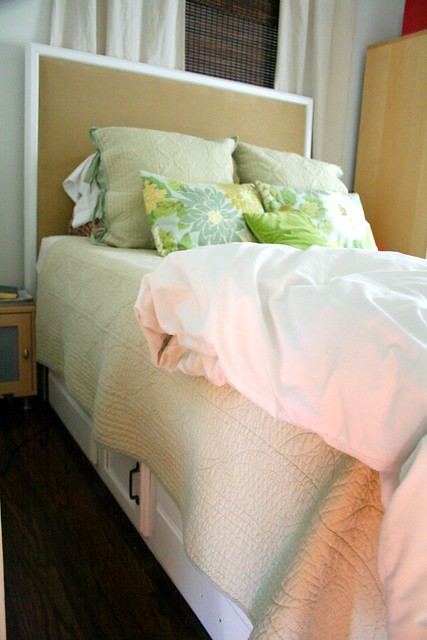
And here's the finished product:


I'm pretty happy with the results. I hope to someday (soon) replace the base with this plan from Ana White. The waterbed base is one of the cheapest, most poorly made piece of furniture I have ever owned. I'm looking forward to replacing it with something more permanent and sturdy! But as long as we don't move the current base, it works. :)

These photos are all from our house in Nebraska. More in the future on fixing up the larger of two master bedroom at the townhouse in Colorado!

04 November 2011

New (to me) home, new place to reinvent!

I'm back. I've been in a funk lately. No motivation to blog, or read blogs even. But now I'm back. For six months we lived in a one bedroom, one bath apartment. All our cool stuff was in storage, and since we were there temporarily, I had NO desire to decorate. But now we're in a new place. New to us. It's a townhouse, which is one step closer an apartment to a house. We were planning on buying a house here in Denver, but we didn't sell our house in Nebraska (renting it out) so no cash for down payment. I expect we'll be renting for at least a couple of years. Which is just fine with me, because we are really done with moving for a while. Moving from Nebraska to this townhouse took a four part effort, spread out over 8 months. See why we're done? My parents are probably done, too. They helped with every part. I owe them a kidney or something. But back to the townhouse: it's two bedroom and two bath with a fireplace, upstairs laundry and a half-covered fenced in back patio. Oh, and a two car garage! It has more square footage than our house in Nebraska.

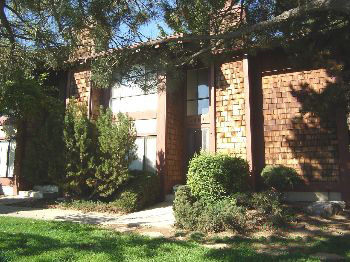
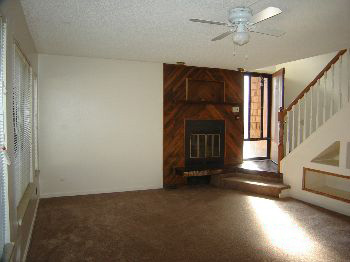
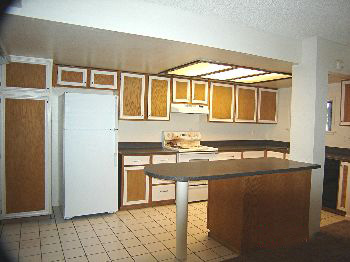
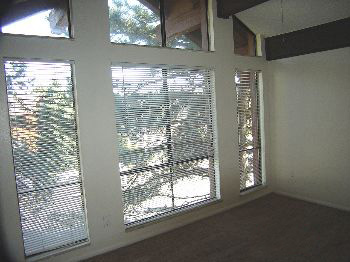
SO...here's the new place. These photos are from the online listing, so they're pretty poor quality. Consider them the "before".

the front door - looks very mountain-ish!
living room and front door
kitchen - the biggest we've ever had
bedroom with amazing windows
I have ideas! And now that we have all of our stuff, I can get to work.  Here are the parameters: We are allowed to paint the kitchen cabinets (I'll match the white that's already on them), but we are NOT allowed to paint the walls. The carpet and counter tops are new, but pretty much everything else looks like it's original to the 1980s when this place was built.

Game on!

24 June 2011

How do you make a boring apartment kitchen not boring?

First, yesterday was my mom's birthday. We will be celebrating sometime next week when she & my dad come to Colorado! Yay! I've missed you both! Happy birthday, Mom!

Ok. This is our kitchen.


Well, not literally our kitchen. I got this photo off of our apartment complex's website. I Photoshopped out some of the unnecessary frou frou that some "stylist" put on the counters for staging. I've got my own frou frou (my wooden kitchen angel I bought in Kenya, the "VINO" sign that sits next to her on the back of the stove), but my kitchen isn't camera ready right now. Just know that this is pretty much what it looks like. It's not the worst kitchen in the world, as apartment kitchens go. It's not a tiny galley kitchen. It's not closed off from the rest of the apartment. It's not hideous colors. So no complaints there.

If this were my very own kitchen to do with as I please, I would paint the walls, paint the cabinets, replace the counters, replace the floors... But this is not my very own. And I'm not allowed to paint. At all. And as it turns out, we will not be selling our house in Nebraska that we've had on the market for a few months. We will be renting it, which means that we will continue renting an apartment here in Colorado until we can save a hefty down payment for a house. Thus the very average kitchen. And I don't think I'm average, when it comes to my home. For some reason, I always have to do something different.

So here is the challenge: make this space not boring in a way that is in no way permanent. My solution?

Contact paper.

Yes, contact paper. But not the orange & yellow & avocado floral variety from the 70s. Not the typical "wood grain" variety, either. Have you heard that they're making the stuff in Chalkboard?? Chalkboard on a roll, with a sticky back! It comes 18 inches wide and 6 feet long. As long as it doesn't damage the walls (I've been researching in blogtown), I'm going for it.

But wait...did I forget to mention the stainless steel look contact paper? They make that, too! Oh, the possibilities. Both of them you can get all over. For sure on Amazon. I saw the stainless steel stuff at Home Depot today.

I've been kinda inspired by this post from apartmenttherapy.com about fridge modifications.
I took the liberty of mocking up several combinations of chalkboard/stainless steel looks in this kitchen. 

original - no modifications


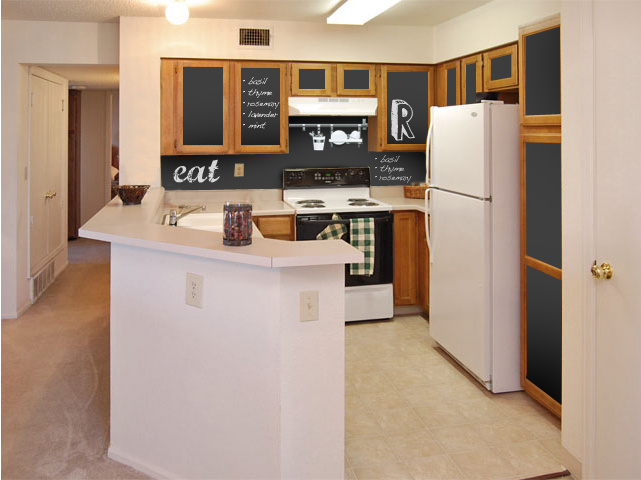
Chalkboard back splash ( added at utensil rail over the range. Can I do that??)
Chalkboard back splash and cabinets
Stainless steel back splash and chalkboard cabinets
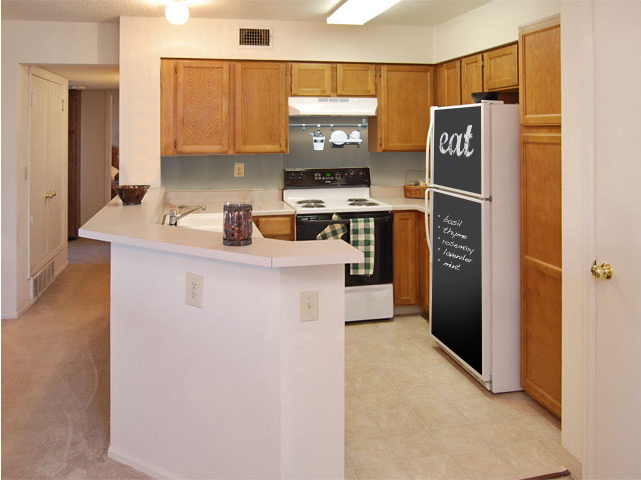
Stainless steel back splash and chalkboard fridge
Stainless steel and chalkboard back splash and chalkboard cabinets
Stainless steel and chalkboard back splash and chalkboard fridge
Too much chalkboard!
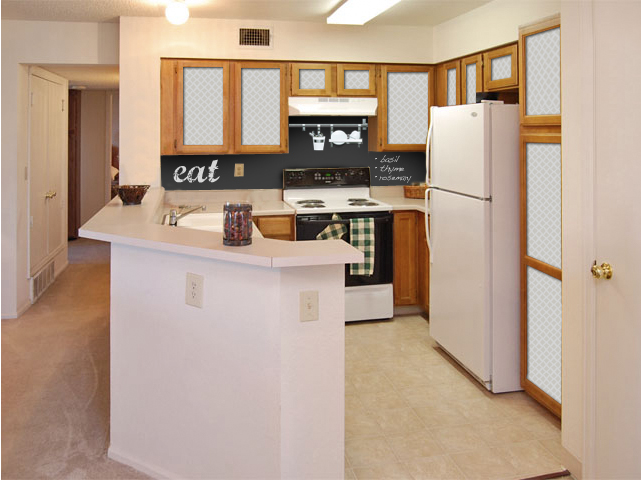
Thought I'd try another style of contact paper...

You know, I wouldn't necessarily have to attach the contact paper directly to the wall. I could use luan plywood or some other light-weight surface. Maybe I could attach that with sticky tack. Is that tacky? ??

Or I could use these wall panels from Ikea. They are supposed to go up with a rail system. Not sure if that would work in this kitchen, but I'll see - when Colorado's very first Ikea opens in July! I'm a little giddy about it.

What do you think? Which one do you like best? Or should I scrap the idea all together? What are your ideas for non-permanent changes??

11 June 2011

Back to EspaƱa

Plaza Cervantes, Alcala de Henares
 No, we're not moving back to Spain. But I did get a chance to go back for 2 1/2 weeks. I went to teach a Photoshop workshop with the ministry we used to work with when we lived there before. It was like old times! I started this blog when we lived in Spain (from 2007-2009). You can go back to the beginning in the blog archives and read about it if you have a hankering. Good times.

Although I was there for "work", I arrived a few days early so I could hang out with my good friend, Loida, and her family in Zaragoza (half way between Madrid & Barcelona). It was SO good to see them all again. It made me realize how much of my Spanish I have forgotten, not that I knew a whole lot to begin with. But Loida had mercy on me and spoke English or VERY slow, basic and enunciated Spanish. Thanks, Loida! :)

Loida and her Spanish horchata (which is VERY different from Mexican horchata).
Her sister, Eli and her brother, Javi, also speak English very well, so I wasn't completely in the dark. But when Grandma or their parents spoke to me in fast Spanish, I did a lot of smiling and nodding.

Loida, her cousin Olga, and her grandma.
Eli in her purple room.
Such a great family.

I had missed so many things about Spain. Of course I missed our friends. But to be shallow, I REALLY missed the coffee.

My first Spanish coffee on my trip back to Spain - one of MANY.
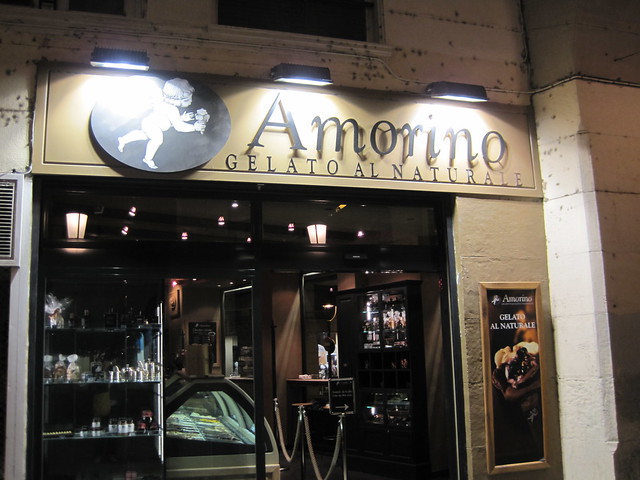
Loida also took me to an incredible gelato place. We can get gelato in Denver, but really, does it compare to actual European made gelato??

All natural gelato place in Zaragoza.
Really??? How am I supposed to choose??
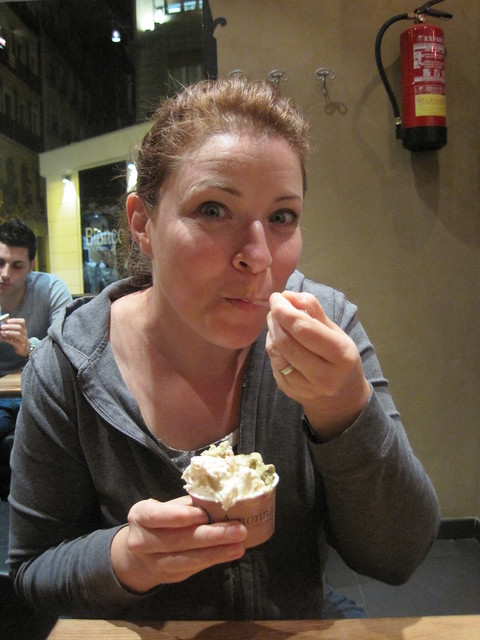
But I did choose. "Pistacchio Sublime" and Amaretto.
Before.
During.
Loida during.
After.
Seriously, this place was over the top cool. The gelato was super delicious and the decor was something I wouldn't mind adapting for my own kitchen some day. Lots of natural wood and black accents. I probably wouldn't wear the cute puffy black chef hats the gals working there had on, but maybe...


We walked back home that evening, so that we could work off a little of that gelato. I snapped this photo of the amazing cathedral of Zaragoza while standing on the bridge the spans the Ebro River. So beautiful.


I left the next morning to go back to Alcala de Henares to start the "work" I came to Spain to do (it just doesn't seem like real work!). More about the rest of my trip later...

Hope you enjoyed!

28 April 2011

Death of a Godly Man

Have you ever read the book "The Cross and the Switchblade"? Or seen the movie? It was written by the Reverend David Wilkerson, and is about his ministry to gang members and drug dealers in New York City. His method of ministry: just to love people and speak truth to them. And trust God.

Rev. Wilkinson was killed suddenly in a car accident yesterday. Here is what he wrote on his last day of life. It speaks for itself:

WHEN ALL MEANS FAIL
by David Wilkerson | April 27, 2011


To believe when all means fail is exceedingly pleasing to God and is most acceptable. Jesus said to Thomas, “You have believed because you have seen, but blessed are those that do believe and have not seen” (John 20:29).

Blessed are those who believe when there is no evidence of an answer to prayer—who trust beyond hope when all means have failed.

Someone has come to the place of hopelessness—the end of hope—the end of all means. A loved one is facing death and doctors give no hope. Death seems inevitable. Hope is gone. The miracle prayed for is not happening.

That is when Satan’s hordes come to attack your mind with fear, anger, overwhelming questions: “Where is your God now? You prayed until you had no tears left. You fasted. You stood on promises. You trusted.”

Blasphemous thoughts will be injected into your mind: “Prayer failed. Faith failed. Don’t quit on God—just do not trust him anymore. It doesn’t pay!”

Even questioning God’s existence will be injected into your mind. These have been the devices of Satan for centuries. Some of the godliest men and women who ever lived were under such demonic attacks.

To those going through the valley and shadow of death, hear this word: Weeping will last through some dark, awful nights—and in that darkness you will soon hear the Father whisper, “I am with you. I cannot tell you why right now, but one day it will all make sense. You will see it was all part of my plan. It was no accident. It was no failure on your part. Hold fast. Let me embrace you in your hour of pain.”

Beloved, God has never failed to act but in goodness and love. When all means fail—his love prevails. Hold fast to your faith. Stand fast in his Word. There is no other hope in this world.

You can find this devotional posted here.

15 April 2011

Open House

I don't even want to know how long it's been since I've blogged. We have moved from Nebraska to Colorado and have been in a small one bedroom apartment for a month and a half. It's not decorated very much - we brought a very limited amount of stuff. Our house is staged for selling, so most of our decor stuff is still in Nebraska. The rest of our stuff is in storage. I haven't felt much like blogging about decor or home stuff since I'm not doing any decorating or crafty things at the moment. We're in this apartment for 6 months, then hopefully by that time our house will have sold and we can buy a house here in Colorado. THEN I'll be motivated to blog blog blog!

But in the interim, I really need to find a creative outlet, so I'm hoping I can do stuff in the little apartment that we can take with us, and, as always, doesn't cost much money.


One of my goals in this time is to make at least half of the slipcovers for our 6-piece sectional. We have two of the armless pieces in our apartment, so I have those to use for my pattern. More on that later...


The open house!

This weekend we're having our very first open house. Our lovely realtor, Mary, who also has a home staging business, will be hosting from 1-2pm. Here's a link to the listing, for those of you in Nebraska who want to snoop around the place attend the open house!

Here are some of Mary's photos that show what the place looks like now.


So I've heard a lot about staging your house to sell. I've seen the shows on HGTV and read blogs & stuff. And my own realtor is an expert herself.

This being our second house that we've staged for sale, I feel like I have a little bit of a grasp on what to do. I asked Mary her opinions and from that, HGTV and personal experience, here's what I know:

1. Clean. Clean like the wind. Clean like you've never cleaned before. Then clean it all again. If you have a grimy house, prospective buyers will assume you don't do other maintenance as well.


2. Remove all of your personal stuff. Put away photos of family & friends & yourself. Put away all of your bathroom stuff. Find some closed storage to put them in. Take all of that stuff off of the front of your fridge. All of it.


3. Don't declutter SO much that you take all of the personality out of the house. Leave tasteful decor items in logical places. I put some real looking hydrangeas in a vase on the dining room table. They won't die while we're gone, and they look nice. Also, use decor that enhances the architectural style of your house.

4. Remove all unnecessary furniture, baskets on the floor, etc. You want to show as much of your house as possible - people want to see the house, not your stuff. They want to be able to picture themselves living there. Mary suggested that we leave only two pieces of the sectional. I thought it would look really bare, but she was right! It makes the room look bigger, and you can see more of the nice wood floors we had refinished.

5. Don't expect your house to be perfect. Do to it what you need to do, but be satisfied with it when it's done. You can paint, clean & declutter. You can have things repaired. But there will always be imperfections - ESPECIALLY with an older home. You have to draw the line somewhere. Potential buyers know they are buying an older home with older home issues expected. Especially when they see that you still have the original windows. :) You don't need to put sticky notes labeling everything that bothers you about the house, but you also don't need to be deceptive about anything. People can see what they're getting. And hopefully they'll like what they see!

What are some of your secrets to staging? Do share!

Sorry I've been away for so long. Hopefully soon I'll have an update on my slipcovers. I also hope to let y'all know that we've sold our house!