Showing posts with label before and after. Show all posts

19 January 2012

That nasty 80's dresser is now an awesome media console!


I looked for MONTHS for just the right piece of furniture to put our tv on. In the past, we used an armoire that we loved a lot (and that I was really proud of getting at a garage sale for only $40) that was a perfect fit for our thick old non-flat tv. But before we moved to Colorado, we gave away the tv knowing we would bite the bullet and buy our very first flat screen.

So bye bye armoire. You were too bulky for our sleek new tv. And you wouldn't fit in the moving trailer. Hello temporary small cabinet. When we moved, we went through a 7 month period of temporary living in a VERY small apartment. I didn't decorate, I didn't look for any new pieces. So when we moved into our current townhouse, I knew the first piece I wanted to find was a large, long 'something' to put the tv on, that had storage underneath.

I found many pieces that would work. Ikea has some nice things. So does Pottery Barn. But if you know me, you know that there's no way I'm spending money on something new when I could find something second hand that I can make perfect!
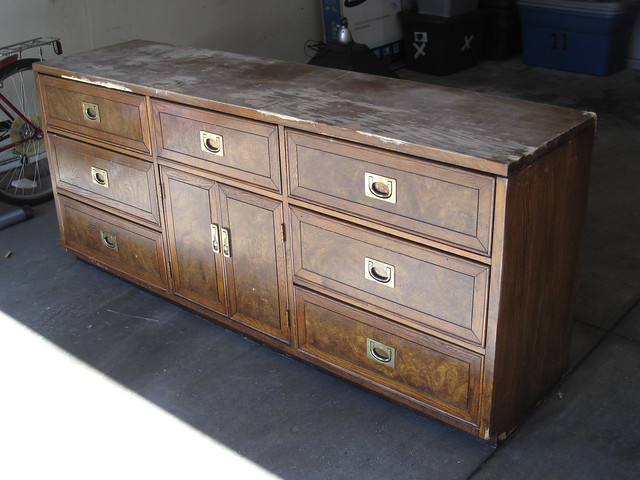

Enter the 1980s. This dresser was found at my local Goodwill. When I first saw it, I wasn't convinced that it was what I wanted. Plus, it wasn't on sale. Seriously. How cheap am I that I won't buy something from a thrift store if it isn't on sale. It's sad, really. Anywhoo, the next time I went back to the store, it was half off. I stood back and imagined it with a few tweaks and realized it was perfect! So for $15 (yes, $30 was too much to pay), I took it home. Let me tell you, this chunk of wood is HEAVY. I injured my neck trying to lift just one side of it. It was a job for strong men.

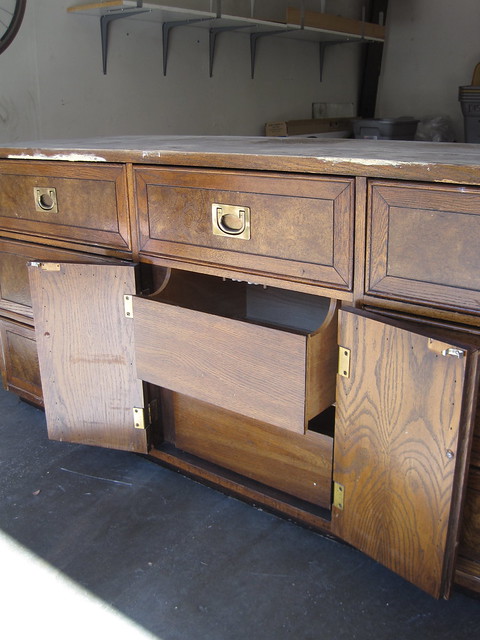
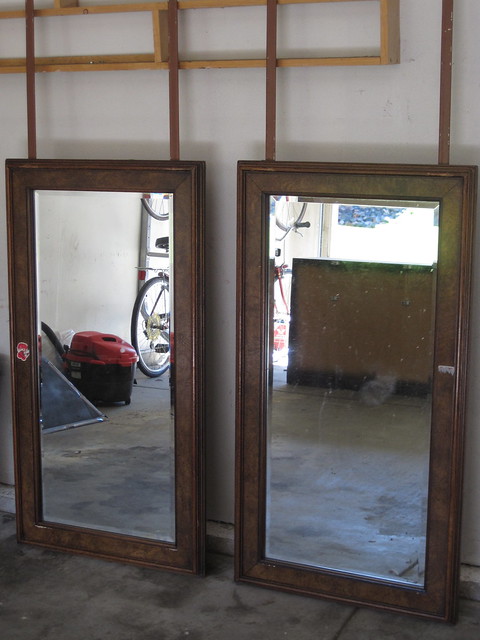
When looking for a piece that you know you can paint and do minor alterations on, don't get distracted by the lipstick and eyeshadow. Meaning, surfaces can be changed. You can strip it. You can paint it. The important thing is if the piece is the right size, shape, style, and if it is well made.

Here's what I liked about the piece:
1. It was exactly the right size.
2. It had interesting hardware.
3. It came with two mirrors that I could use elsewhere.
4. It was sturdy and well made.
5. It was a straight, clean-lined style.
6. It had really good storage.
7. It was dirt cheap.

I decided to jump on the chalk paint bandwagon that I have read so much about in blogland. Of course, I made my own. Cheap, remember? I used this recipe, and it seemed to work just fine. I did fill in chips and lightly sand every part that was getting painted, but I did not prime, and I used wax instead of a poly coat. I have to say that I really like the feel of the finish and I will probably never do a poly coat again (unless it's kitchen cabinets).

The paint color is Benjamin Moore's Coventry Grey. I read somewhere that was the color closest to A.S. Paris Grey.
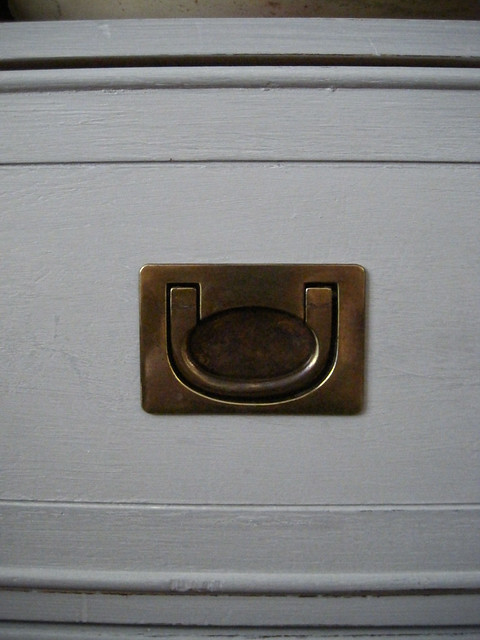

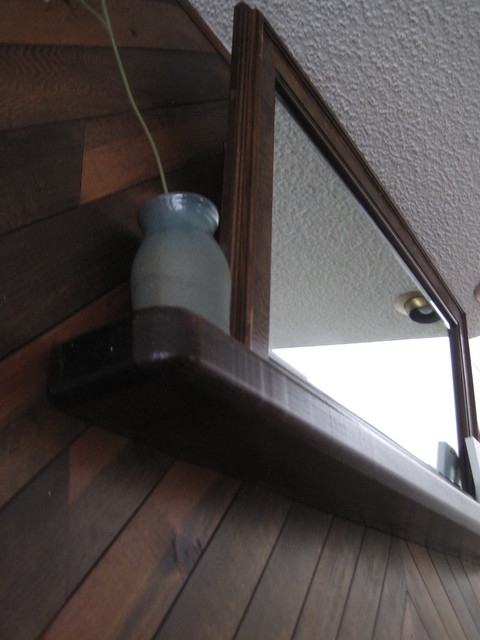
The top three drawers came out, and I painted the inside a mossy green that I already had. Maybe someday I'll repaint that part with peacock blue or something intense. Someday. I'm just happy that this piece is finished and in place. Oh, and one of the mirrors is hanging over our mantel, horizontally.
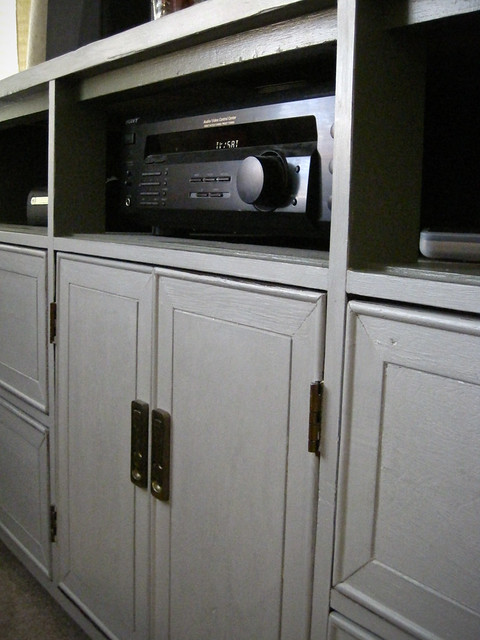

The gallery wall behind the tv isn't finished (and after looking at this photo, apparently I don't know how to level), but still, it's much better than nothing on the wall. The tv blends in really well. I'd love to paint that wall a dark grey, but we're not allowed to paint in this place.
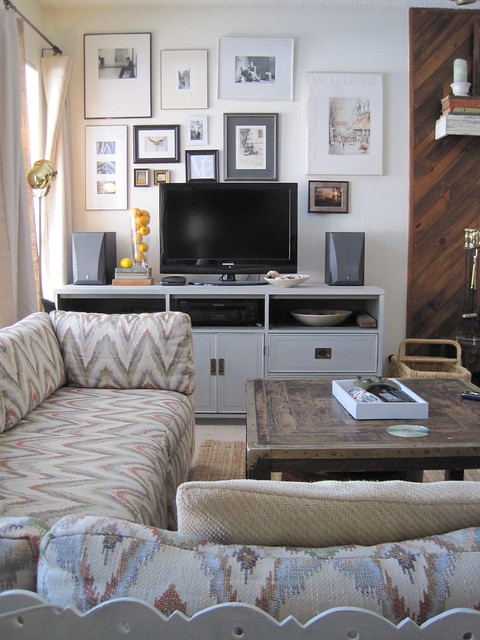
I have since swapped out the end unit of our sectional for an armless version,
so there is an unobstructed view of the console.
After almost a year of packing, moving, temporary living, moving again, and now settling in, it's nice to have our place looking more like a real adult house.

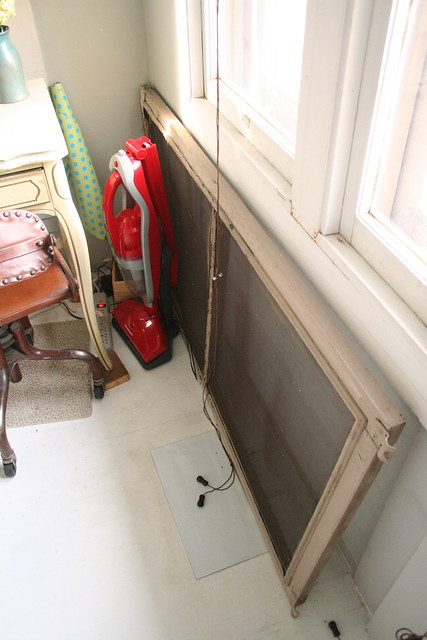
Now I need to turn my attention to the decidedly un-adult looking wasteland around my desk. I'll get there. Eventually!

Today I'm partying with Miss Mustard Seed and The Shabby Nest. Head on over to both of these fantastic blogs to see what creative things others are doing!

16 December 2011

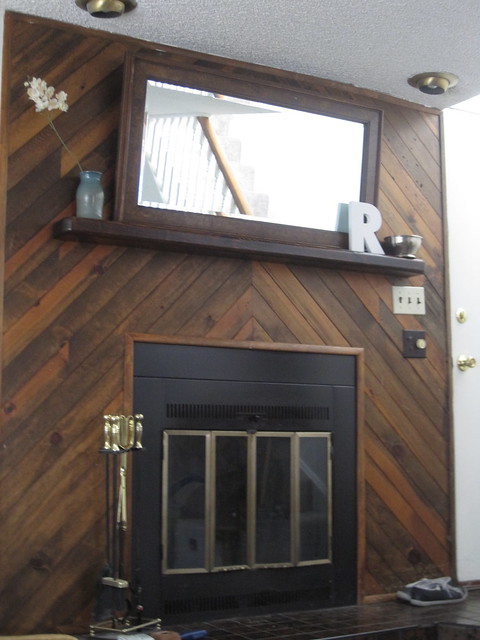
The great rental mantel slip cover

There are certain pros and cons to living in a rental. No yard work. That's a pro. Someone else pays for stuff to get fixed. Another pro. Dated 80's architecture. That is most definitely a con. Case in point, this lovely fireplace:


Now don't get me wrong - we love having a fireplace. A wood burning one, too. It's the placement (right by the front door), the tile (mottled brown & black), the diagonal wood surround, and that miniscule little rounded corner excuse for a mantel. Even our key bowl hangs over the edge a bit.


So I got an idea in my head that my dad could build a slip cover for this thing that could be removed when we leave. You know how much I love the idea of a slipcover!
I emailed my dad a picture of the mantel then a photoshopped version of what I wanted. He likes a good problem to solve. He was a math teacher. :)


He had some barn wood laying around so he brought it with him when he and my mom came to bring a bunch of our stuff from storage (THANK YOU!!!).

I should have taken during shots, but I didn't. My mom and I went thrifting. Anywhoo, the barn wood he brought was WAY better than I had expected. He let me choose between the weathered grey side or the weathered white painted side. WHITE PAINT. It is a super nice contrast with the stained wood surround. And here's the finished product:


Isn't that SO much better? And it's removable! Now I can experiment with styling the thing. It's deeper, so more stuff fits on. He made it thick enough so that it just hits the top of the light switch by the door.


I LOVE the weathered paint. This is the real stuff, no faux here.


Before:


And after:


Much better! Oh, and pay no attention to the crap stuff reflected in the mirror. I'm still working on that area. And I plan to paint the mirror frame the same color I painted the bathroom vanity in our Nebraska house.

More on that pearl embellished sweater stocking to come...

Today I'm participating in this excellent party:


Furniture Feature Fridays

08 November 2011

I got the headboard I wanted without forking over lots of $$.

This is the headboard (and base) I wanted:


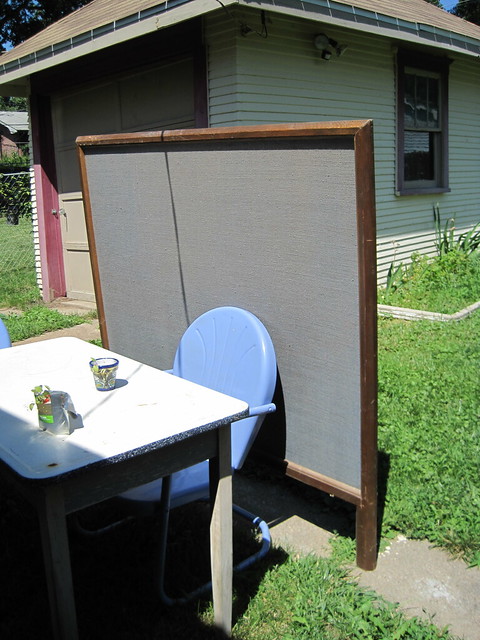
This is what I had to work with:


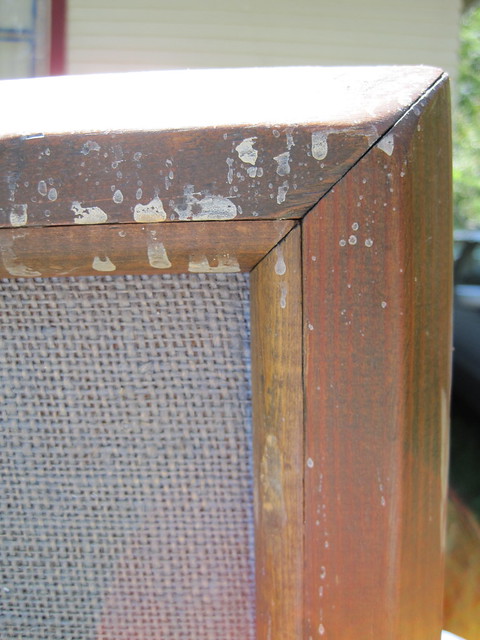
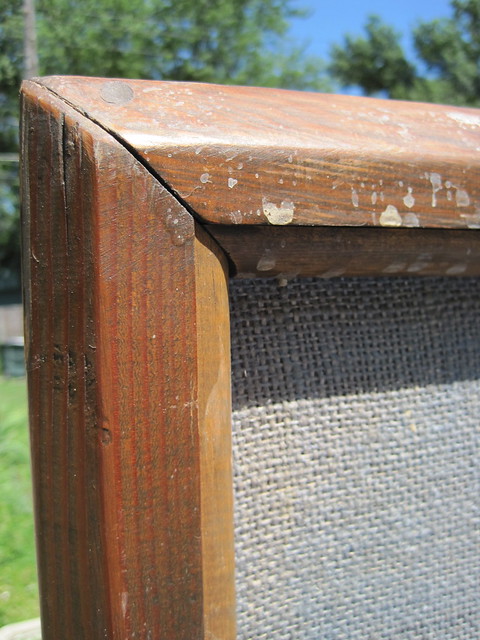
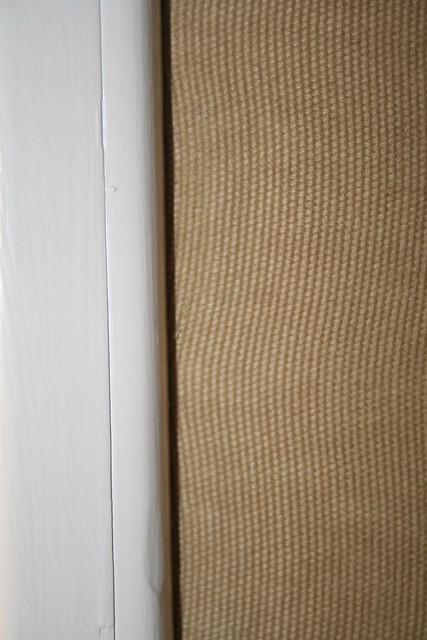
It was labeled "room divider" at the local thrift. They were using it as a display for random doo-dads. The burlap-ish covered part is some sort of really hard foam or something that you can stick pins into. This piece was in a back room sitting under a roof leak. It smelled a wee bit musty.


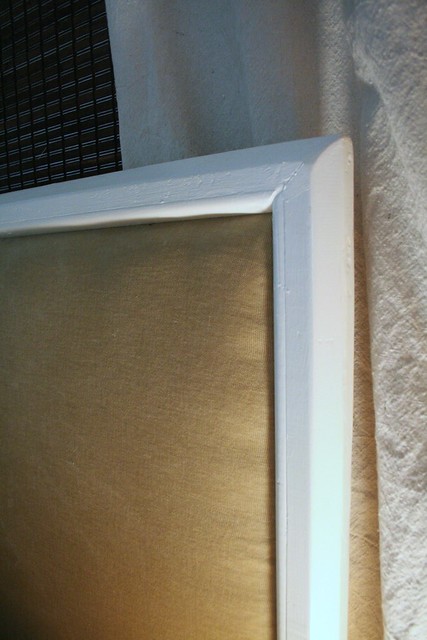
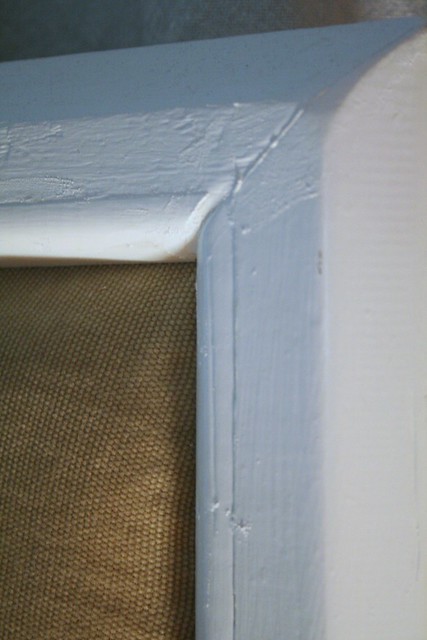
So here's the deal. I really didn't want to spend buco bucks on the Pottery Barn version. I measured the room divider and found that it was EXACTLY the right size for a queen size bed. And I had a coupon for one purchase at the thrift store. How cheap am I??? I bought it for $12. Other materials for the project: a curtain, also from a thrift store, that I paid $10 for. I was not happy about that - I thought it was too much, but I had already talked them down from $12 since there was only one curtain. I didn't mention that I only needed one. :) Also, I used an old egg-crate twin mattress pad and an old blanket for padding. The paint I already had on hand. Tools: something to pry off the inside quarter-round, staple gun and hammer. Oh, I also bought a waterbed base on craigslist for $10 and painted it the same white. Wish I would have taken "during" pics, but you're all out of luck. 

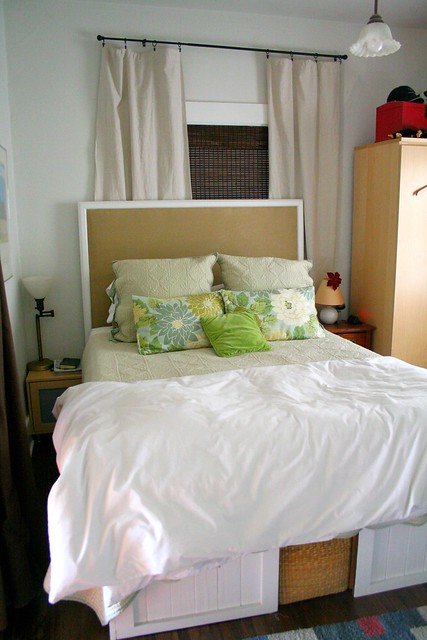
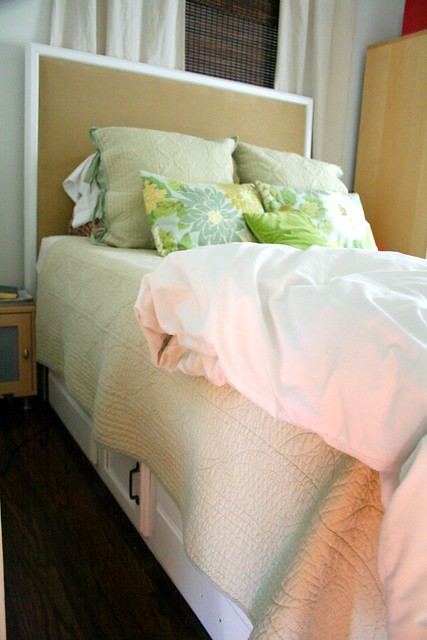
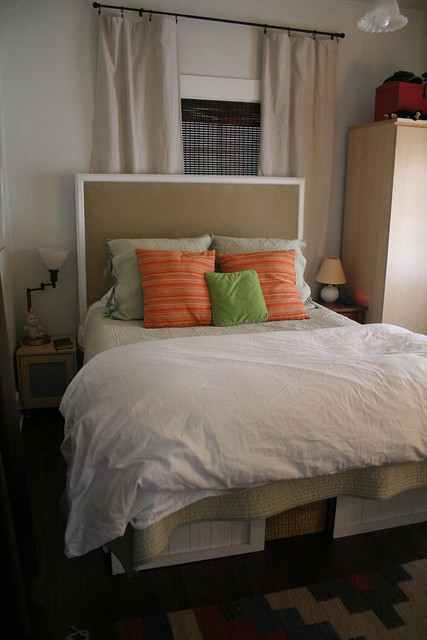
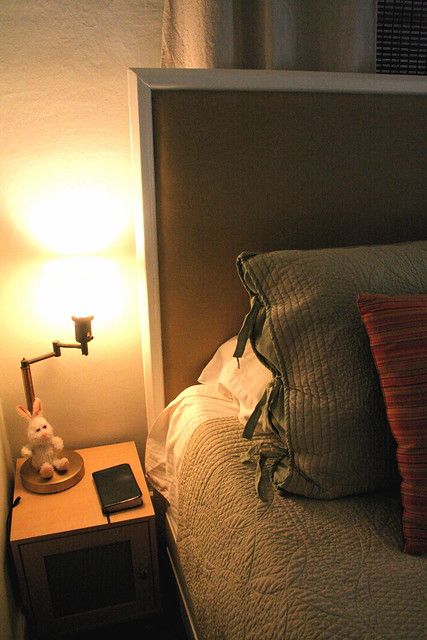
And here's the finished product:


I'm pretty happy with the results. I hope to someday (soon) replace the base with this plan from Ana White. The waterbed base is one of the cheapest, most poorly made piece of furniture I have ever owned. I'm looking forward to replacing it with something more permanent and sturdy! But as long as we don't move the current base, it works. :)

These photos are all from our house in Nebraska. More in the future on fixing up the larger of two master bedroom at the townhouse in Colorado!

04 November 2011

New (to me) home, new place to reinvent!

I'm back. I've been in a funk lately. No motivation to blog, or read blogs even. But now I'm back. For six months we lived in a one bedroom, one bath apartment. All our cool stuff was in storage, and since we were there temporarily, I had NO desire to decorate. But now we're in a new place. New to us. It's a townhouse, which is one step closer an apartment to a house. We were planning on buying a house here in Denver, but we didn't sell our house in Nebraska (renting it out) so no cash for down payment. I expect we'll be renting for at least a couple of years. Which is just fine with me, because we are really done with moving for a while. Moving from Nebraska to this townhouse took a four part effort, spread out over 8 months. See why we're done? My parents are probably done, too. They helped with every part. I owe them a kidney or something. But back to the townhouse: it's two bedroom and two bath with a fireplace, upstairs laundry and a half-covered fenced in back patio. Oh, and a two car garage! It has more square footage than our house in Nebraska.

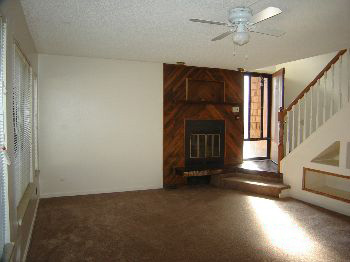
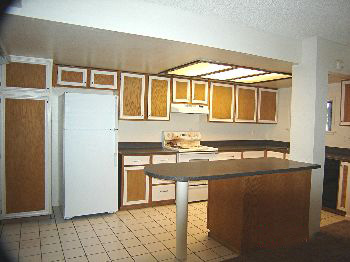
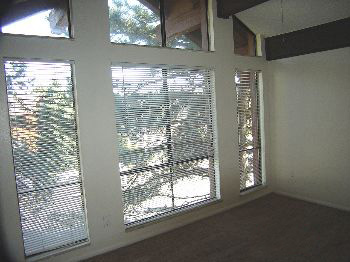
SO...here's the new place. These photos are from the online listing, so they're pretty poor quality. Consider them the "before".

the front door - looks very mountain-ish!
living room and front door
kitchen - the biggest we've ever had
bedroom with amazing windows
I have ideas! And now that we have all of our stuff, I can get to work.  Here are the parameters: We are allowed to paint the kitchen cabinets (I'll match the white that's already on them), but we are NOT allowed to paint the walls. The carpet and counter tops are new, but pretty much everything else looks like it's original to the 1980s when this place was built.

Game on!

19 November 2010

Before & After: FREE Record Cabinet Saved from Dumpster

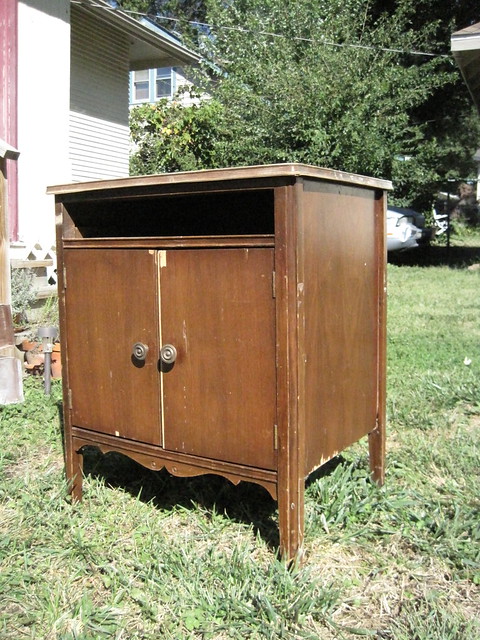
Out for a run one day, I saw this little gal sitting forlornly in front of a dumpster. I thought "How sad." Then I kept going.


I thought about her over the next two days. While it rained. I considered driving the truck over to see if she was still there, but I didn't know how badly she was wounded or what I would do with her when I got her home. But I finally decided to see if she had been picked up yet. I drove over, still in the rain, & there she was. A little worse for the wear. You see, this little record cabinet has a wood veneer. It does not play well with lots of water. I looked her over, looked around to see who else was looking, and when I saw that I was in the clear, I hefted her into the back of my truck. Sometimes I wonder if Vino sees me as the little kid who brings home injured birds & frogs in my pocket because they need "rescued". But he never complains. :) Here's what I did to this gal:


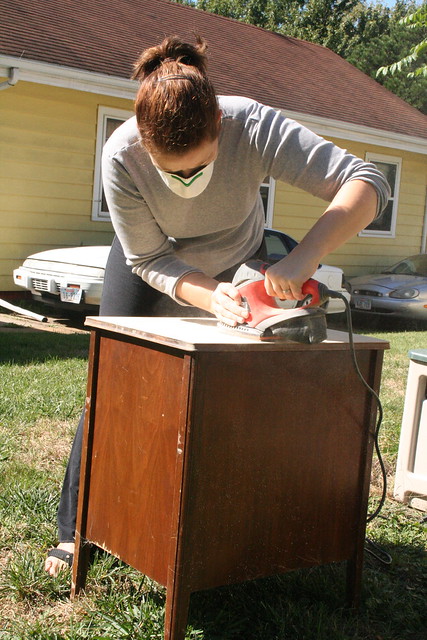
The veneer on the top was bubbled & peeling off. I peeled off the rest of it, and was glad for the rain that softened the glue. Underneath was the wood planks of the top.

All it needed was a good sanding, then some stain & poly. The rest of the body needed a little more work.


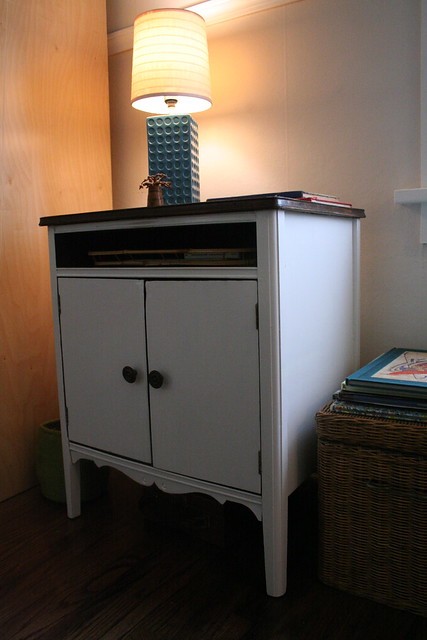
The veneer on one side couldn't be saved, so I stripped that off, too. It was stuck on good on the rest of the body, so I just patched the chips with wood filler. A coat of primer & a couple coats of creamy white paint, and she's as good as new! She is missing her drawer, but for a temporary fix, I'm just using a tray that fits the spot.


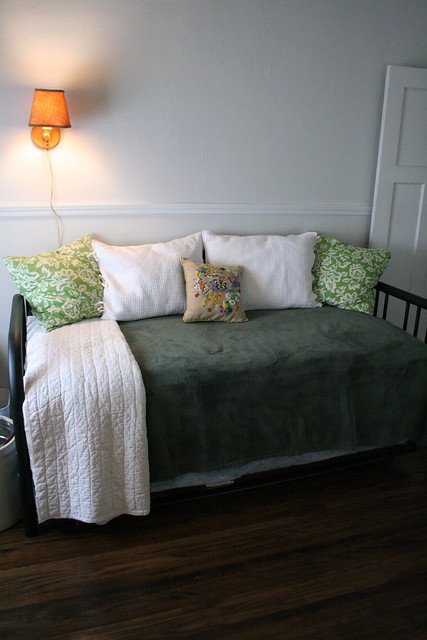
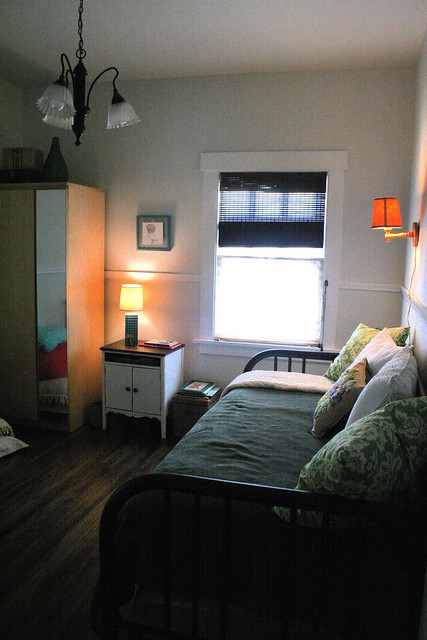
She is now living as a night stand in our guest room. Happy in her new home!


She & I are participating in some parties today. You should head over & check out the creative things that other bloggers are doing around their homes!


Furniture Feature Fridays

01 November 2010

House Tour, The AFTER (for now)

Our old house will never be finished. But really, if it ever was, I would probably want to move on to another house that needed help. I have that sort of sickness. :)

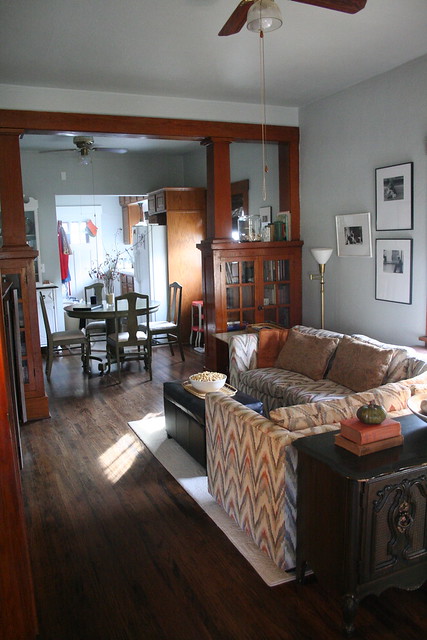
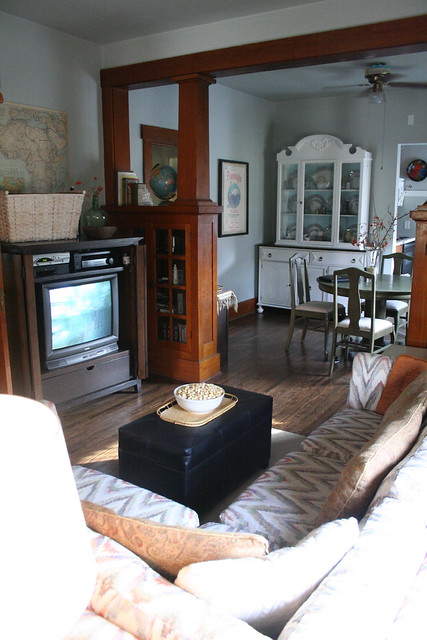
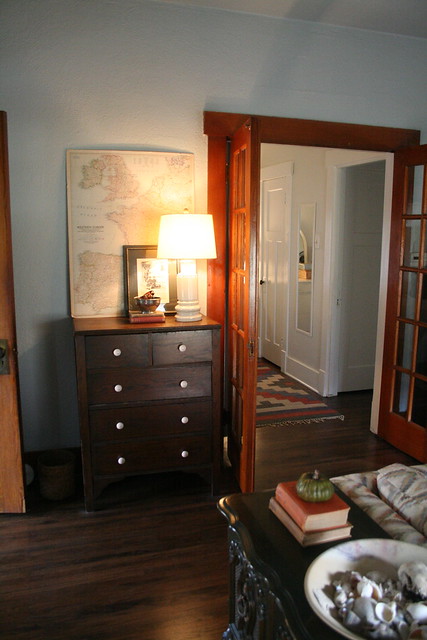
But for now, we are at a point in our fixin' up that I'm not embarrassed to have people over anymore. I still see the things that need done, but I can see so much more that has been finished. My mom's Bible study ladies came for a tour a week and a half ago, which prompted a flurry of projects & stuff to get the place ready. Thanks for coming, ladies! I had a great time showing off our second-hand home!

I gave y'all the BEFORE tour here. Take a look for a reminder of how bad it really was. You can also read about stuff we've done to the house if you click on the "house" link under "Labels" on the right hand sidebar of the blog. Oh, and just a reminder, probably 95-98% of the stuff in our house is second hand or gifted to us. I'm cheap like that, too. :)

So, after over a year of "fixin'" here's our AFTER (for now):

The front porch:

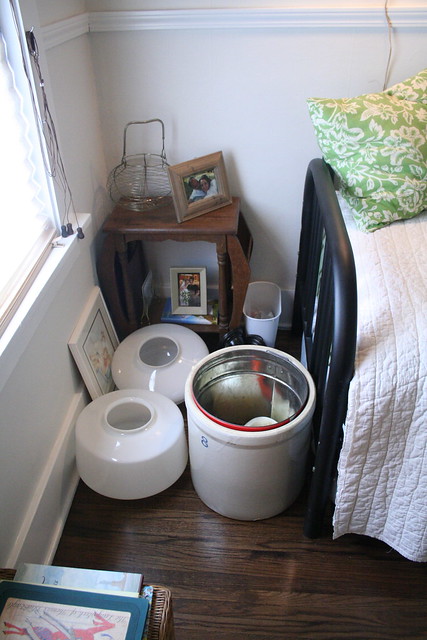
(corner of shame on the front porch)

Living Room


Dining Room


Kitchen:


Bathroom:


Guest Room:


(corner of shame in the guest room)

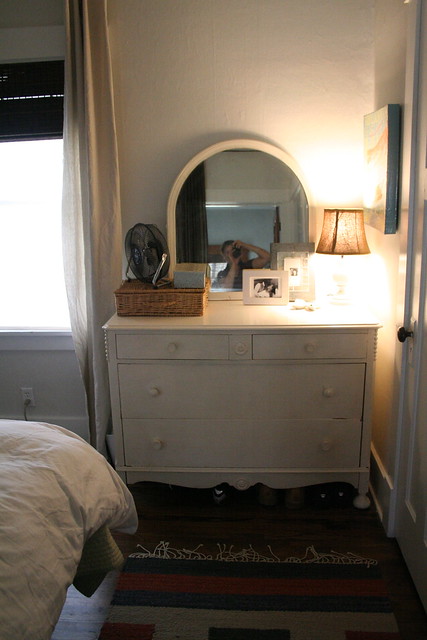
Our Bedroom: 


(and me...oops!)


So there you have it. I've posted a lot of photos of projects that I will be blogging about in the near future. So much to talk about! And my "corners of shame" are becoming fewer & smaller. That always makes me happy. Less shame, more show!!