27 July 2010

Painting the World Glossy White, One Tacky Accessory at a Time

Bought these for a buck/pair at the local thrift:


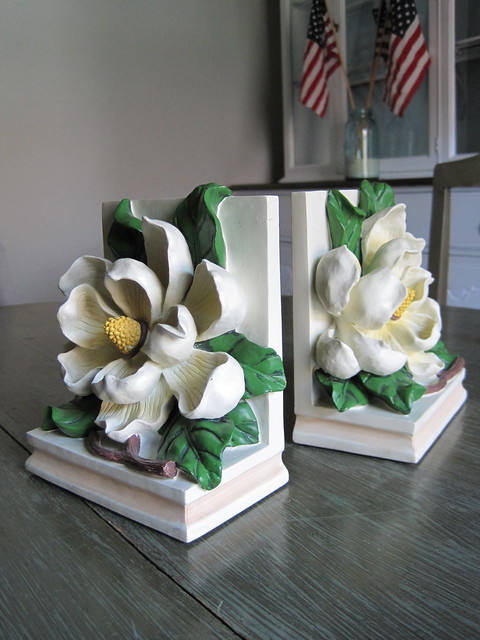
Not lovin' the 70s ceramic class look. Before I walked out the door, I picked up these, half off that day because they had a blue tag ($2.50):


Not my style, too traditional or something. Enter: glossy white spray paint.


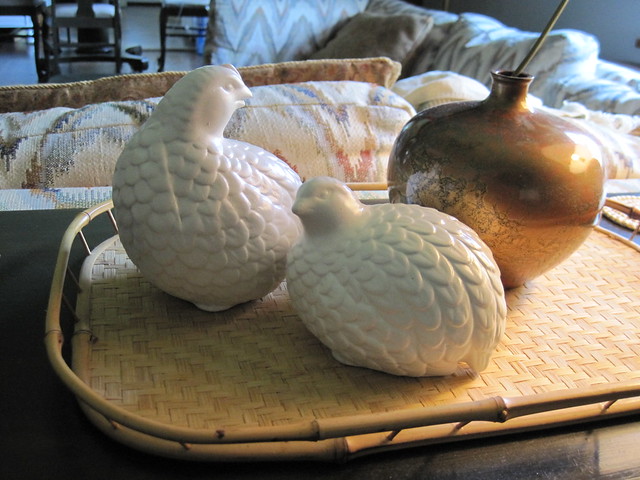
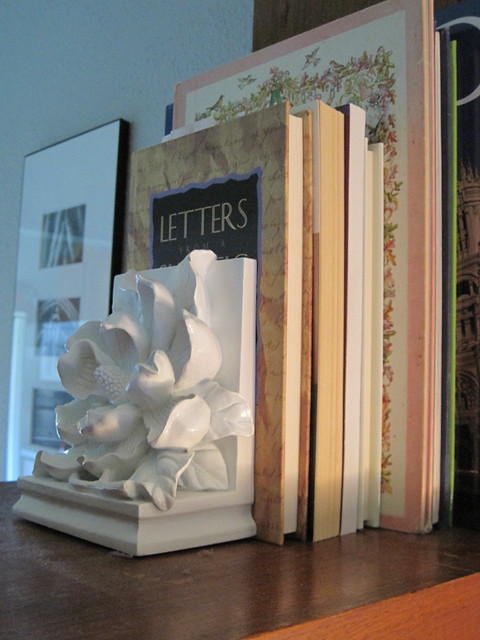
Ahhh, much better. The guinea fowl are no longer foul (sorry, I had to go there - tacky accessories call for a tacky play on words).


And the magnolias are much better. More contemporary yet still fit into my urban cottage-ish wanna-be house.


I don't think I've found the perfect place for the birds yet. Decorating is always a work in progress, though...isn't it?

What do you think? Do you have stuff that could use a clean coat of solid white? Or black? Or turquoise? Whatever fits in your decor. It's good to see beyond what things are to what they could be.

Oh, and by the way, I was a featured guest on www.remodelaholic.com for my buffet/hutch post. How cool is that??

19 July 2010

Don't Hate Me Because I Inherited Awesome Flour Sacks.


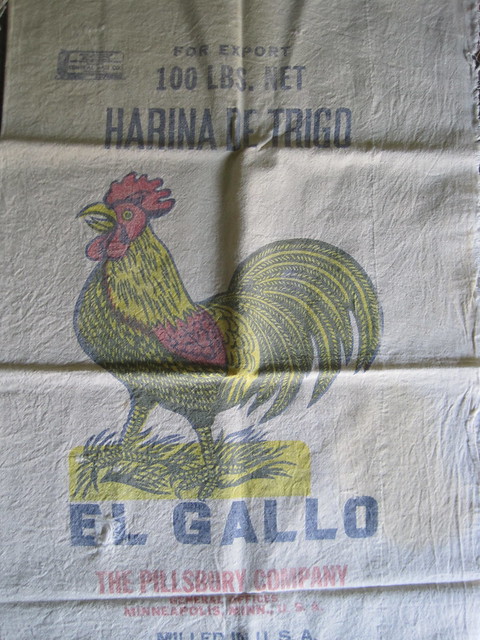
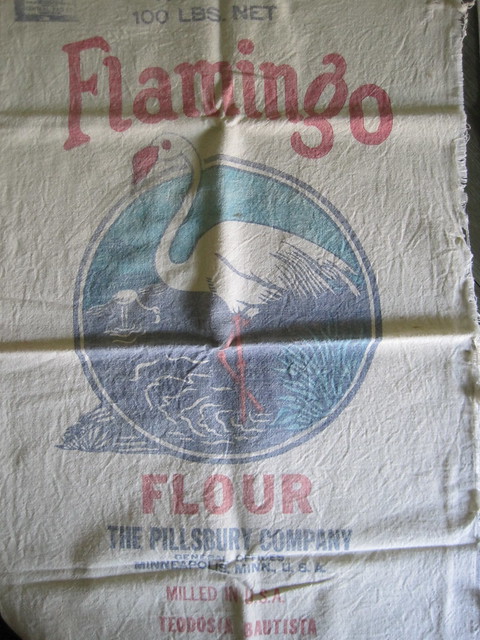
Everyone seems to be looking for grain sacks - French with faded black French text, American with classic Americana images. Guess what I have? My dear grandma (my mom's mom) was one of those thrifty women back in the day who saved flour sacks & used them like fabric from the fabric store. My mom remembers in the 40s & early 50s that my grandma made all sorts of things with flour sacks - skirts, dresses, tea towels, aprons. She even made my mom a swimsuit from a flour sack. But these flour sacks had prints on them such as floral or geometric shapes. Not what I'm used to seeing in vintage flour sacks. I can imagine that she used all those styles of sacks for sewing that that's why she didn't have any in storage years later. But she did have these!


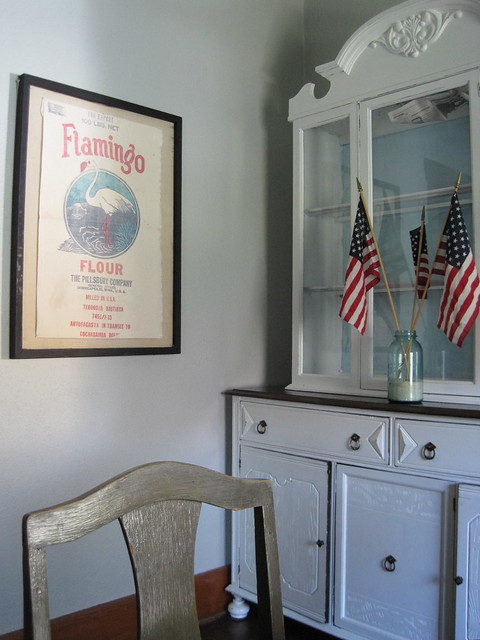
Lucky me. I was trying to decide between the rooster & the flamingo for my dining room wall.


The rooster definitely belongs in a kitchen or dining room and is probably more fitting for the midwest, but I love the colors in the flamingo better. And you know I don't like to do what's expected. :)


Of course I didn't go out and buy a new frame for the flour sack. I found this bulletin board at a local thrift shop for $2. It was just about the perfect size, and I didn't have to do anything to it. I like the black frame and the fabric.


All I did was iron the flour sack & pin it on with pearl pins. I used those because I already had them. I didn't want to drive all the way to Walmart just to look for other pins. Lazy or frugal? I don't really care. I like the pearls!


So this is now the new artwork for the blank wall in my dining room. What do you think? I'm saving the rooster for somewhere else, probably my next house since I'm just about out of wall space in this tiny little house. But as much as I'm about sharing, I'm not giving it up. Unless my sister wants it. She doesn't seem like the rooster type, though. She probably wants the flamingo. :)

15 July 2010

Marrying Together Mismatched Furniture: The Buffet & Hutch Story


 I have a buffet. It was a gift from the Mr. for my birthday several years ago - and it was second hand. Does he know how to make me happy, or what??

 There it is back there, in our old house.

Back in the day, I painted it black. Loved it. I paired it with a large mirror hung vertically & two buffet lamps. It looked so very Pottery Barn-ish.

My tastes have changed a bit. No more buffet lamps. Too ornate. Sold them on craigslist for a little more than what I bought them for several years ago. No more mirror. It's in storage. I may or may not keep it. No more black. I'm all about painting EVERYTHING white. Well, a few things will end up aqua, but mostly white.


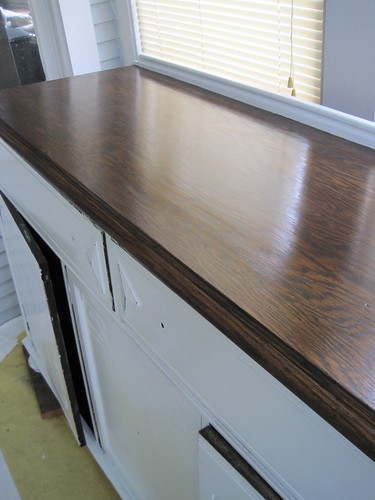
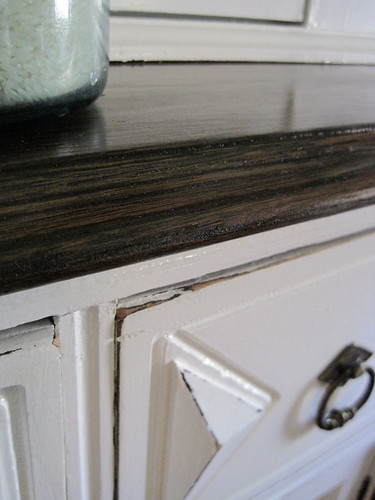
So I scraped the black paint off of the top of the buffet. Fortunately my previous paint job was pretty poorly executed and it came right off! A little sanding, a little cleaning, then I stained & sealed the top piece. I think it looks pretty good! I've never stained anything before. It always scared me. Not anymore!


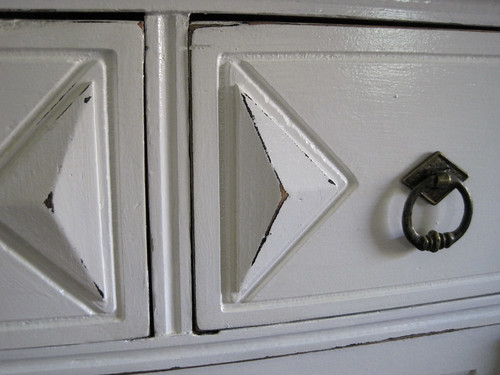
I also primed & painted the rest of the buffet. I used leftover paint from the trim in our house. Since I'm not the best at painting, I decided that a nice distressed finish would be just the thing for covering up my mistakes. Something always peels when I paint furniture. A corner here, a leg there - but if it's distressed, it all blends in and looks intentional!


So after about 3 coats of paint, I fired up the palm sander & went to town on the corners & raised parts. Then a couple of coats of non-yellowing sealer. I love how it turned out!


I have decided that I want a place to display my china and the cherished china my Aunt Jean gave me (I'll save that story for another post). So I started looking for a hutch to put on top of my buffet (thus the reason for not using the mirror). I blogged a little bit about it here.


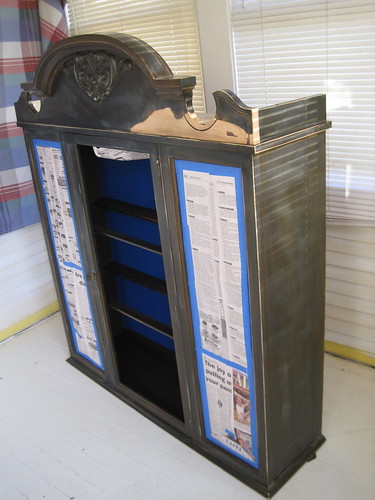
Free hutch. Can't beat it. So this is what it looked like before I painted it. No wonder someone gave it away. Gross.


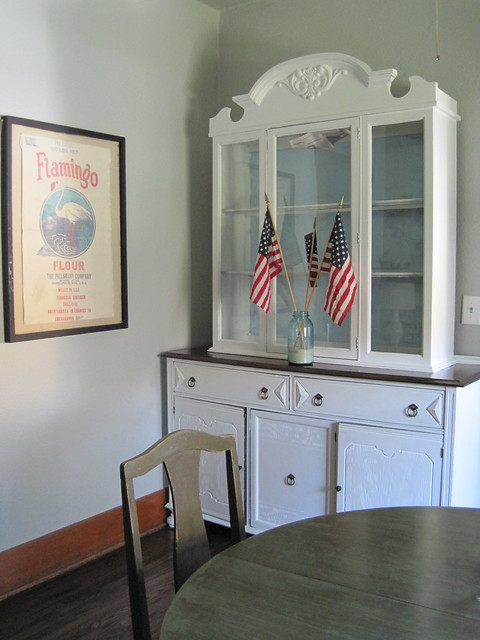
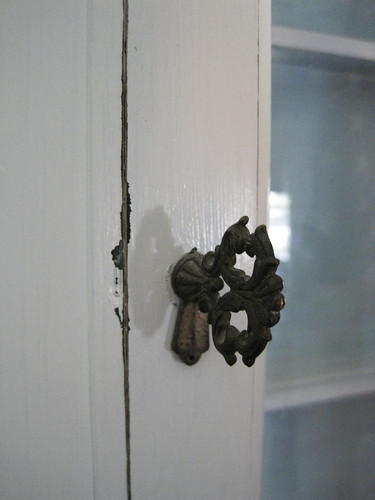
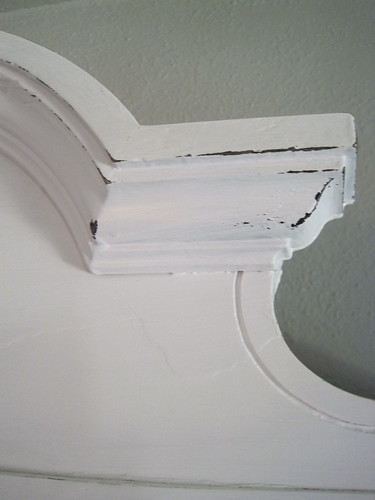
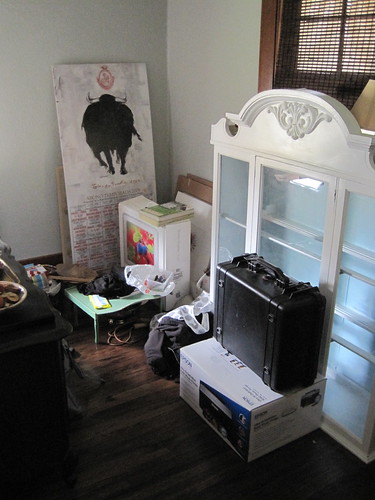
And this is what it looks like after. Nice!


You'll notice, though, that it's not completely painted on the inside and the light at the top is still covered in newspaper. Silly me, I closed the door after the paint was dried. It was dried & cured. Really. But the hutch sat in a corner of our living room for a long time. Summer came, with all of it's humidity. Wood expands.

 This is the embarrassing corner of the living room that never made it into
photos until now. Thankfully it doesn't look like this anymore!

SO....I can't get the door open. I don't know if it will ever open. It's wedged so tightly that I can't get a razor blade in between. I was hoping that once it was in place it would acclimate to the air conditioning & open again. That hasn't happened. Last resort will be to remove the back of the piece and work at it from that angle. I'm having a similar issue with the buffet.


The doors won't close. It was in a non-climate controlled place for three years, poor warped baby. I may need to do some tricky carpentry work on them. For now, picture it complete.

Look for new artwork on that blank wall next week...

The hutch with a pale aqua backing, glass in the shelves and white china displayed. It will be just what I imagined it to be. Or...still imagine it to be.

But for now it's in place, and that alone makes me happy.
I can fill it with stuff later.
Baby steps.

06 July 2010

Custom Bathroom Vanity Made with Salvage Pieces


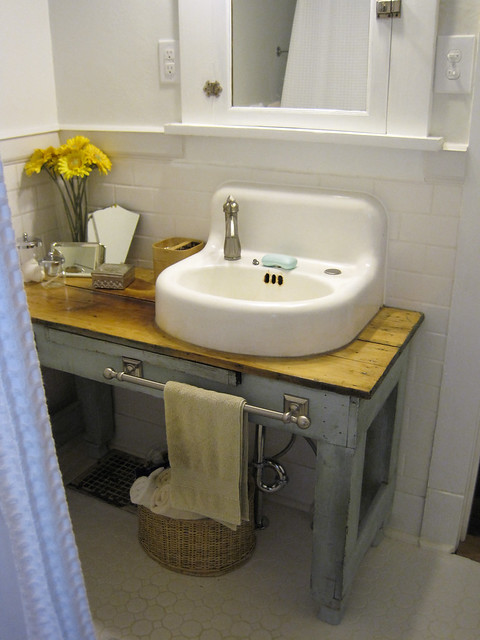
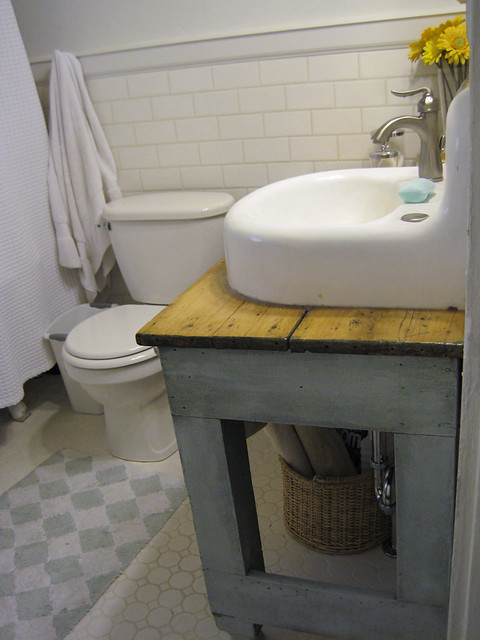
I have a bathroom sink! It's taken a while, but I'm SO happy with the results. It's pretty much exactly what I wanted. And it's "green" because the sink and the table were salvage. I blogged about the bathroom all the way back in January, when the table had been in for a while, but no sink.

Remember my inspiration photo?


I think I actually like ours better, minus the staging. Here's how we put the whole thing together:

I bought the "rustic pine potting table" on craigslist. It looked like this:


You can read about the purchase and how my mom prayed I wouldn't buy it here. After cleaning it and removing the rusted zinc top, I sanded & clear-coated the top, then dry-brushed the rest with a 50 cent can of mis-tinted paint (that I'm really in love with and might take with me to the store sometime to have more mixed!) to make it less "rustic".

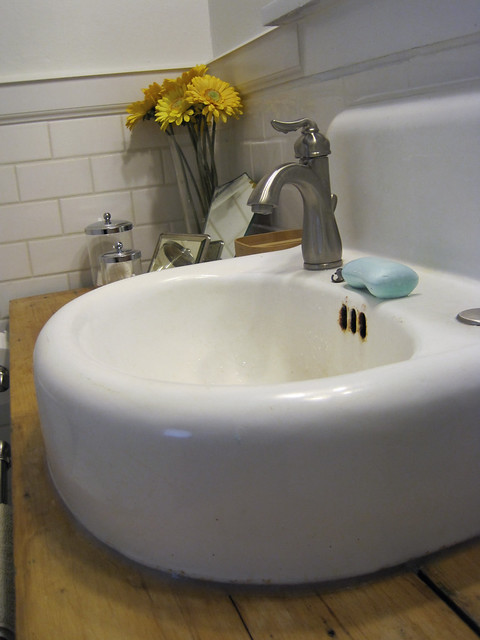
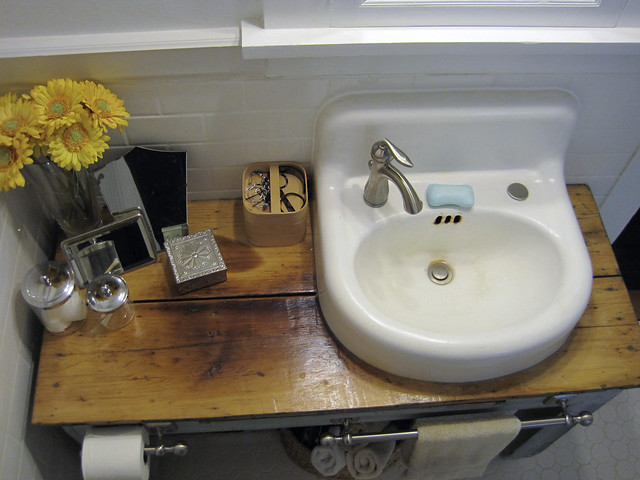
The sink was from a local salvage place, Scherer's Architectural Antiques. Thanks, Manuel! He has a great selection of old stuff - sinks, bathtubs, doors, windows, lighting, hardware, marble slabs, pediments...I could spend all day there digging through the cool stuff. If any of you are in the Midwest (particularly around Lincoln, NE) and in need of anything old & architectural, you should check it out.


We replaced the faucets with a one-hole number. We had to buy it new, but sometimes one has to compromise. :)


I also added trim all around the bathroom to top off the tile. It's that stuff that's pretty much foam wanting to be wood. It's awesome. What I didn't cut with my little hand saw & miter box, I used scissors. And lots of caulk.


As I am easily contented, it makes me rather happy that not only the el-cheapo rug I bought matches the mis-tinted paint/original finish combo perfectly, but so does...the soap. Vino bought the soap. Good job!


Vino was also the one who did most of the work after I prepped the table. He (and our fine friend Scott) attached the table to the wall, cut the hole for the sink and did a lot more caulking. Vino did the plumbing part himself. So proud.


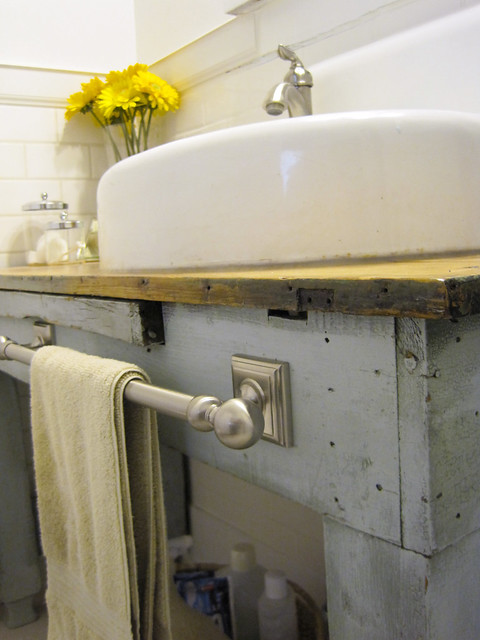
The final touches were adding a towel bar & toilet paper holder to the front. Love. It. I originally wanted to put a shelf underneath but it seems like it might be too much of a bother to cut out space for the plumbing, and I think it would look weird.

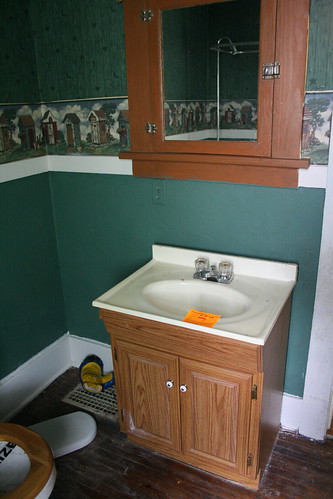
One more look at what the place looked like when we first bought it:

before

after

So there you have it. A finished project. :) And can I tell you, I feel so civilized...extravagant even...to be able to brush my teeth in the bathroom instead of the kitchen. Not to mention washing our hands....!