Do you ever page through the Pottery Barn catalog or website and covet? I do. But, as we all know, I'm cheap. The only things I own that actually came from Pottery Barn were either gifts from someone else, or purchased on major clearance. I, like many other cheapies, use Pottery Barn for inspiration rather than actual shopping. Sorry PB.
One of the blogs I read regularly is Homebody Holly. Holly is the queen of thrifting creativity. Recently she posted a series on gifts you can make from thrifted items. And they're not stupid cheap looking things you wouldn't want for yourself. Genius. The one I decided to try for my self was her sweater pillows. These were inspired by Pottery Barn's Sweater-Knit Pillow Covers, retailing for $39, and that doesn't include the inserts.

I like these, but we can do better, my thrifty creative friends!

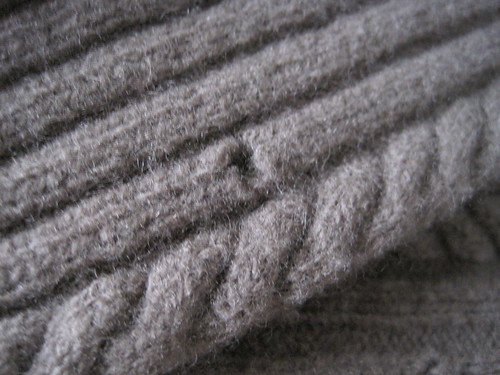
A trip to the Salvation Army scored me these $2 cable knit sweaters. The darker one is 100% wool and the lighter one is 100% cotton. I really wasn't interested in using acrylic (like the PB ones that are a cotton/acrylic mix).
The wool sweater had a couple of holes in it, but after I washed it in hot water & threw it in the dryer to tighten it up, those holes were easily fixed with some brown thread. Just don't look super close at the finished product - my thread doesn't match perfectly. But who's really going to be looking that close? Not me.

My parents gave me money for my birthday, and this is what I bought with it. I've wanted a real sewing machine for a years. I bought one at a garage sale several years ago. Bad idea. This one works so smoothly - I didn't know that's what sewing machines were supposed to be like! I suppose I should take the Project Runway sticker off. Looks a little ghetto. Thanks, Mom & Dad!!
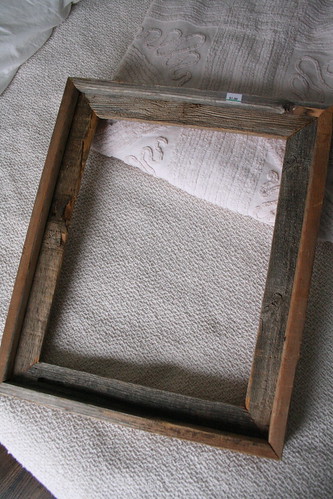
For the innards of the pillows I used some old pillowcases that were either stained or ripped. I cut them down to squares, filled them with fiberfill & sewed them closed. You could use store bought pillow inserts, but why, when I can make them with stuff you have around the house? If you don't have stuff around the house, you can also buy throw pillows at the thrift store that you can use as inserts.
For the sweaters, I cut them to use the most of the sweaters as possible. I'm left with sleeves & weird looking v-neck sweater dickies.

Remember turtle neck dickies? I never had one, thank goodness. Hmmm. What do do with those...you know I can't throw away something that might become craft fodder in the future.
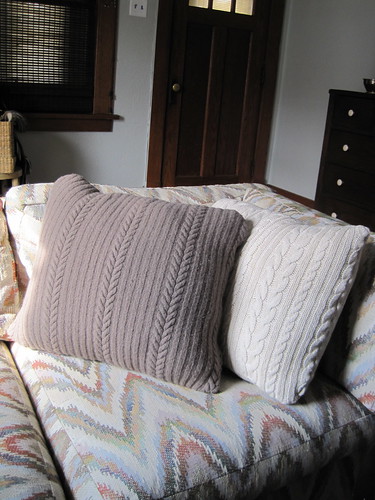
Anyways, back to the pillows. I sewed up three sides on each, stuffed them with the homemade inserts & sewed up the fourth sides by hand.
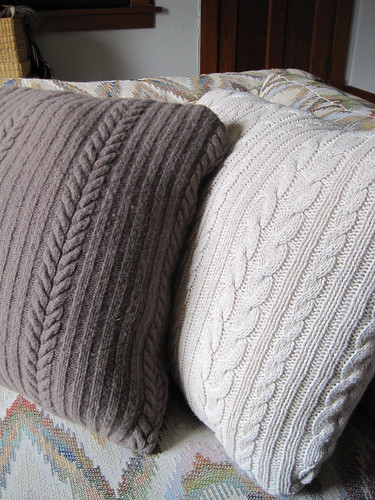
What do you think? I'm pleased. Please at how they look and pleased that they cost me $4 in materials.
Are you taking time in your day to be creative? It doesn't have to be something that takes hours and hours and lots of money. Maybe it's just rearranging some furniture, or moving artwork around your house. Or maybe it's finding a way to repurpose something you've had laying around for years (like your 1990s sweaters!).
There's something therapeutic about finding a creative outlet during your day, don't you agree?